
Sopwith 1 1/2 Strutter (replica) in Hangar 2
Even if aircraft and aviation history are not really the first things that spring to your mind when you are looking for a museum to visit on a day out in the general area, the RAF Museum at Cosford offers a thoroughly absorbing experience. Aeronautical development has progressed so rapidly since the early 20th century that the first engineers and pilots might well find all the new innovations, capabilities and capacities that are on display at the museum fairly miraculous, and these have been significantly surpassed by much newer models.
This was my third visit. The first visit was with my father who as a school boy at Calday Grammar on the Wirral had loved being in the Air Cadets, and went on to do his National Service in the RAF. The second was with a friend whose father had served as a Flight Engineer from before his 20th birthday during the Second World War, working and flying on Avro Lancasters. Both my father and my friend brought away very personal experiences of the museum, but even without these intimate connections, the RAF museum at Cosford is a rich journey into aeronautical history. There is splendid innovation, superb technology, surprisingly aesthetic appeal and, in some cases, the sheer immensity of some of these vast monsters. The full-life biographies of the aircraft themselves are themselves compelling, but the museum also tells dozens of stories about the people whose lives were embedded in the RAF, as well as in commercial travel, both in times of war and peace.===
===
 ===
===
===
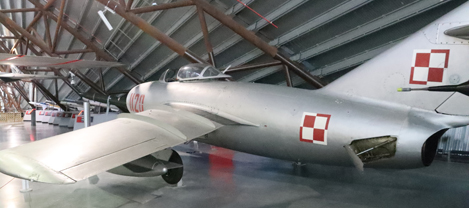
Hangar 4. Mikoyan-Guevich “MiG” 15bis. Single seater jet intercept fighter, Russian-designed and notable for its use in Korea where its superior performance came as a shock to American pilots. Maximum speed 688 mph. 1949-1970s
The aircraft are not exclusively British. There are American, German and Russian planes, as well as those built as joint enterprises. The information boards compare and contrast them with contemporary British aircraft that they came up against, in terms of maneuverability, speed and technical specifications. As well as planes there are also a couple of helicopters, staggeringly massive things that don’t seem even remotely aerodynamic, as well as some supporting ground vehicles including tanks, cars and aircraft tugs. Although less obviously comprehensible, the range of aircraft engines on display also contributes to the story of aviation and its development, with information panels explaining how the engines improved the viability of aircraft.

Hangar 4. Hawker Siddley Vulcan in the foreground. A fabulous-looking long-range medium delta-wing bomber that was eventually converted for use as an air-to-air refuelling tanker
The focus on aircraft is not exclusively military. Although there are a lot of those, several of the planes on display were commercial airliners of different sizes, built for carrying passengers, and the history of some of these early pioneers is well explained.
The museum is immense, taking up four gigantic hangars, each one with its own particular themes. Although each of the Hangars is themed, there are some aircraft that don’t fit neatly into the themes, allowing for the inclusion of a lot of variety throughout all the hangars.

Bristol Britannia 312 turboprop aircraft known as The Whispering Giant due to is comparatively quiet engines. It first flew in August 1952. Due problems with the turbine engine less than 90 were made and sold to both civilian airlines, like the now defunct BOAC passenger carrier, and the RAF.
The Hangars
It is worth taking some time before you start your tour to have a look at the wall maps in the reception area, which provide details of how the different hangars connect. The numbering of the hangars is a little counter intuitive, because the first of the four that you visit is Hangar 2 (H2), then Hangar 3 (H3), then Hangar 4 (H4) and the last hangar that you visit is Hangar 1 (H1). The maps are dotted throughout the hangars but in order not to miss anything it is a good idea to sort it all out in your head in advance. It is easy, for example, to completely miss the second hangar on your visit, because it is connected to the first hangar that you reach via two small doors that are relatively unobtrusive. There is a guide book that has a copy of this map, copied below. More visiting details are at the end as usual.

The site map from the Souvenir Guide (2024, Royal Air Force Museum), page 72
Hangars 2 and 3
The first hangar that you visit is Hangar 2, or H2. To reach Hangar 2 the route takes visitors outside, passing between three magnificent aircraft, each with information boards, before passing a fourth, the innovative, versatile and very successful PBY Catalina flying boat and amphibious aircraft, at the entrance into Hangar 2.


On the other side of the door is a gallery dedicated to stories about RAF experiences between 1918 and 2018, before you pass into the hangar itself.

1940 wooden emergency exit hatch from the cockpit of Hawker Hurricane P2798 showing the cartoon cat Figaro, the personal marking of Wing Commander Ian Gleed, pilot and Second World War fighter ace
The function of the RAF, the world’s first independent air farce, remains unchanged across a hundred years: its mission is to defend the UK, to attack if required, to support in times of humanitarian crisis and to move people and equipment quickly across the world.
Like the other small galleries in the four hangars, this displays information about the immense variety of men and women who have served and continue to serve, with the vast range of skills that are required to make this military machine function. They also display the objects that related to those people, both formal and very personal. This is an excellent way of using objects to connect people to their personal biographies and their official careers and the honours they were awarded. Be sure to enter H3 from one door and return to H2 via the other so that you visit both galleries.

Page from the Souvenir Guide (Royal Air Force Museum 2024, p.32) talking about some of the highly personal measures that RAF personnel took to help them face the tasks before them. Objects like these are just as much a part of RAF history as the aircraft in the museum
The main hangars in H2 and H3 focus on War in the Air and Test Flight, a mix of wartime and post-war aircraft. Some of those on display are such icons that it is almost impossible not to reach out and touch. In the First and Second World Wars, many planes were employed before it was possible to put them through their paces before they were needed in combat, and they were essentially put to the test in active service.


==

The iconic Spitfire MK1, the oldest surviving example

The Boulton Paul Defiant was vulnerable to Luftwaffe fighters. Instead of being withdrawn from service, these were painted black and moved to night operations, although they were eventually withdrawn altogether.
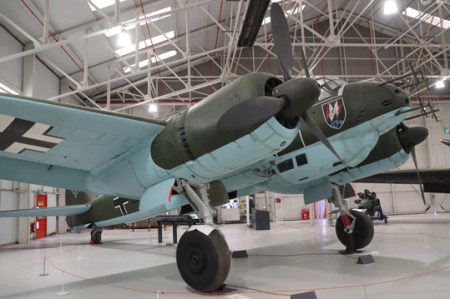
TheGerman Junkers JU-88R-I

Although it is not possible to convey the sheer immensity of the Avro Lincoln, it is an absolute giant of a thing. Its design was based on the Lancaster, but although it was too late for a combat role in the Second World War, it served the RAF until 1963, long after the first jet engines had come into use. Cosford doesn’t have a Lancaster, but this is an imposing creation in its own right.
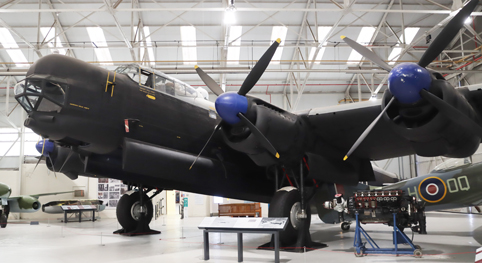
An Avro Lincoln, giving no impression in this photograph of how massive it truly is
After the Second World War significant investment was made in developing technologies to provide specialized requirements, and testing became increasingly important. Whilst some aircraft took on important roles in the RAF, others either failed to make it into production or were significantly modified before they were adopted. The history of aircraft is as much about those that failed, or were not entirely successful, as it is about those that became either fundamental icons or invaluable workhorses of aviation history. It is this mixture of aircraft biographies and narratives that define Hangars 2 and 3.

British Aircraft Corporation TSR2, Combat Prototype

Details of the British Aircraft Corporation TSR2, Combat Prototype

BAe Experimental Aircraft Project
Hangar 4
 H4 is next, a soaring modern building themed around The Cold War. It is a truly spectacular building in its own right, both outside and in, a functional and striking space for displaying a huge number of aircraft to best advantage. This is all about a new generation of fighter and surveillance aircraft, missiles and drones, as well as support vehicles. Entered from H2 at ground level, you find yourself confronting aircraft overhead, on the same level and below, with lifts as well as stairs to get down to the the lower level. One of the novelties, apart from the aircraft overhead, is being able to walk along the gallery and view some of the vast machines that are sitting on the lower level face to face.
It is a magnificent visual display but as in the other hangars also has plenty of information about why each type of aircraft was built, and what makes them unique, plus information about the men and women who worked in these different contexts. At the same time, it addresses the important and often vexed subject of conflicting ideologies and why such ideologies erupt into military action, making military assets a necessary aspect of modern life. The focus is, as the name of the hangar indicates, the Cold War, and the opposing ideologies that resulted not merely in defensive strategies but also in both armed conflict and, in an attempt to reduce the likelihood of war, such initiatives as the North Atlantic Treaty Organization (NATO).
===
===

The Vickers Valiant of 1955, designed for nuclear strikes, and withdrawn form service in 1965. Group Captain Ken Hubbard, caption if Vickers Valiant XD818 remembers its first drop of a British thermonuclear bomb with the resulting mushroom cloud “a sight of such majesty and grotesque beauty that it defies description.”


==

Douglas Dakota

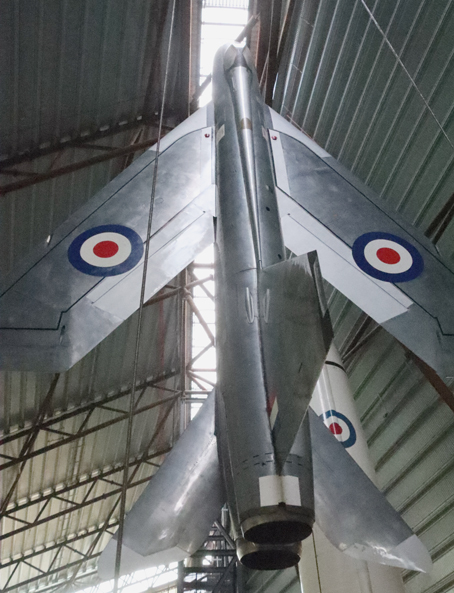
The Lightning, the first RAF fighter capable of flying at twice the speed of sound, but with short operational range

Details of a personalized Handley Page Victor, which entered service in 1958

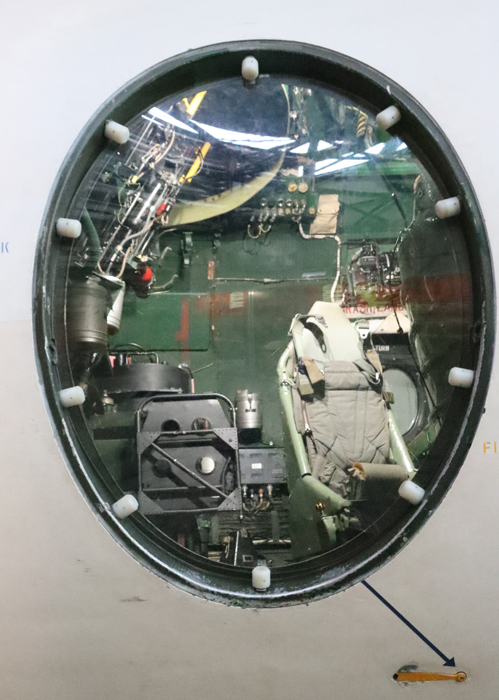
Sikorsky MH53 Pave Low long range combat, search and rescue helicopter

Sikorsky MH53 Pave Low interior
==

Scottish Aviation Twin Pioneer light transport

Hangar 1
The last of the hangars, H1, is themed along the lines of Transport and Training. Transport of equipment, personnel and supplies is a major element of airforce logistics, and aircraft designed specifically for these tasks may be either passenger carriers or sometimes gigantic warehouses on wings designed to carry whole platoons or heavy armoured vehicles and armaments. Training aircraft may be tiny by comparison with some of the vast aircraft in tis hangar, used for acclimatizing trainee pilots and building up the skills of both trainee pilots and other air and ground crew, including engineers. This hangar also has an excellent display of engines, which also required the training of aircraft engineers, giving insights into the anatomy of these power houses propel aircraft off the ground and keep them in the air.

Fairchild Argus II light transport, which entered service in 1932


Hawker Siddeley Andover E.3A. Originally designed as a transport aircraft, it was converted to carry out calibration duties on radar and radio navigation aids

Percival Pembroke, which entered service in 1953 for light transport and communications and was withdrawn only in 1988

Hawker Siddeley Harrier GR.3
If the size of the Lincoln was the first of the aircraft to blow my mind, the Armstrong Whitworth Argosy is seriously humongous. It is impossible to convey its scale, with its twin tails and its enormous wing span. It entered service in 1962 and could carry up to 69 troops or 13,000kg of equipment including armoured vehicles. It is two storeys tall from ground level to the cockpit. The lens on my camera couldn’t fit anything like the whole thing in, and gives no sense of what this aircraft actually looks like, so see the image below the one in the museum of one of these crazy-looking things in flight.

Armstrong Whitworth Argosy
===

Rolls Royce RB211 22C engine used in the Lockheed Tristar, and the Boeing 747 and 767. Compare with the size of the edge of the doorway immediately to its right. Huge!


Vickers VC10 C1K long range transport
Final Comments

My father in typically mellow mode after he chose the RAF for his National Service, looking awfully youthful.
Anyone who visits will take something different away from Cosford, depending on their interests and their personal connections with aircraft. We left the UK when I was a child, returning in late 1979, and part of my experience of living overseas was flying to and from Britain to visit family, first as an “unaccompanied minor” and then on my own, making it a routine form of travel. Once, flying from Heathrow to Liverpool with my father in a propeller plane, he warned me about coming in to land and the noise and vibration that I, having only flown in jets, would probably find startling. I did, but what fun! Years later, in a passenger plane taxiing down a Heathrow runway, the captain told those of us on the right side of the plane to look out of the window to see a Harrier jump-jet do a vertical take-off. Fantastic. Twenty or so years ago I saw a Vulcan flying at the Farnborough Air Show and have never forgotten it, and at the same show saw a vast commercial passenger plane being put through extraordinarily acrobatic paces, and that too remains in my mind as a very different but remarkable sight. Two years ago I was at RAF Duxford with my father, and was lucky enough to be there just as a whole series of vintage biplanes were taxiing down the field and taking to the sky. Magical. Aircraft do have their own special sorts of aura, some darker and some brighter than others.
The aircraft at Cosford are beautifully displayed, and while you can just stand and admire the sheer magnificence of these astonishing beasts, the signage is all thoroughly educational without in any way talking down to the visitor. The sheer amount of information delivered in a digestible way is genuinely impressive.

Visiting
 The museum is free of charge, but parking is charged (at the time of writing) at £7.50. You can check for updates on charges and opening times on the museum’s website here. The museum hosts a number of events throughout the year, including an air show and corporate events, so do make sure that the entire museum is open on the day you want to go, and that none of the hangars are closed for any reason.
The car park is huge, and payment of the set fee is via machines that are dotted around. There is a really nice cafe in the reception area, which offers drinks, snacks and lunches, and everything is bright, clean and modern. You will need to stop at what looks like a ticket stand to confirm that you have paid for parking, and so that you can be counted, because the museum’s funding depends on the volume of footfall.
 The museum’s shop is in the third hangar, with some fun stuff for sale, but you can buy a souvenir guide in the reception area. I did buy this, with some considerable doubt in my mind because anything that refers to itself as a souvenir doesn’t inspire confidence, but this 73-page booklet, full of great photos and information, was really enjoyable and when I arrived home I read it cover to cover. Just like the museum itself, this mixes stories of planes and people, and the result is admirable.
The museum recommends that you allow four hours to get around all four hangars, including walking around the outside aeroplanes. Not being an expert, and not stopping to listen to the many audio recordings or watch the video displays, I did it in a leisurely two and a half hours, stopping to read a lot of the excellent signage and to take photographs. I took an additional half hour afterwards to consume a heavenly coffee and a bite to eat. So for me, including my snack break, it was a three hour visit, which I enjoyed phenomenally.

Lockheed Hurcules C Mk 3P medium-range tactical transport aircraft that could operate from short runways.
If it looks like rain take a brolly or a raincoat with a hood, because you will have to walk from the reception area outside to the first hangar, and there are aeroplanes to see in the grounds as well. The first two hangars, 2 and 3, are physically linked, but it is easy to miss that there are doors letting you through. From there, it is a matter of going outside again, into Hangar 4, and again across a small access road into Hangar 1. If you want a coffee or something to eat afterwards, it’s few minutes to walk back to the reception area via another two outdoor planes.
There is disabled access throughout, including H3’s viewing gallery, lower level and shop. Signage is all at a level that can be read by wheelchair users.
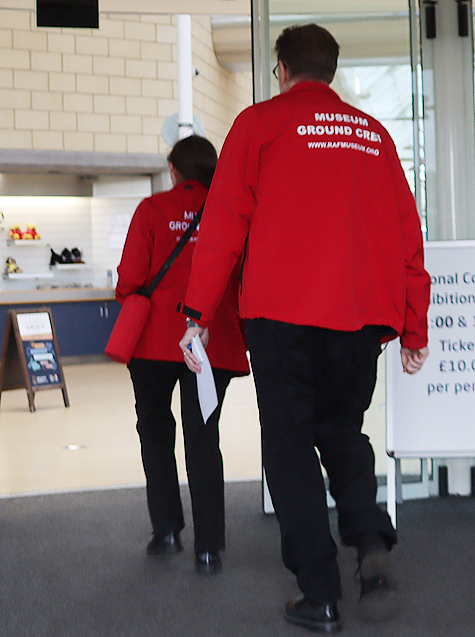
Museum Ground Crew
Only one of the aircraft, at least on my three visits, allows visitor access, and this was a guided tour for a fee at restricted times, so experiencing the planes is a matter of viewing either from the floor or, in the third hangar, from both floor level and via a viewing gallery.
If you don’t want to be inundated with children, avoid weekends and school holidays. School trips mean that they are not completely avoidable, but you stand half a chance.
Every time I have been there, especially last month (October) when I turned up at opening time, there were volunteers everywhere who are there to offer knowledge and help you with any visiting information. They are a hugely knowledgeable and friendly bunch.
If you have even a marginal interest in aircraft or the history of technology, this makes for a very rewarding day out.

Hawker Cygnet, 1924-29


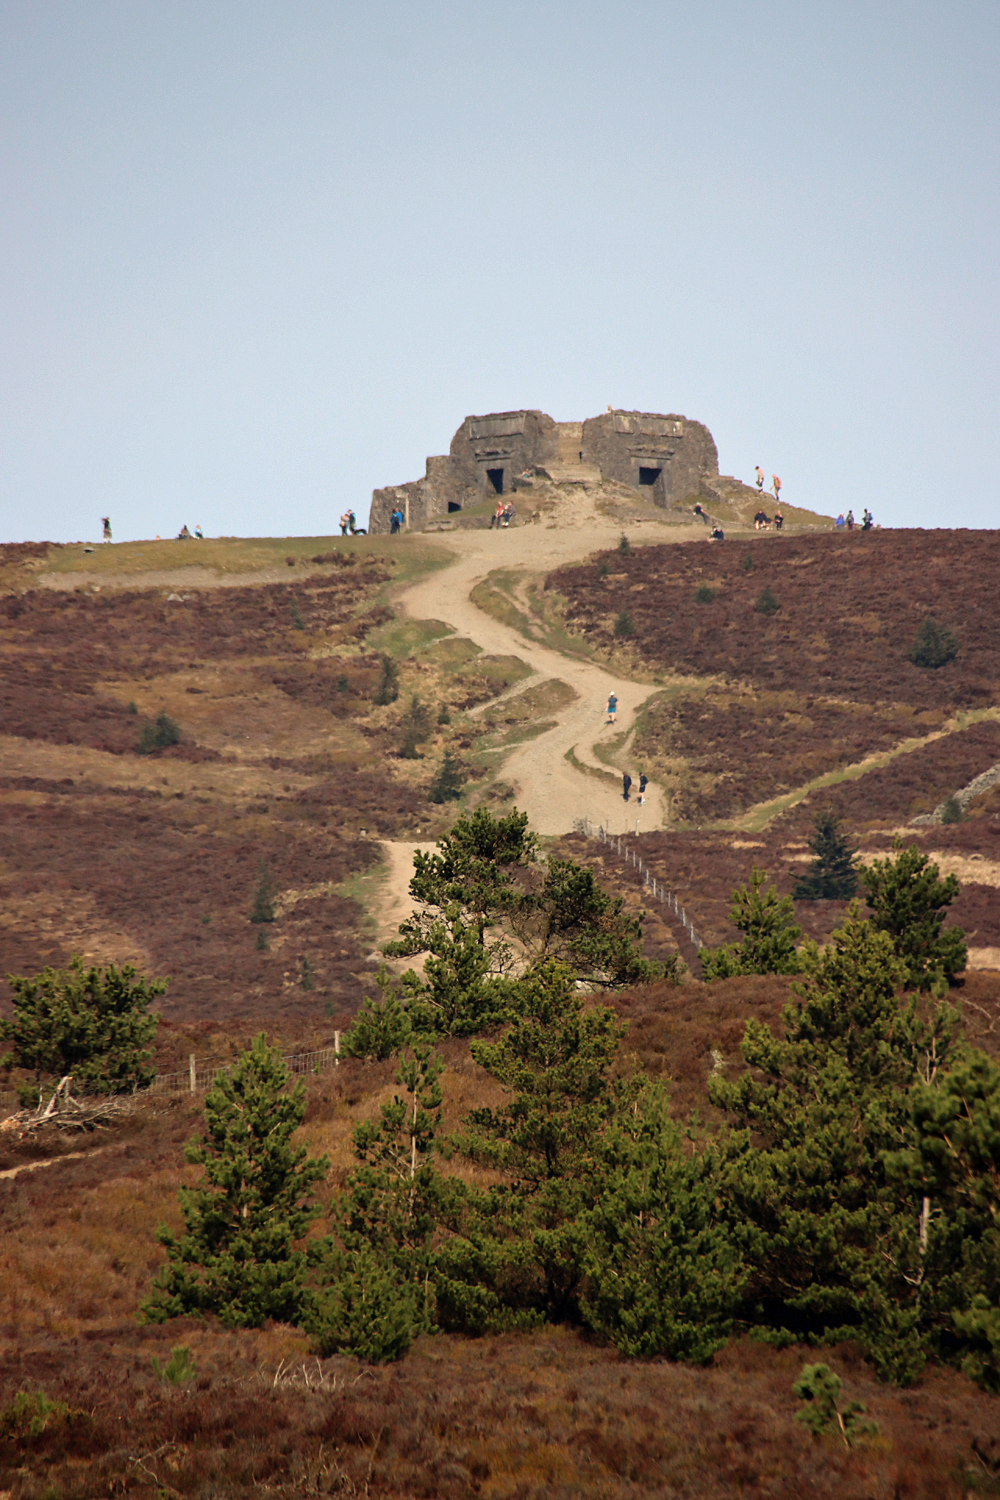
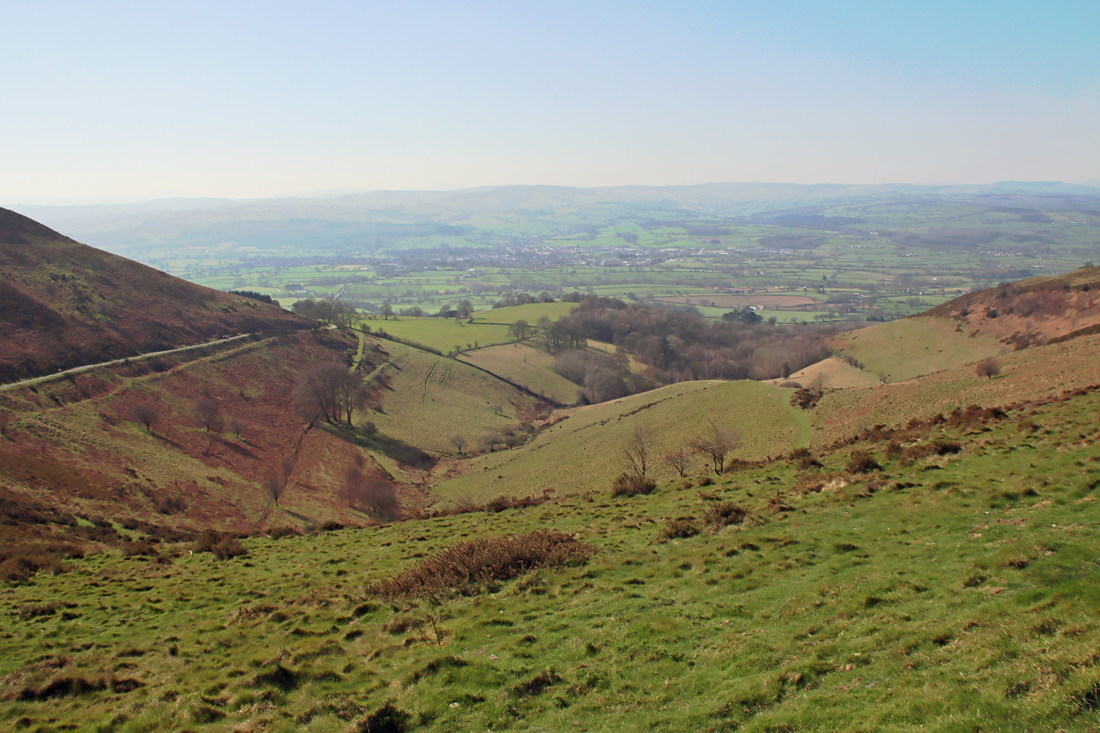
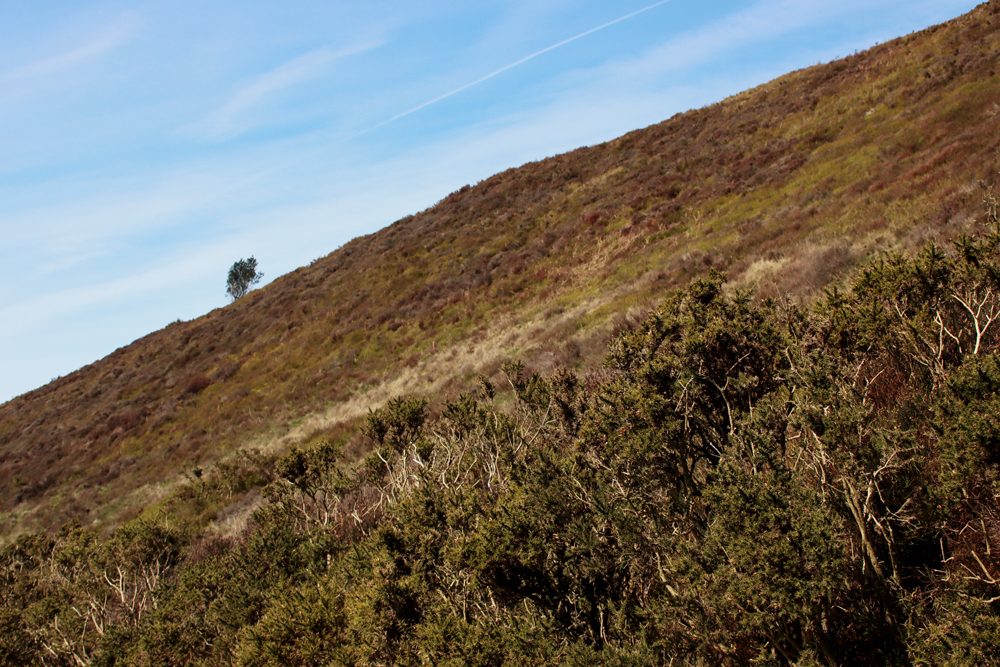
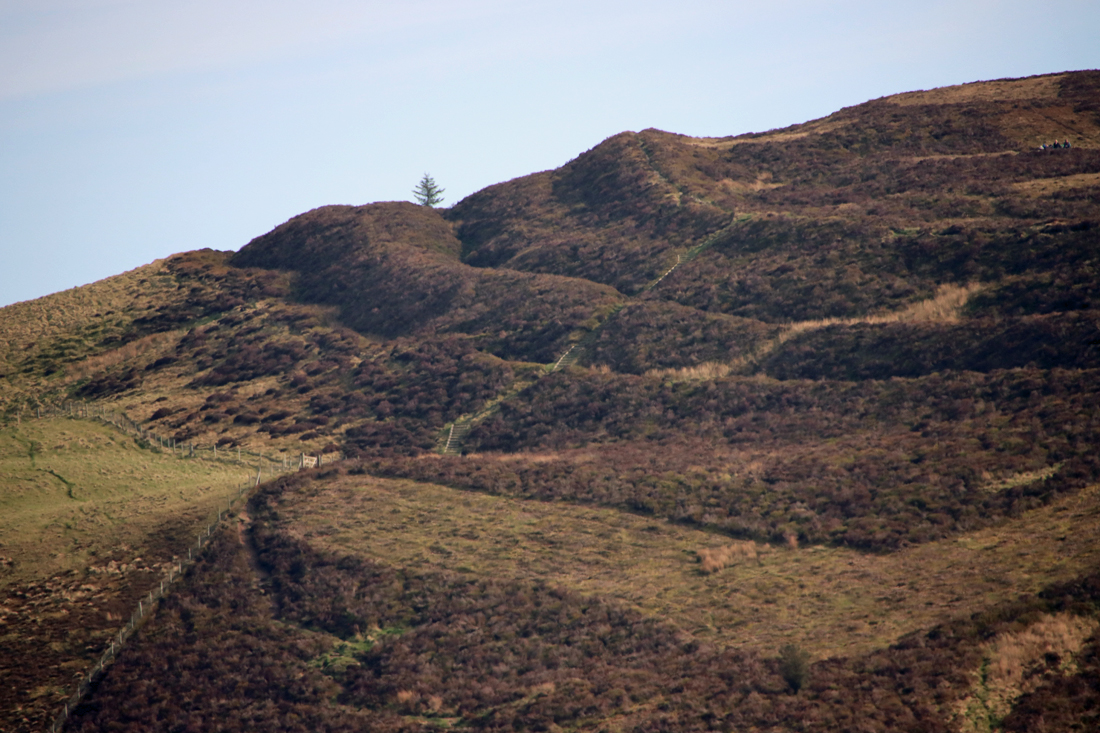
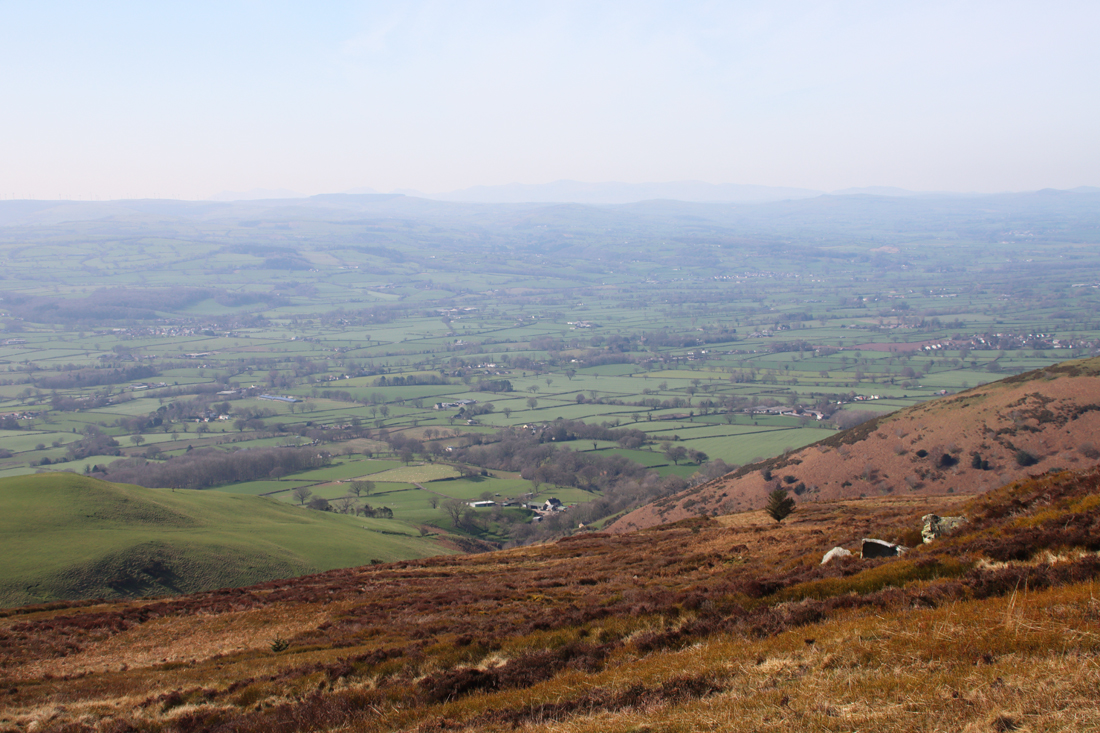
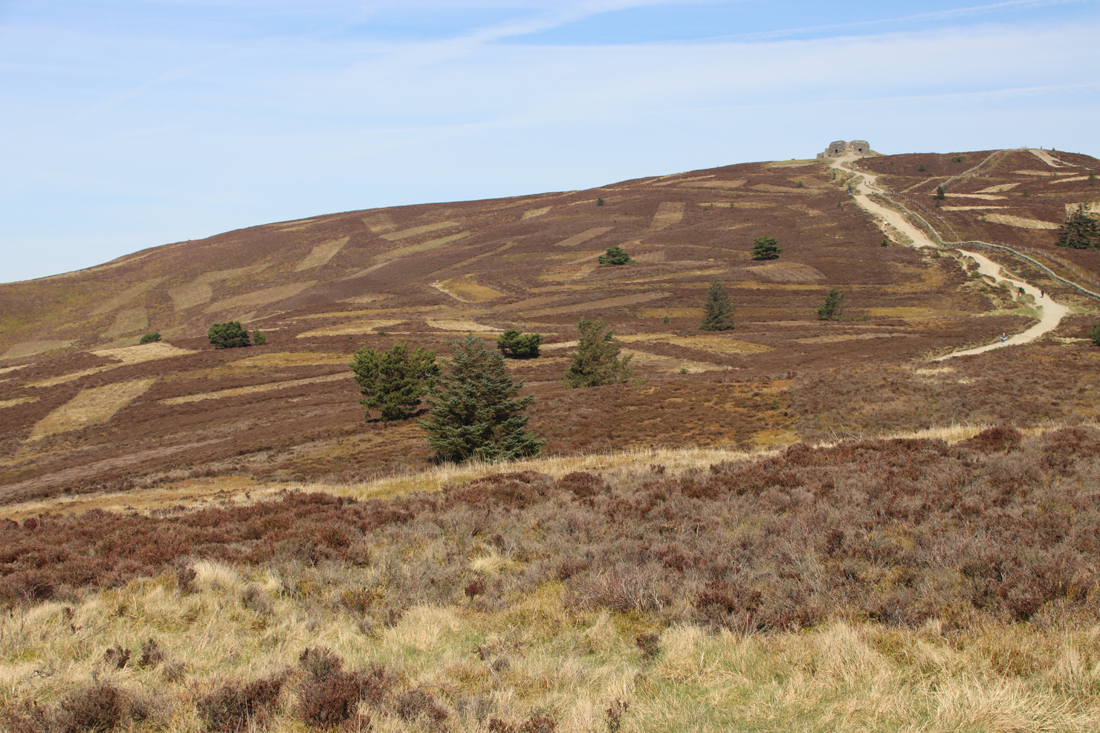
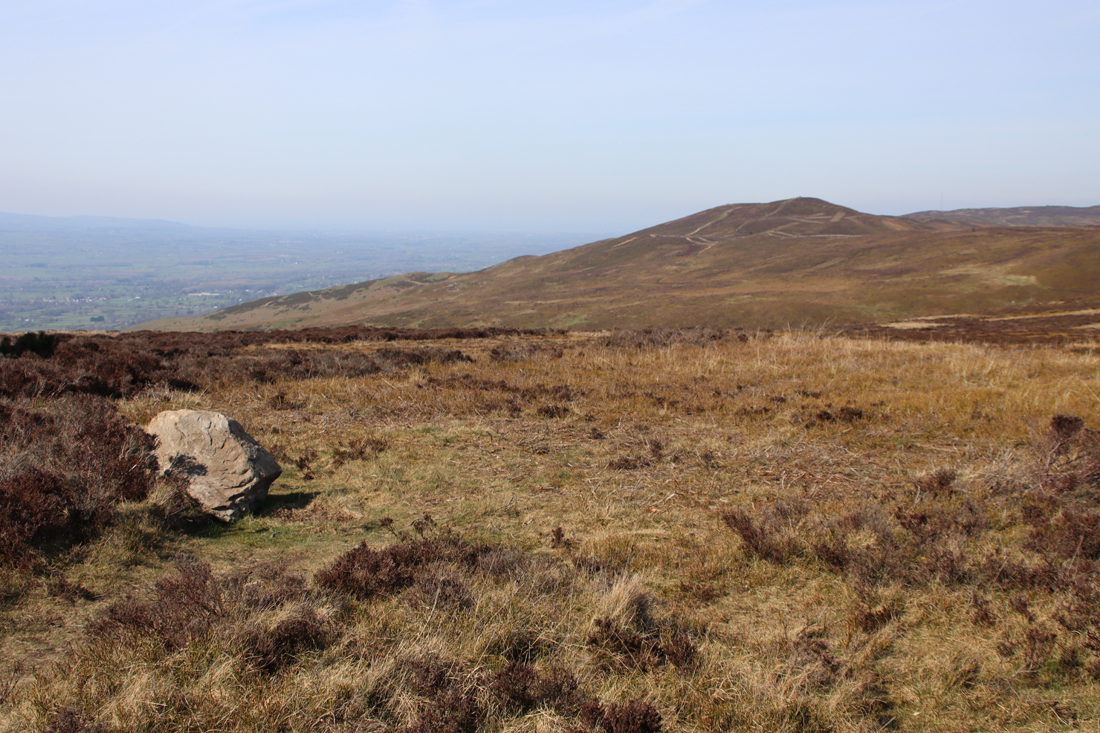
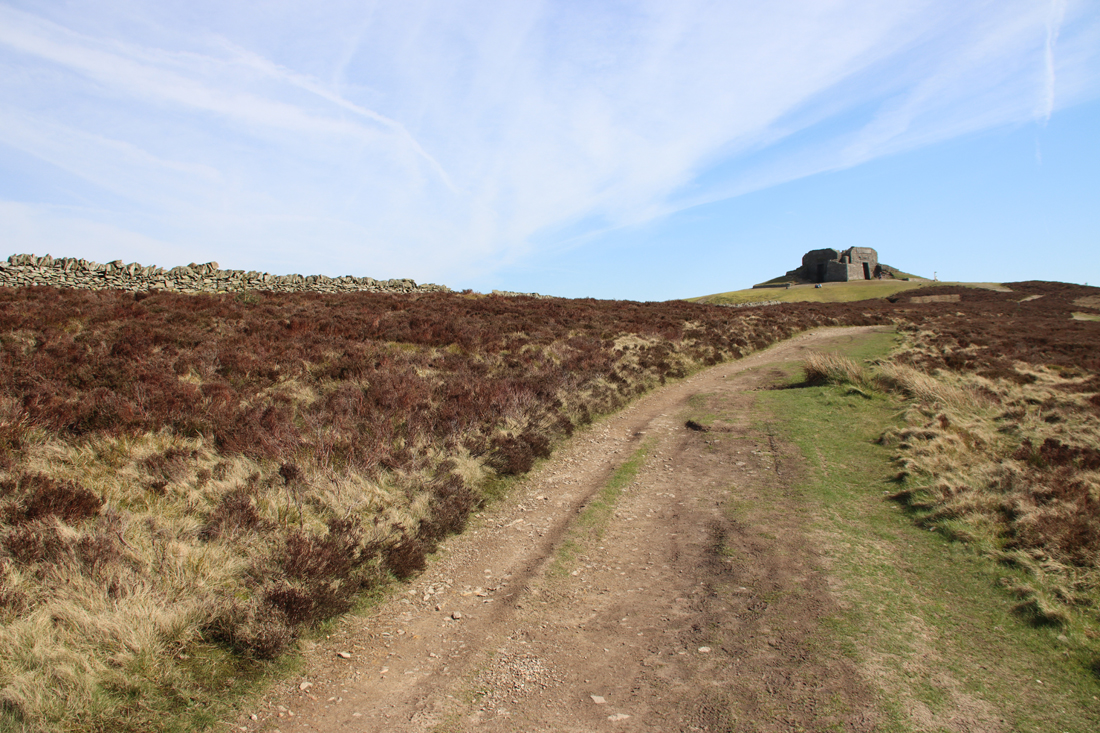
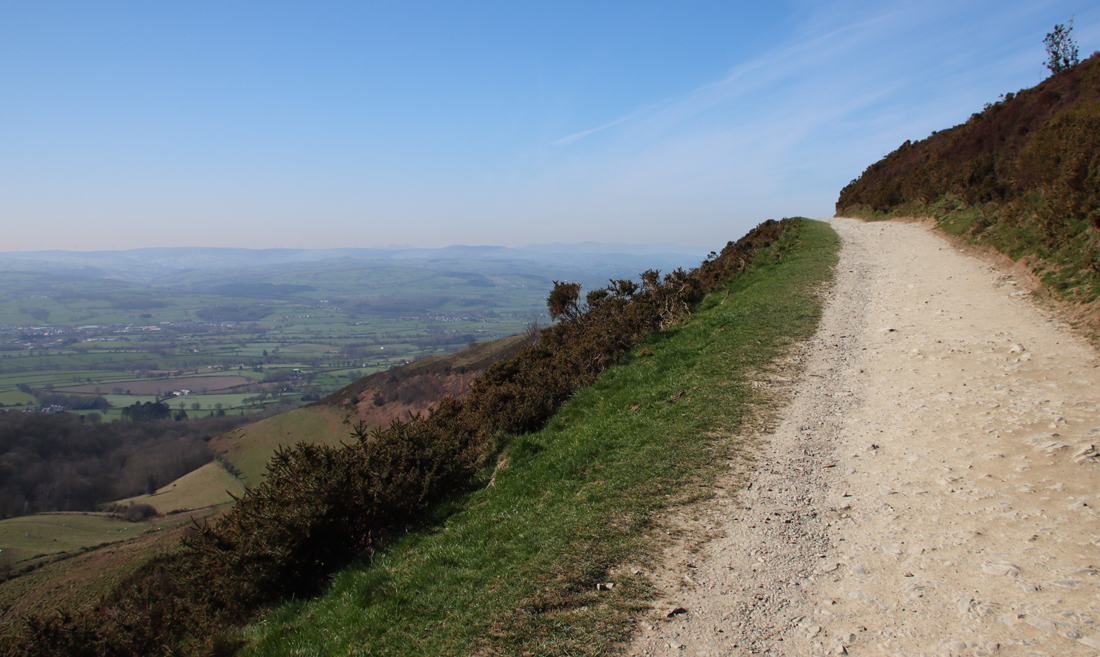 The walk, along a wide, well maintained path, starts very gently and for the first 20 minutes or so is very easy. It becomes much steeper for a fairly short section leading up to the peak, but people of all levels of fitness seemed to be tackling it, some stopping frequently for a breather. It’s worth that last push because the 360º views are breathtaking.
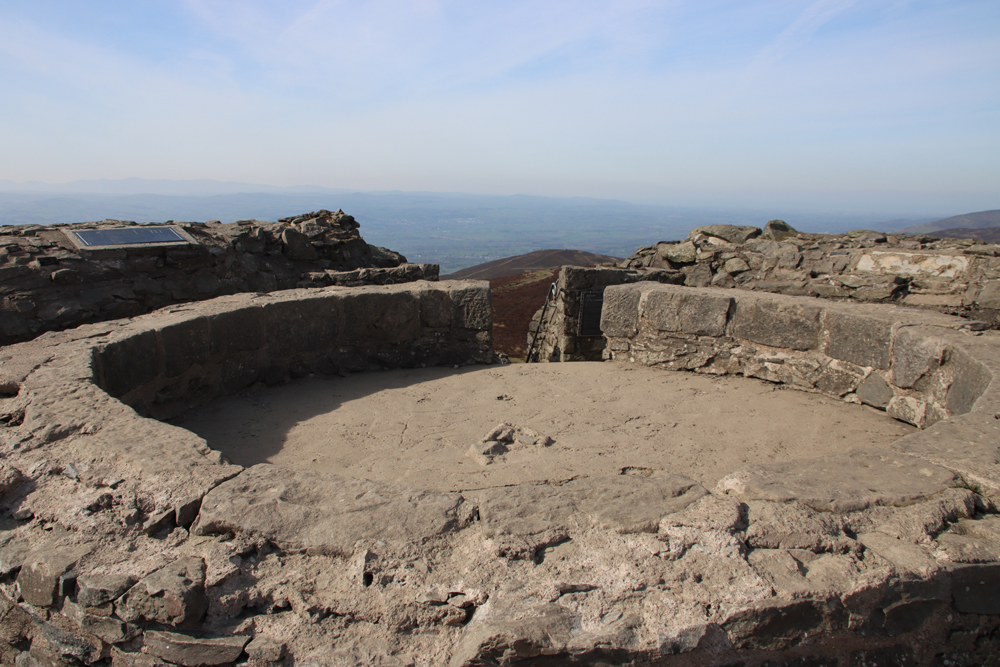
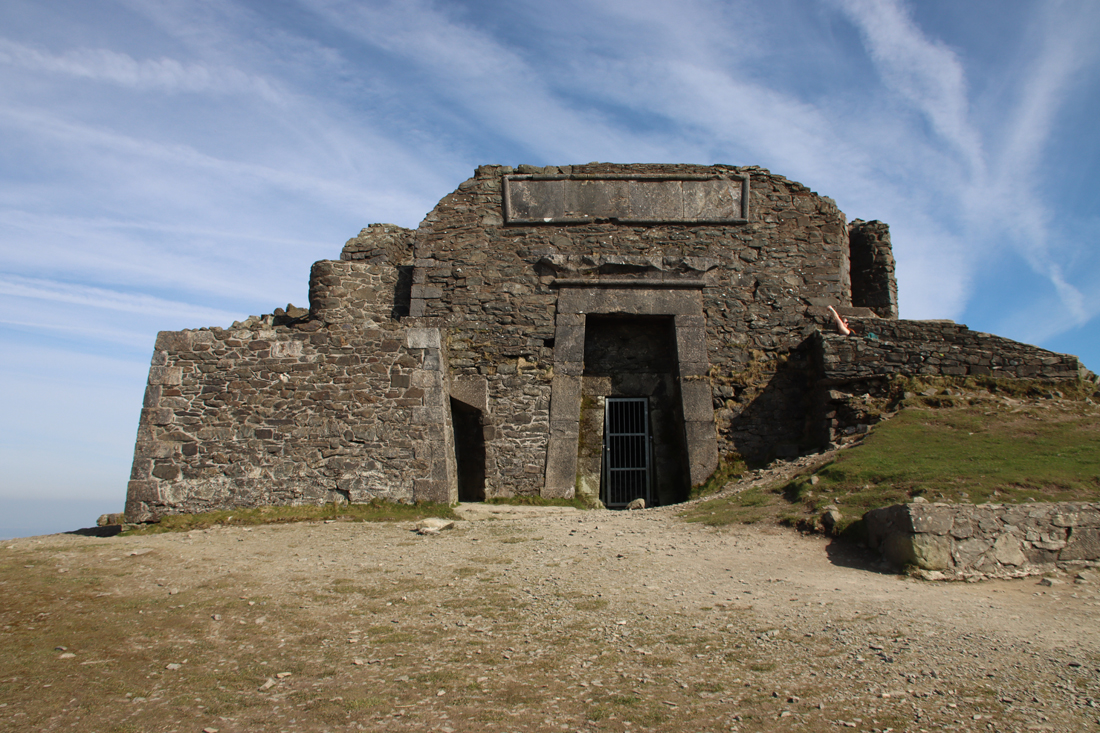 If you climb up the steps to the top of the Egyptian Revival “temple” there are metal plaques explaining the building. It turns out that what we see today is just the stump of a much more ambitious project, the Jubilee Tower, which included an obelisk. It was designed by architect Thomas Harrison, and was built to celebrate the Golden Jubilee of George III in 1810, paid for by public subscription, with Flintshire magistrate Lord Kenyon laying the foundation stone in October of that year. Harrison’s buildings in Chester are far less frivolous, with most of his work in the Neoclassical style, including the Grosvenor Bridge and the Propylaeum (monumental gateway) into Chester Castle and the Neoclassical building that is now owned by the university but was previously occupied by the council as its Shire Hall. The building materials were taken up by horse and cart. The design of the obelisk was modified during construction, with a shorter and stumpier version being completed in about 1817 after a break in work due to financial difficulties and a dispute between Harrison and the builder. Unfortunately the obelisk soon started to deteriorate, and eventually collapsed in a storm in 1862. The rest of the structure continued to decay until 1970 when it underwent restoration, and in 2013 it again required significant restoration work. Here’s the Coflein description of the Jubilee Tower:
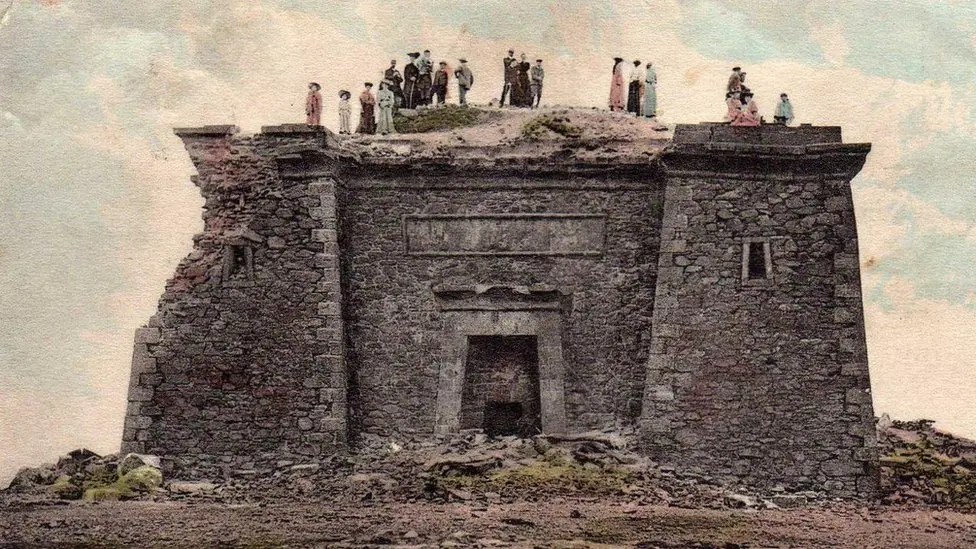
 One of the first and very popular books to publish these images was Dominique Vivant-Denon’s “Journeys in Upper and Lower Egypt” published in 1802. Even before Jean-François Champollion’s translation of hieroglyphs in 1822, and over a century before Howard Carter’s discovery of the tomb of Tutankhamen in 1922, Egypt had wriggled its way firmly into the British imagination. Even so, I would love to have been at the meeting where plonking a pseudo-Egyptian monument on the top of a remote beauty spot in honour of the king’s jubilee was presented as a such a good idea that people invested in it.
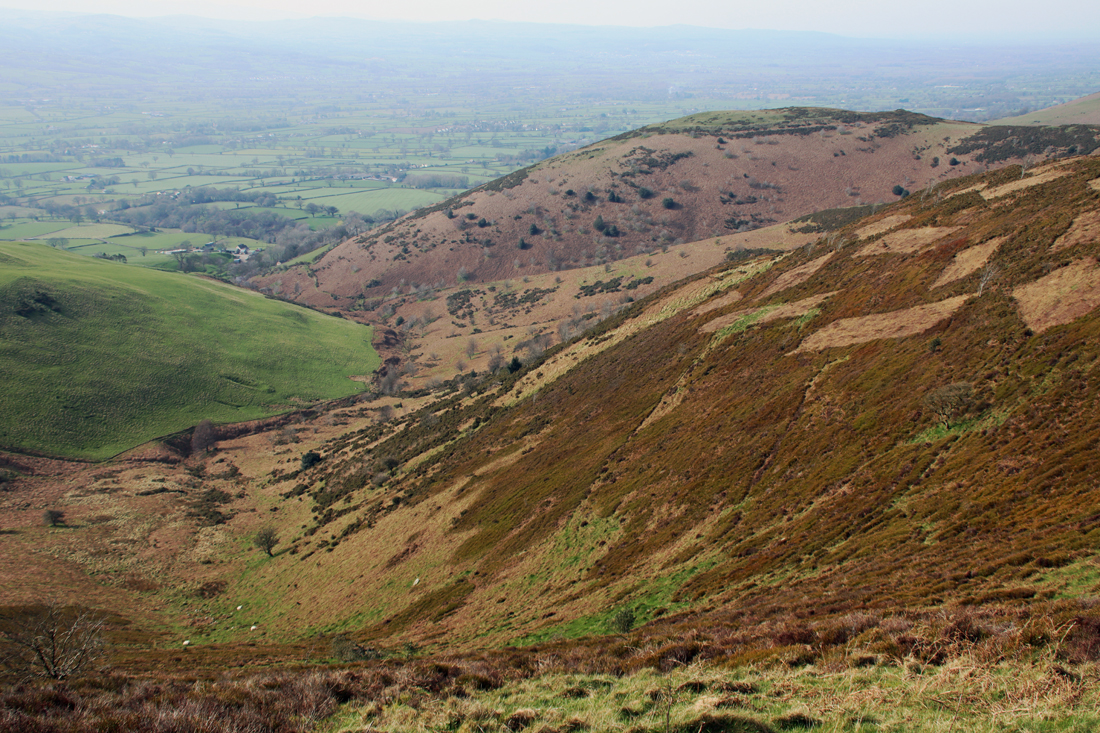
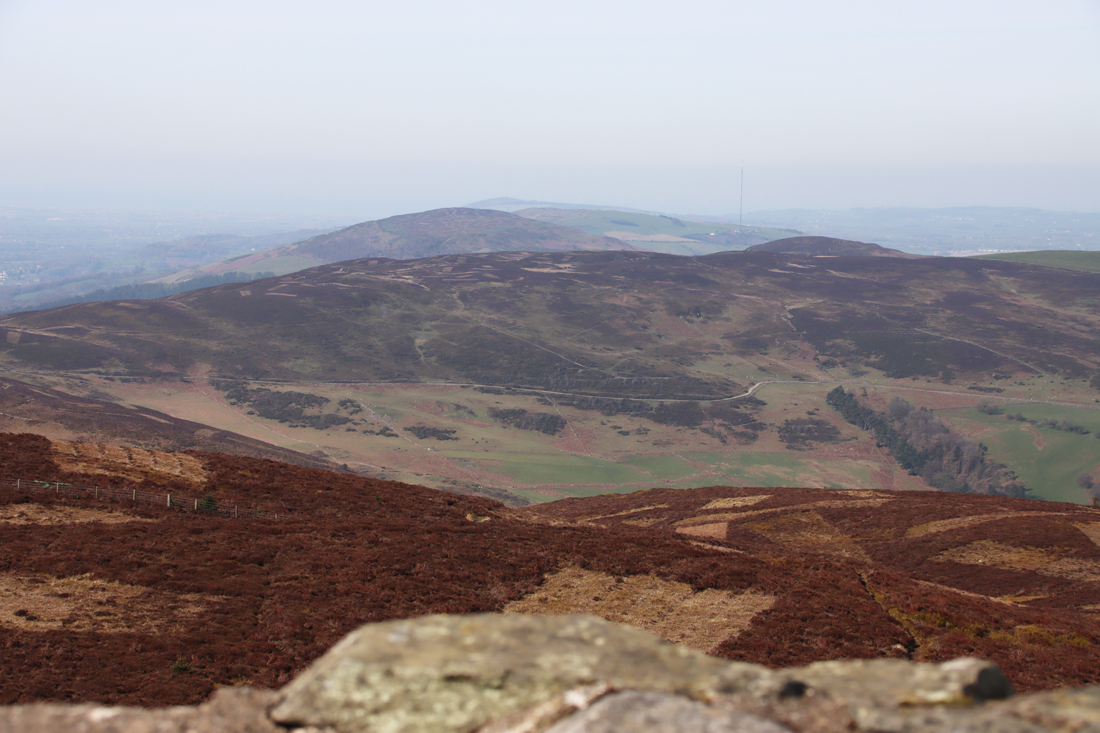
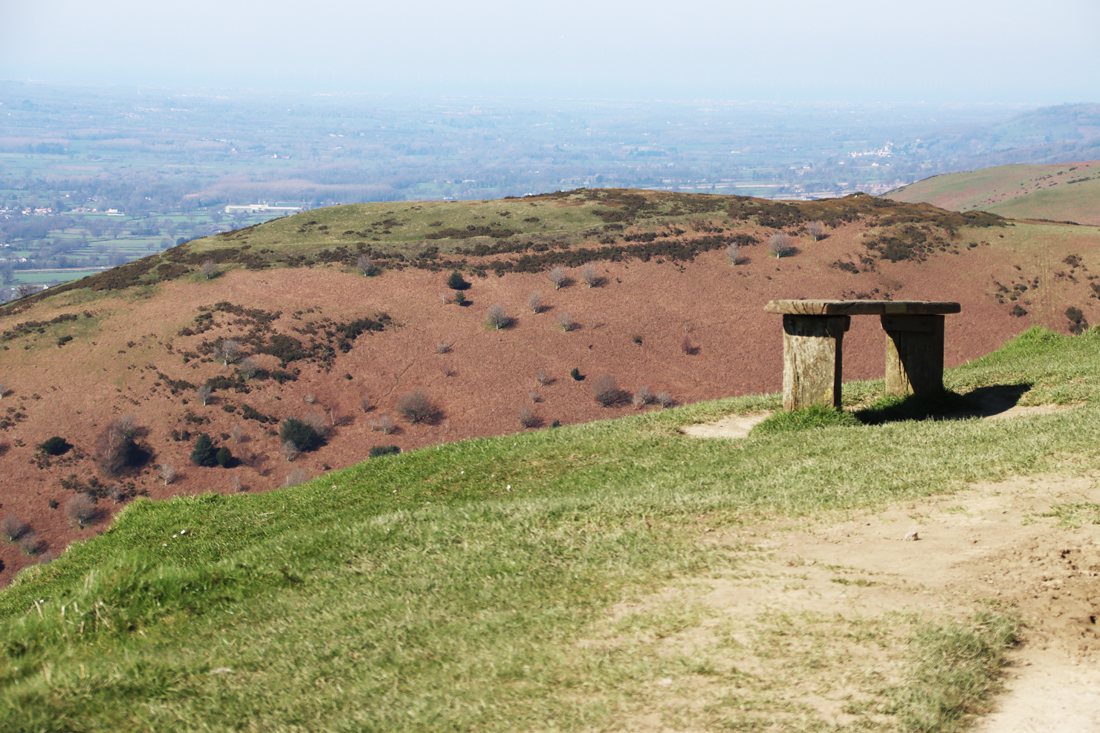
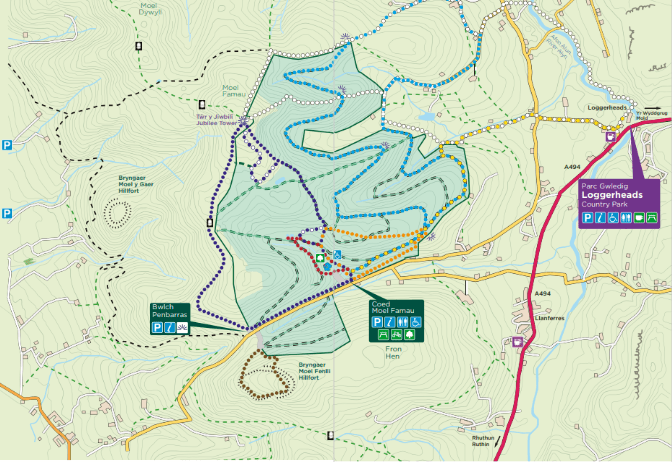
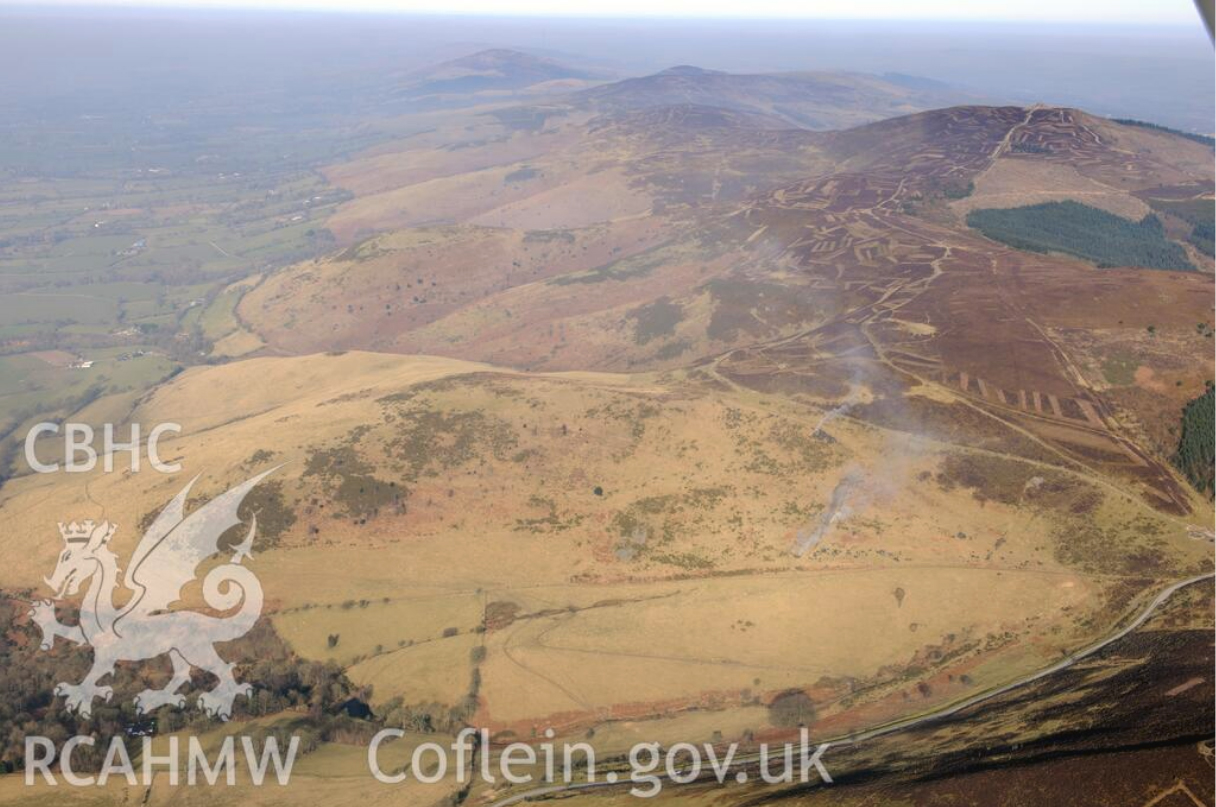
 It is about a 40 minute walk up, although I forgot to take a note of the times in either direction and have the impression that it took me only about half an hour back down, with extra time added for pausing to enjoy the views and for lazy mellowing and exploring the monument at the top. I am something of a route-marcher, so that needs to be taken into account. You can walk on beyond Moel Famau in various directions on public footpaths. Most obviously the path continues, in a much narrower form, across the Clwydian Range, which looks like an absolutely splendid option. If you have the energy, you can walk to the village of Bodfari, in another pass through the Clwydian Range, whilst the Offa’s Dyke Trail goes all the way to Prestatyn. In the opposite direction, you can follow the route over Foel Fenlli all the way to Chirk, skirting the dramatic Eglyseg Mountain and passing Castell Dinas Bran and the Pontcysyllte aqueduct.
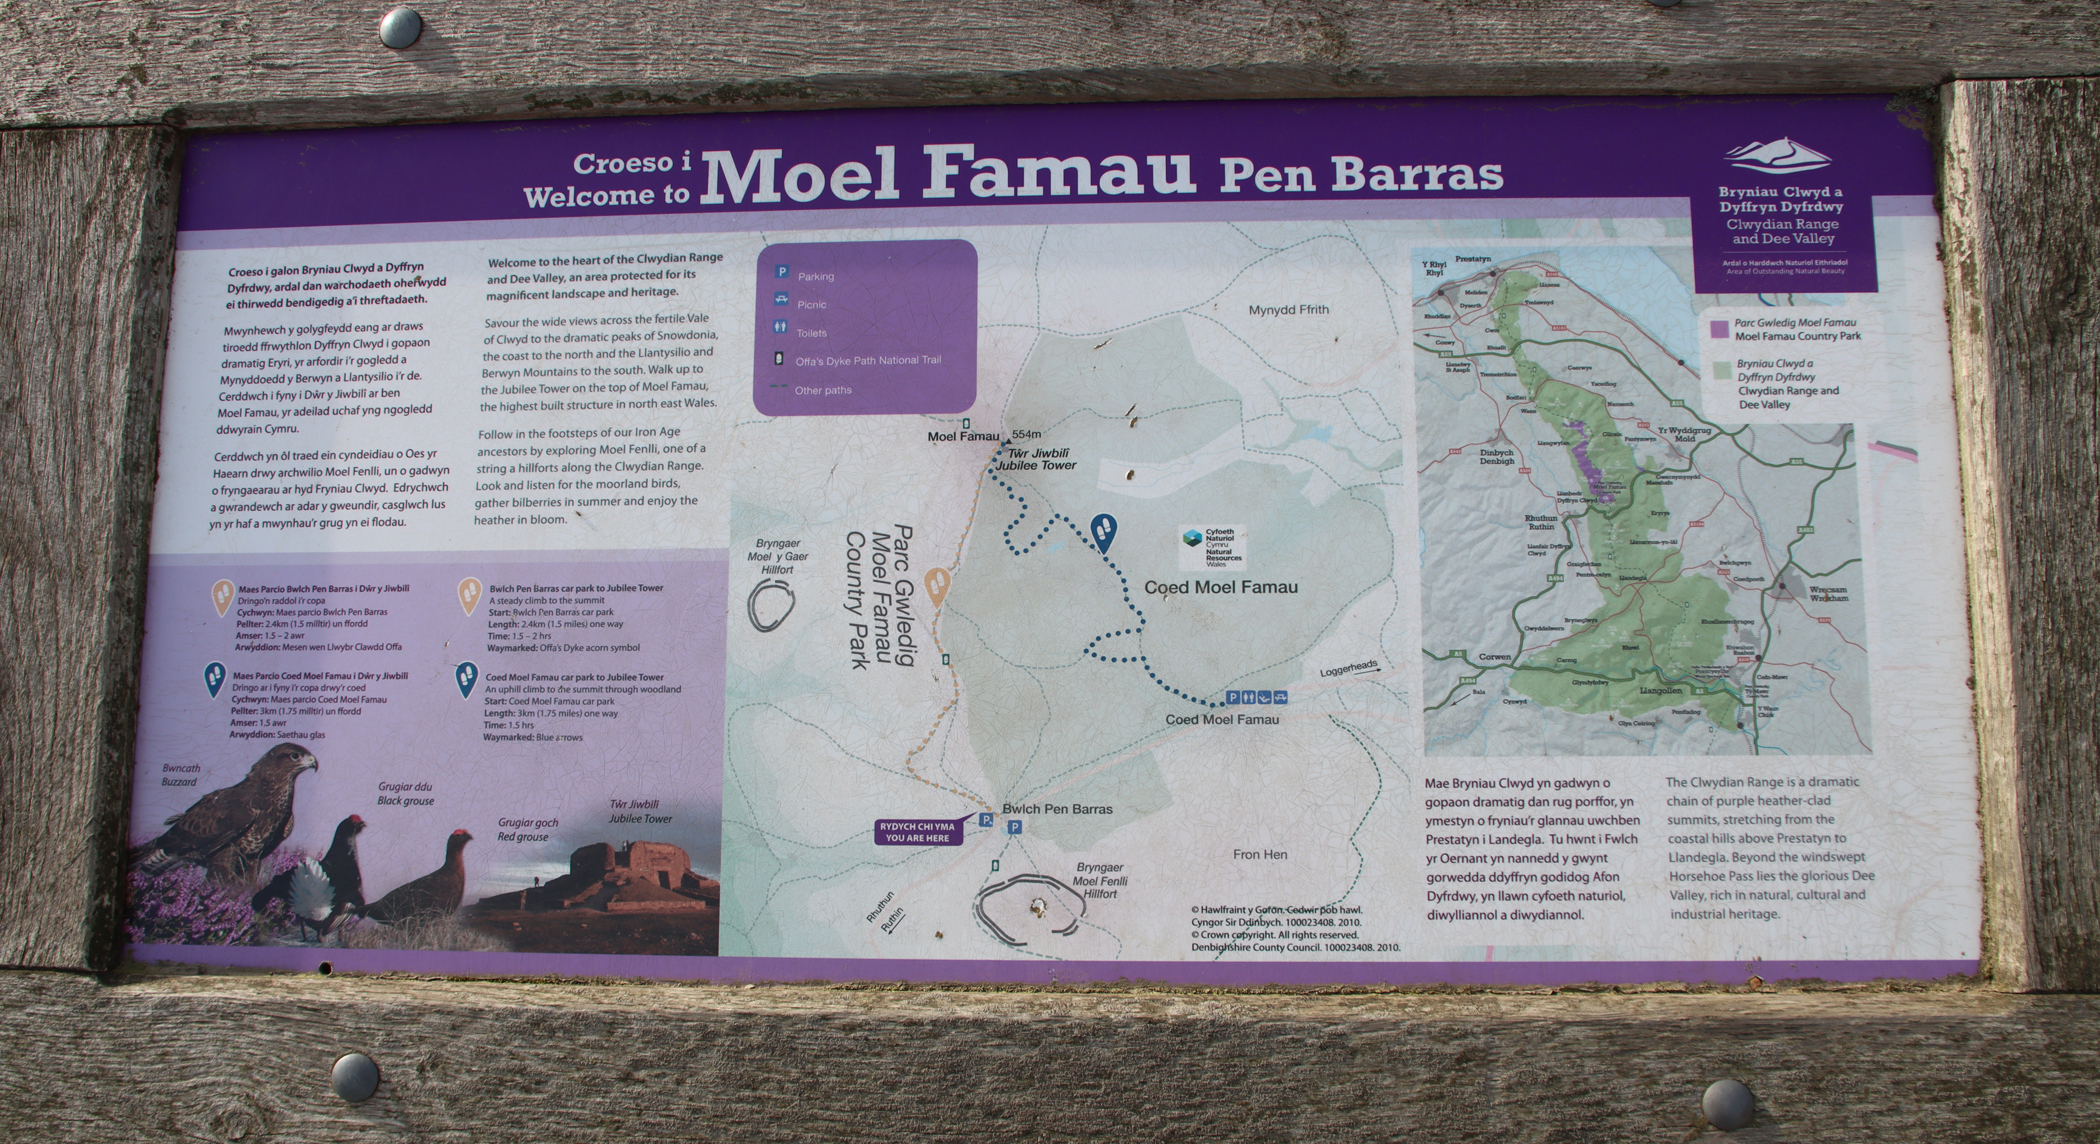


