
This post has been divided into two. Part 1, already posted here, looks at some of the history of the Chester city canals, in brief. Part 2 is a mainly photographic account following a walk along the canals from the point where the river Dee connects to the canal network to just beyond Tarvin Bridge. Part of this was once the Chester Canal, which then became the Ellesmere and Chester Canal, as two different systems joined up with the rest of the canal network, and finally became the Shropshire Union Canal, the name by which it is known today.
Map of the first part of the canal route. The start point is marked by the red dot. The rest of the route follows the canal as far as the Chester Boughton Hall Cricket Club

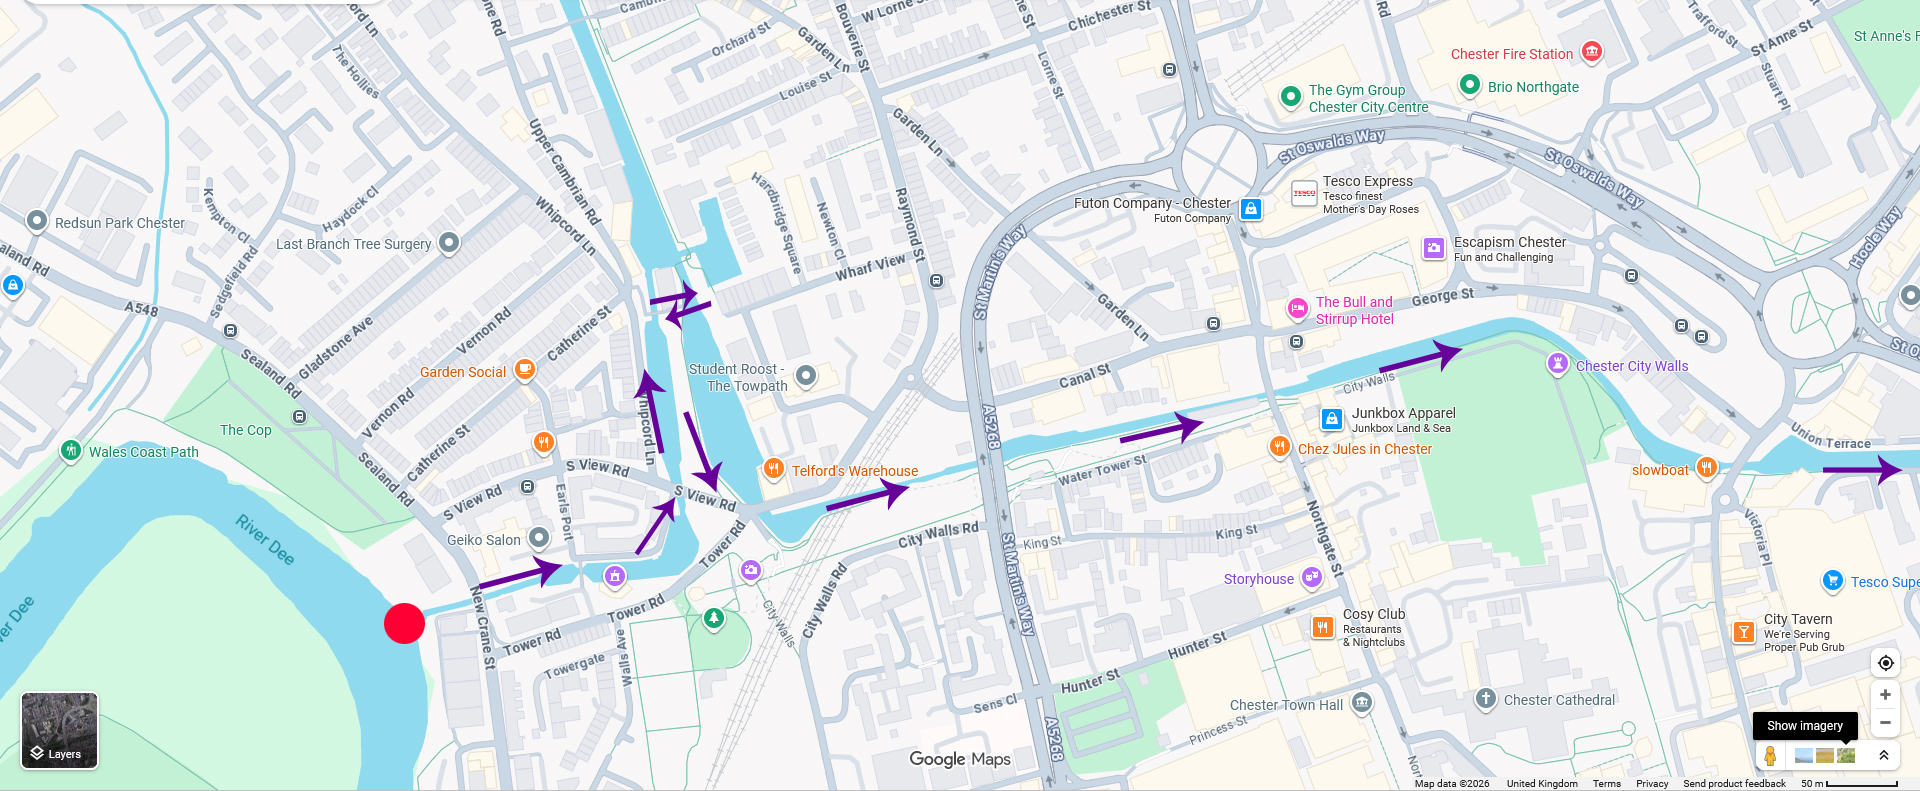
Map of the entire route, with the orange arrows showing the route from the Dee to Chester Boughton Hall Cricket Club. The pink arrows are the route I took from the Little Roodee car park to the start of the canal. The darker purple arrow marks the arch beneath the railway viaduct that continues the river walk.
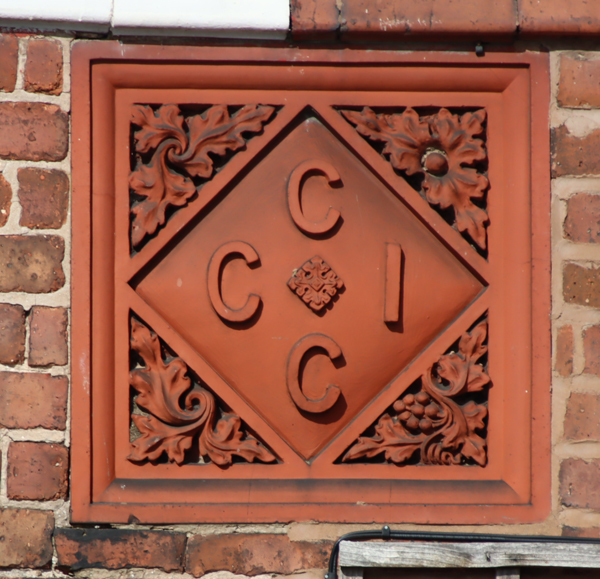
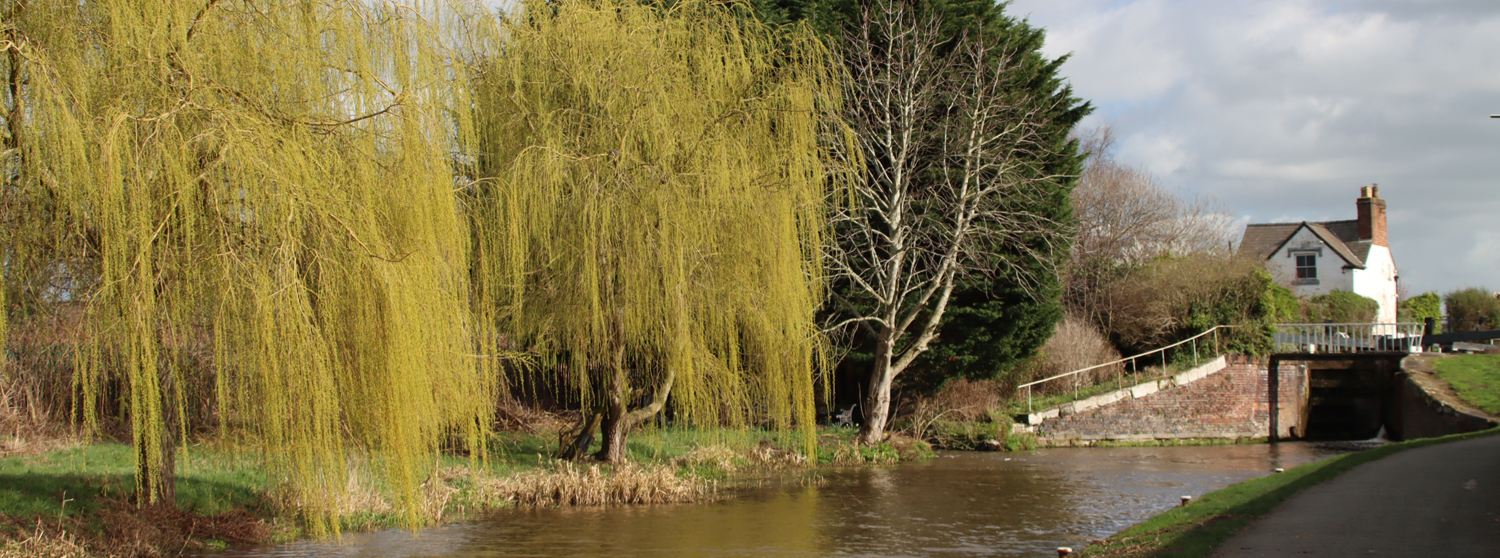
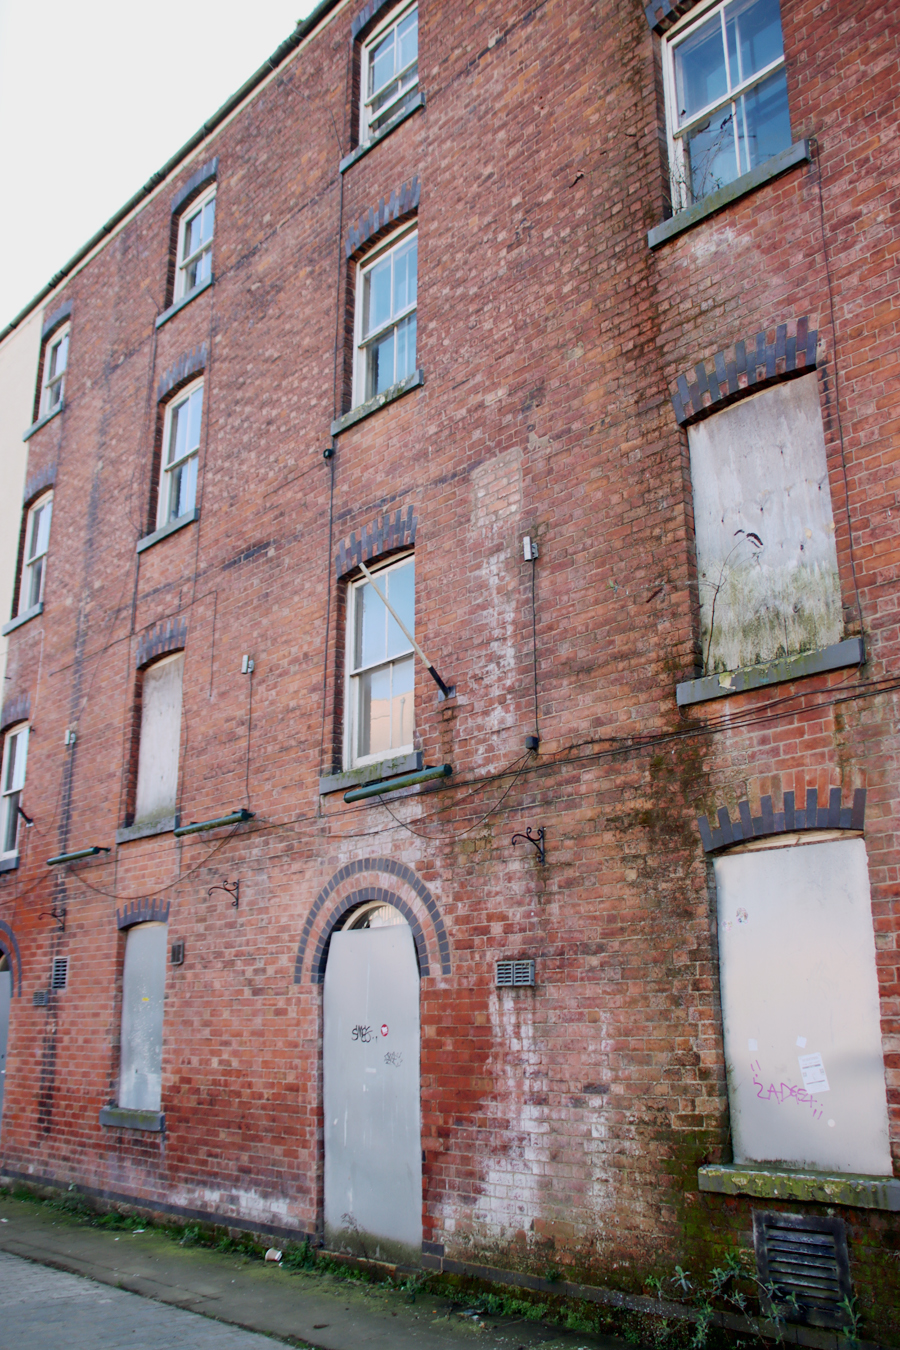
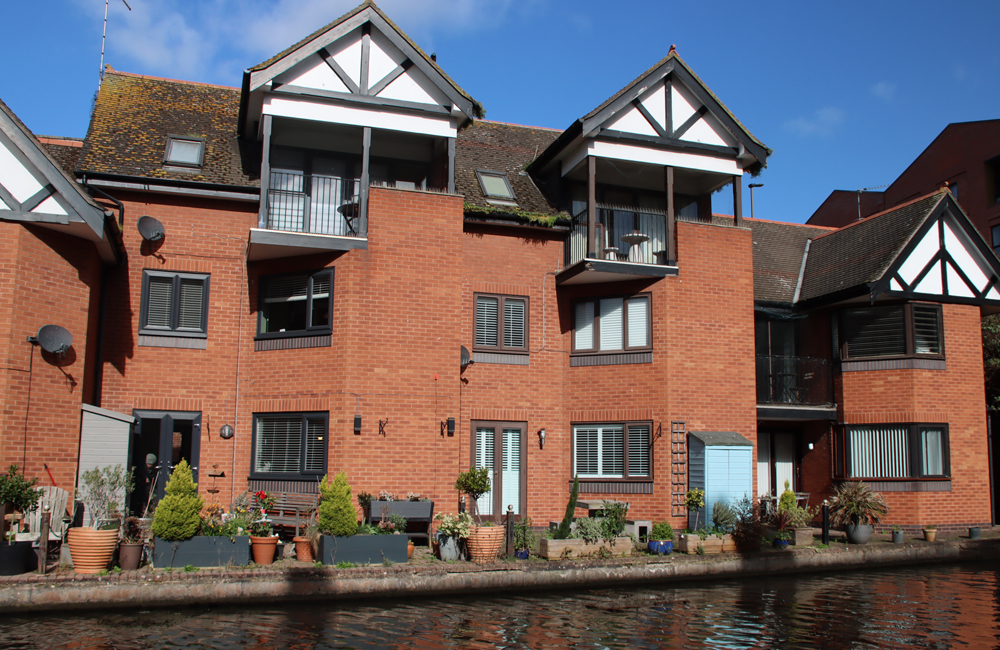
Detail of Tollemache Terrace
The walk begins at the point where the canal meets the river Dee, at the red dot (What3Words ///golf.finishing.upset). It follows the tiny section of the old Chester Canal around the corner into the Dee Branch, which was created to allow access from the Wirral Line to the Dee. The walk then crosses the roving-bridge with views up along the Wirral Line, across to the boatyard and down Tower Wharf Basin towards the main line of the canal to the east. The walk then proceeds between Tower Wharf Basin and the Dee Branch, round the corner into the turning basin and along the rest of the canal, without any additional complications. You can, of course, do as much or as little as you like. There is much more to see than included here – it’s a terrific walk. I went as far as the Chester Boughton Hall Cricket Club, and the photographs go that far, but of course you can walk on as far as Wolverhampton if you have the time and stamina!
The return route is slightly different. I parked in the long-term Little Roodee car park, which is under the city walls, so on the return route along the canal walked up onto the city walls (What3Words ///gone.dome.paths) and followed the walls back to the car park.
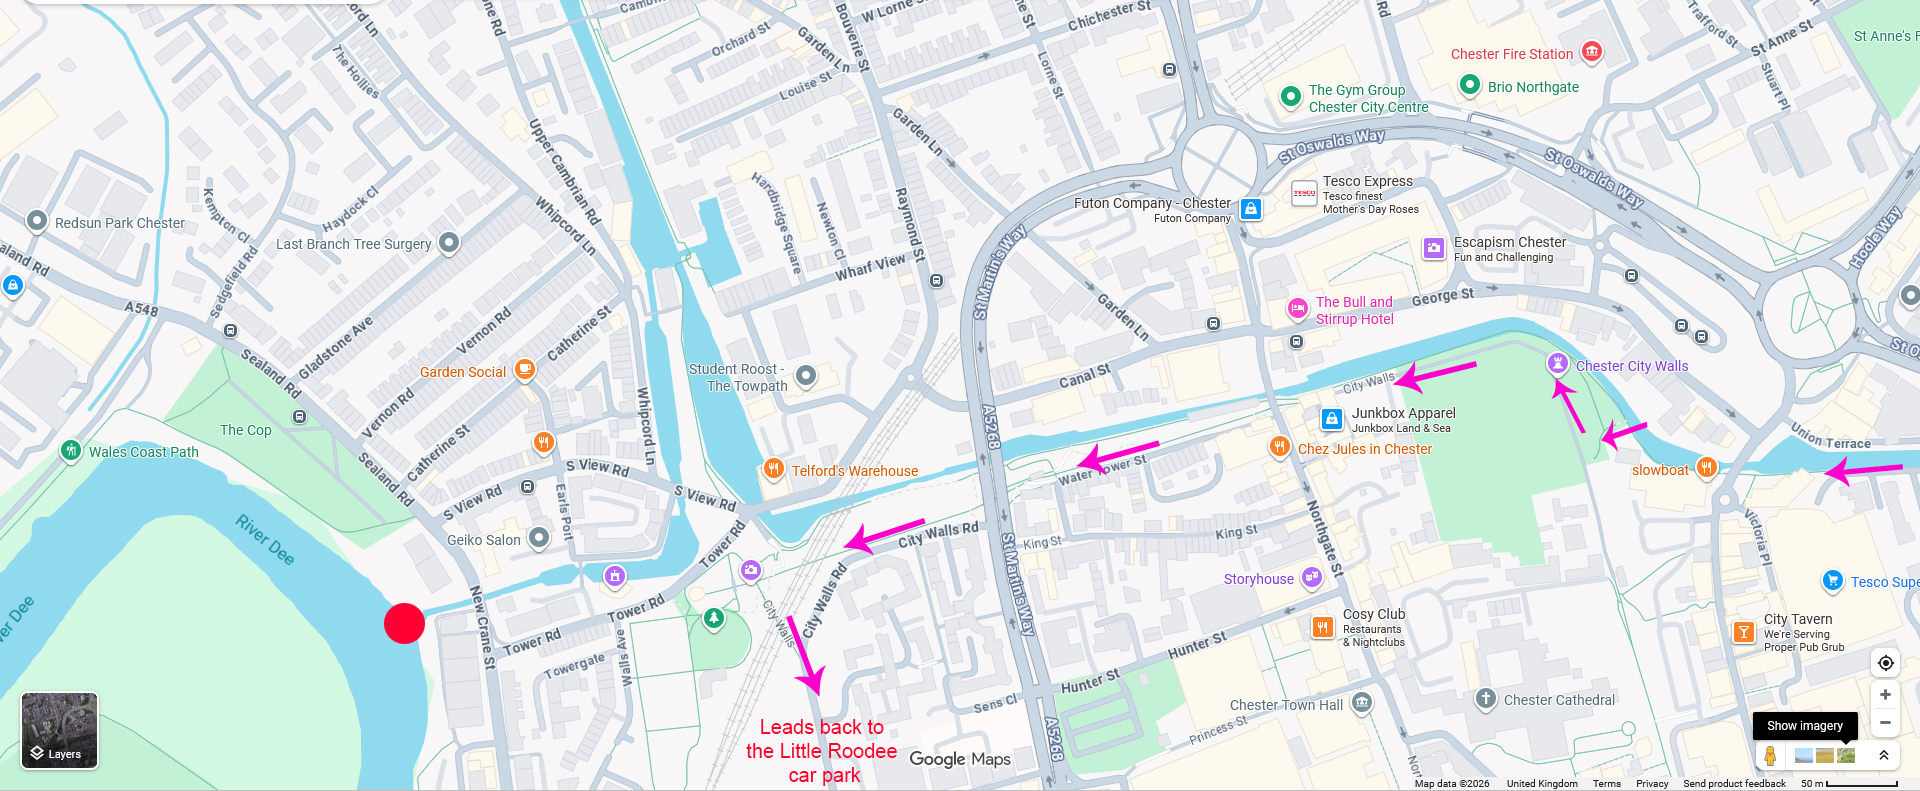
The slightly different return leg of the route, which leaves the main line of the canal and goes up on to the city walls looking down on the canal before heading, still on the city walls, towards the Little Roodee long term car park
There is plenty of parking in Chester, but I chose to park in the Little Roodee (What3Words ///helps.going.budget) because I was not sure how long I would take, and this is a long-term fixed-fee car park. In the event, with plenty of stops to take photographs, it took around two and a half hours in total, two hours out (with lots of stops to take photos) and then an hour back to the Little Roodee via the City Walls, coming off the canal and walking above it from near to the King Charles Tower. There are plenty of places to stop for drinks and a bite to eat.
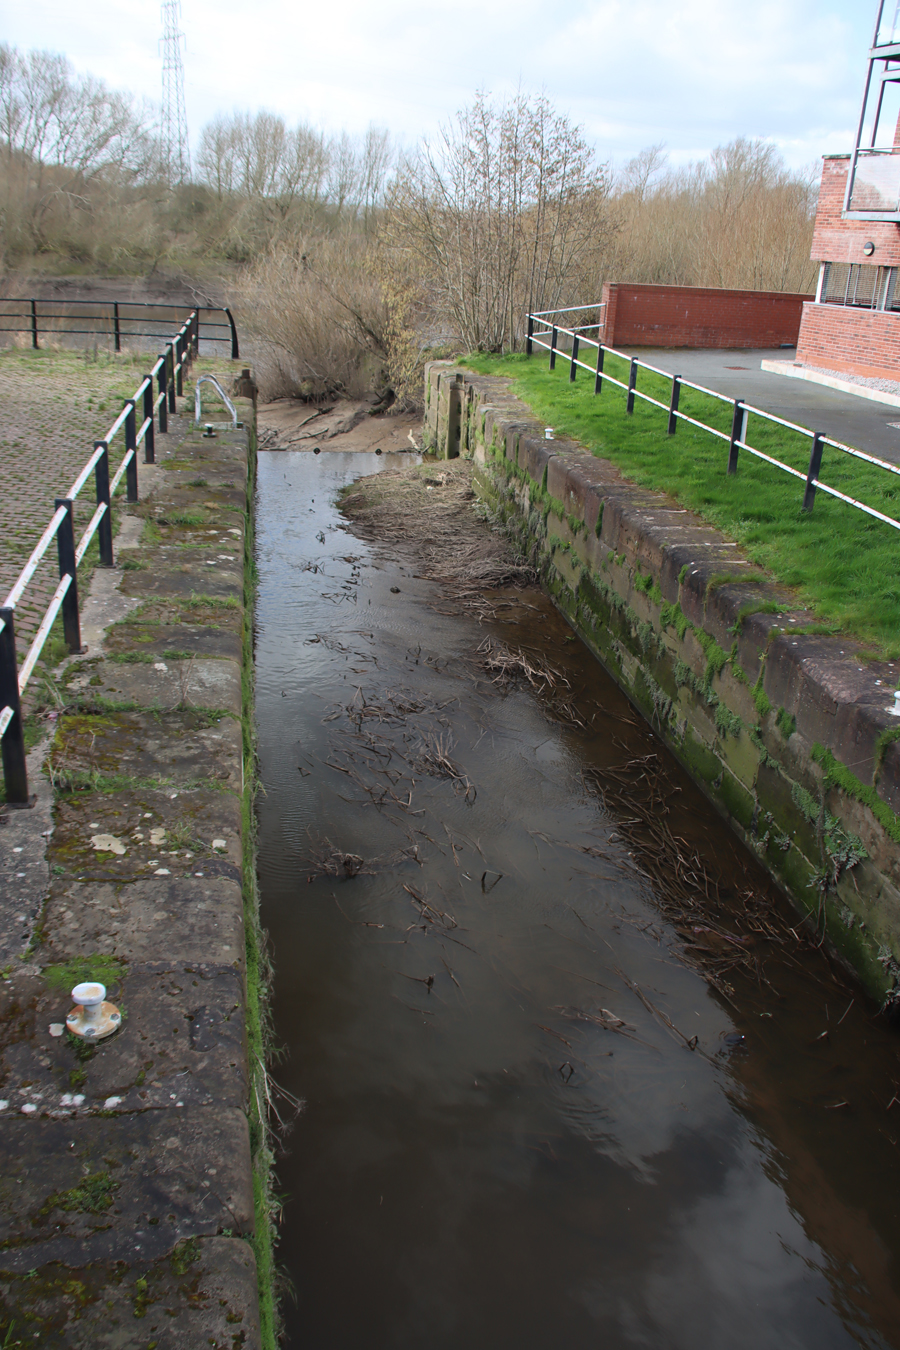
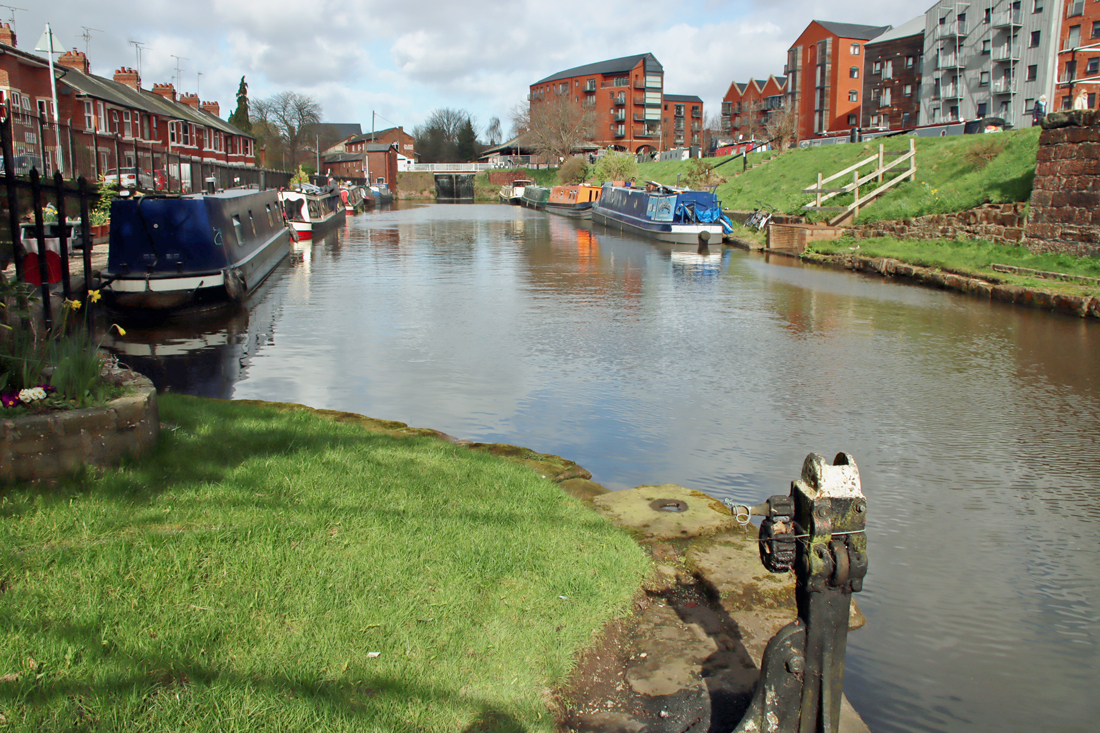
The starting point, where the canal tips water into the river Dee. The lock gates are long vanished, buy you can see where they once were.
The two main points to make at the beginning of the walk at the lock between the canal network into the Dee are that 1) this is obviously derelict and no longer usable, meaning that the canal network is now divorced from the river; and 2) this is one of the earliest parts of the Chester system, a legacy of the first Chester Canal, which went from Chester to Nantwich. The connection with the river authorities had not been agreed before work began on the canal, and it took a number of years before the essential link between the Port of Chester and the Chester Canal were negotiated.
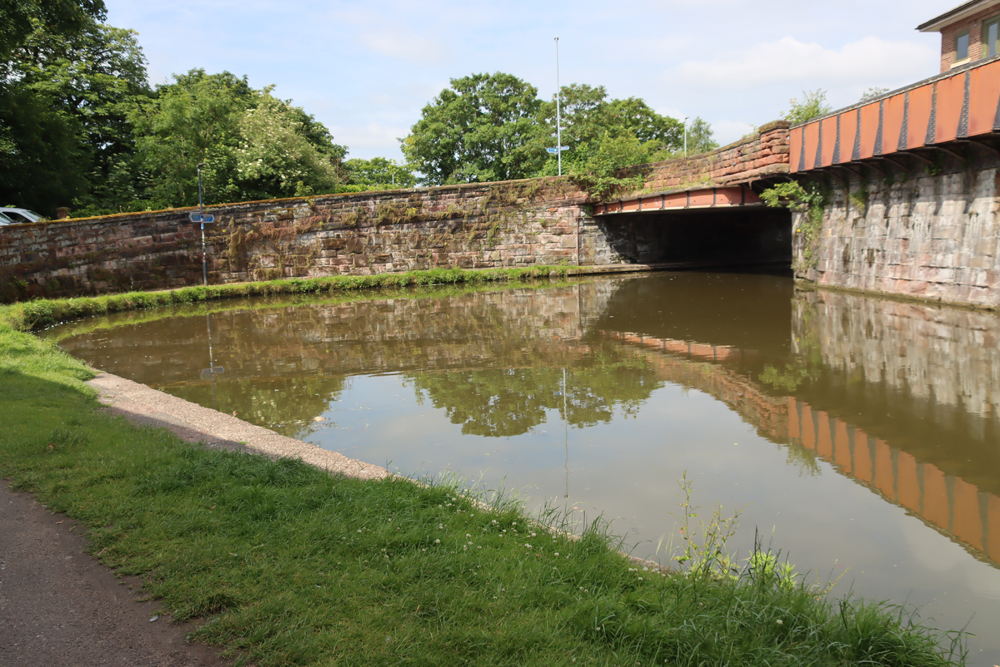
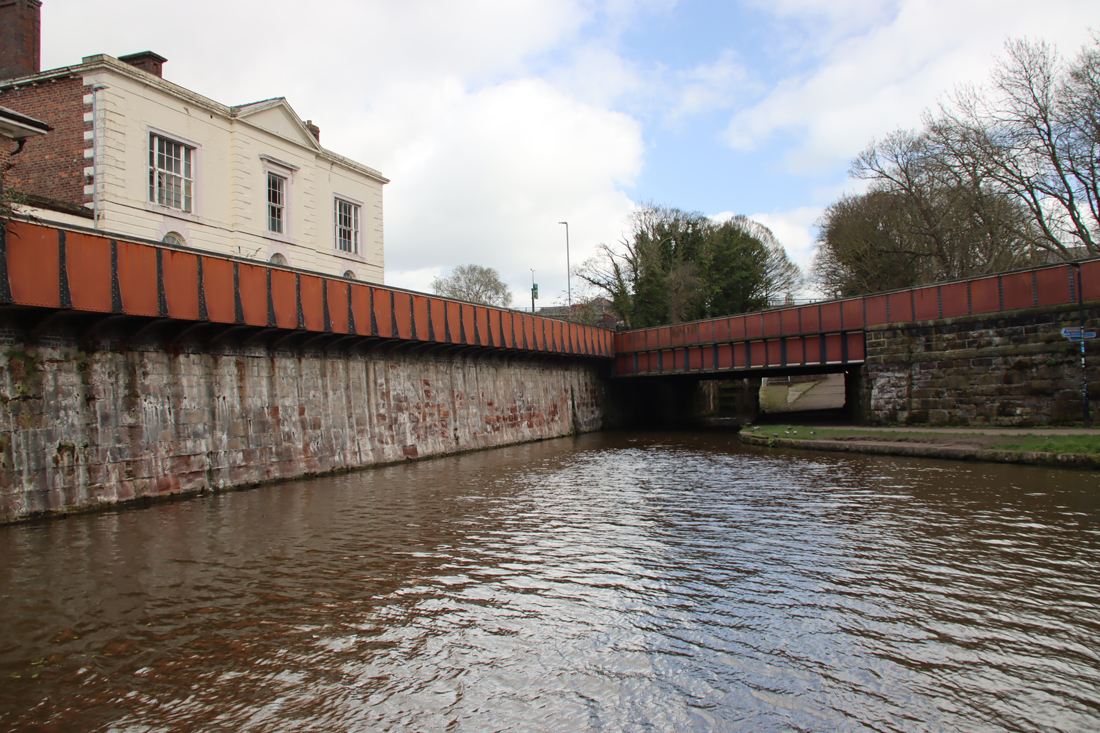
The walk continues over the road, from where this photograph was taken. Note that the canal passes under the road bridge. Although this is now a fixed bridge, it was once a swing bridge to allow vessels of all heights to enter and leave the canal system.
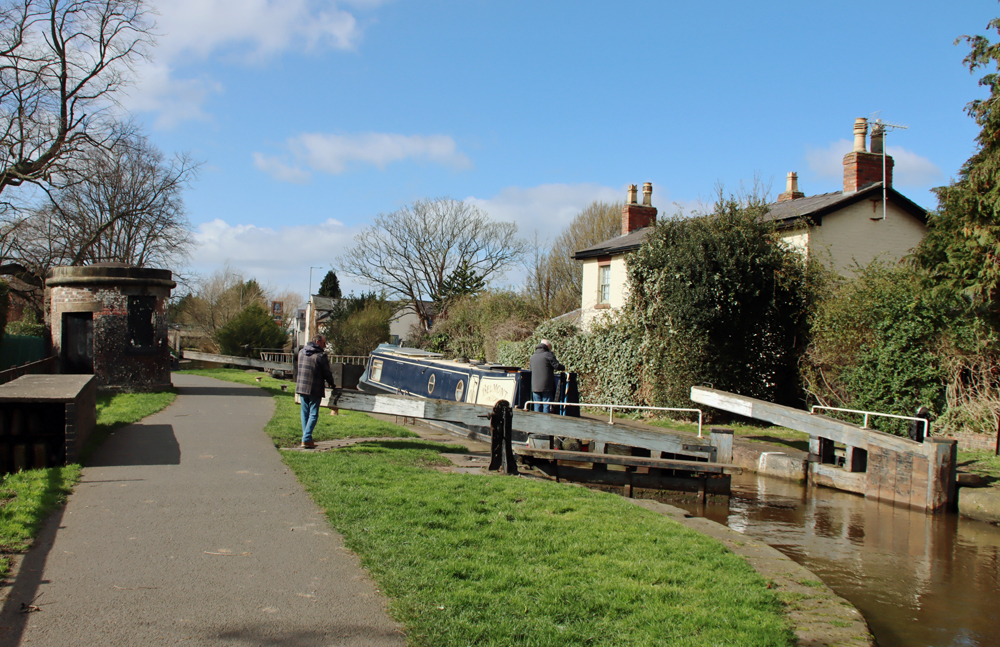
Over the road (cross with care as it is on a blind corner) you continue along the canal, staying to its left. This is the final set of locks as you come from the west and south, or the first as you begin to proceed up the canal system towards Nantwich, the source of the water.
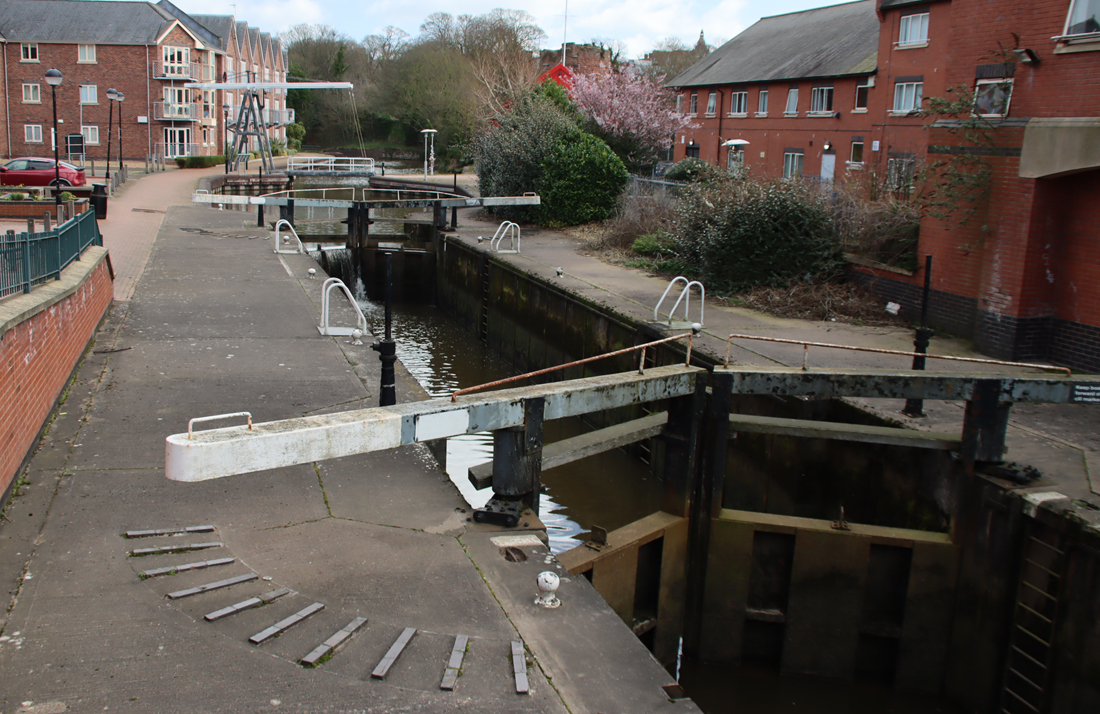
Beginning to explore the Chester leg of the canal system
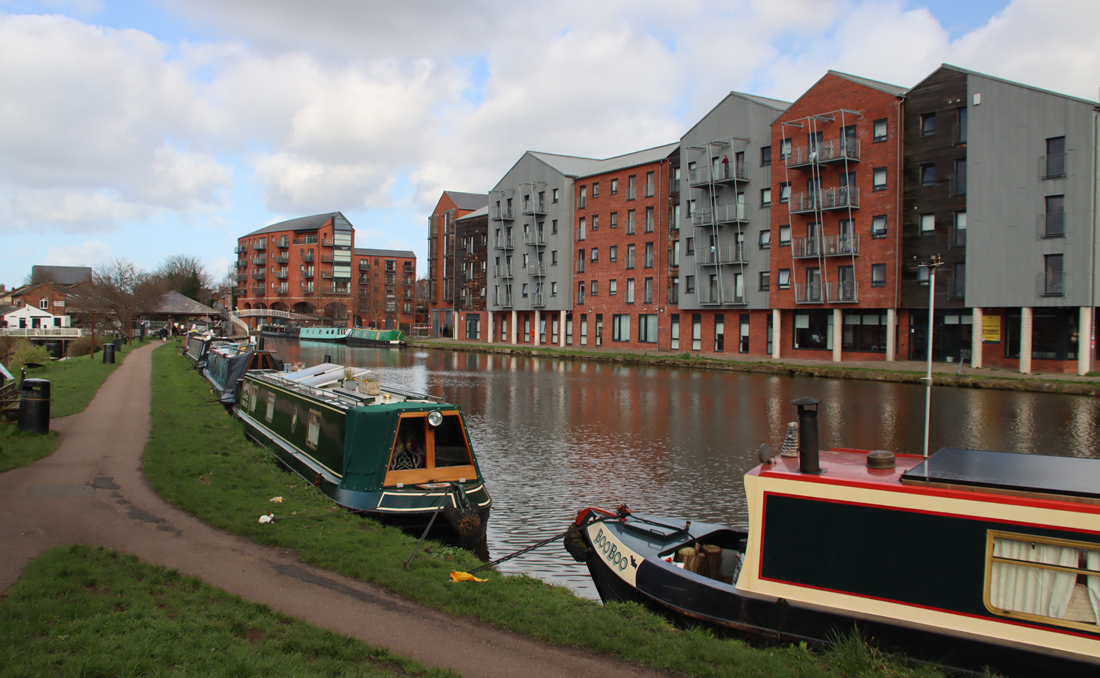
On your left is a housing development with retail at its base. This marks the site of the old Dee Basin which is where, after coming down a flight of five locks, narrowboats and wide barges would enter a holding area to await the tide.
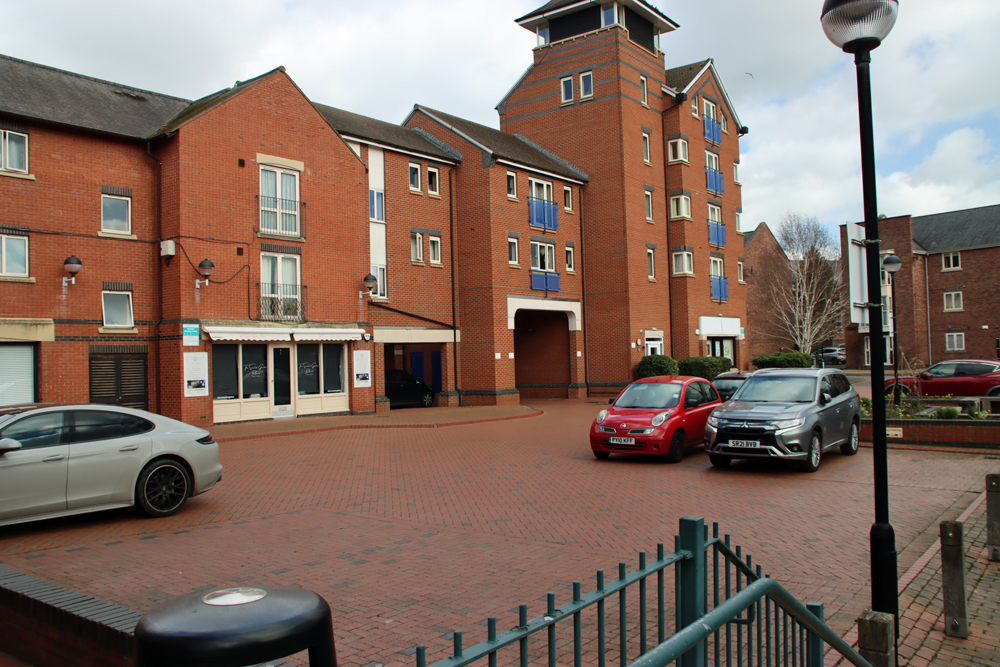
The former Dee Basin
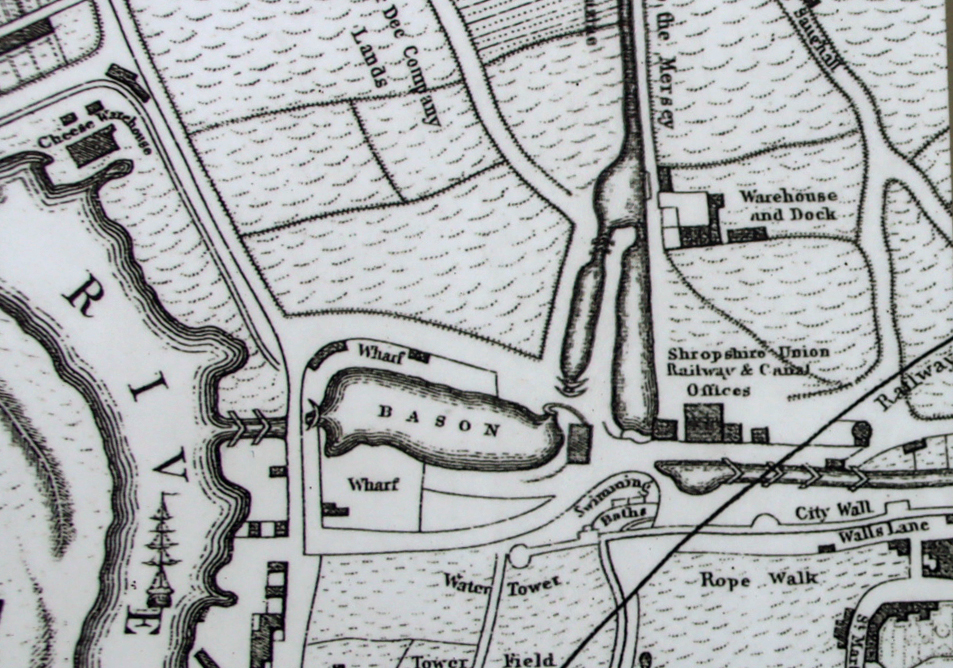
The former Dee Basin, shown on signage in the Tower Wharf Basin
When the Chester Canal was first built this was a tidal basin, but when the Chester Canal and the Ellesmere Canal merged, the water level was controlled by locks. Continuing on, and staying left of the modern lift bridge, the bridge ahead of you leads you into the opening of the so-called Dee branch and on to Tower Wharf and the heart of the Chester canal system. To proceed, do not go under the bridge (the footpath ends here) but go up the flight of steps to its left, turn right and cross the road and enter the Tower Wharf basin via the white gates. On your right is the main line and Tower Wharf. On your left, at a much lower level, is the Dee Branch, a requirement after the Wirral Line was added by the Ellesmere Canal (see an explanation of this in Part 1). A lock was added to allow access to this lower section that flows out to the former Dee Basin and the river lock.
The Dee branch, with the main line up the bank at a higher level.
Tower Wharf basin
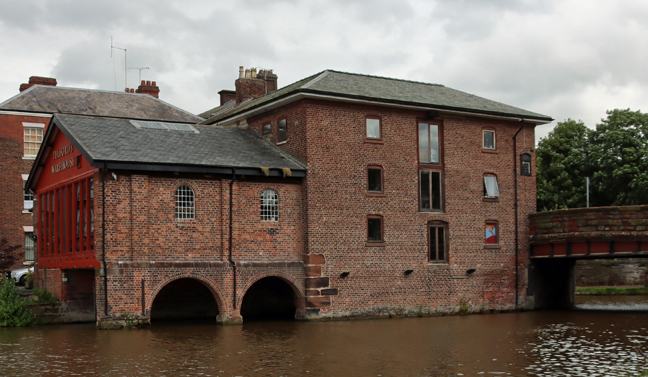
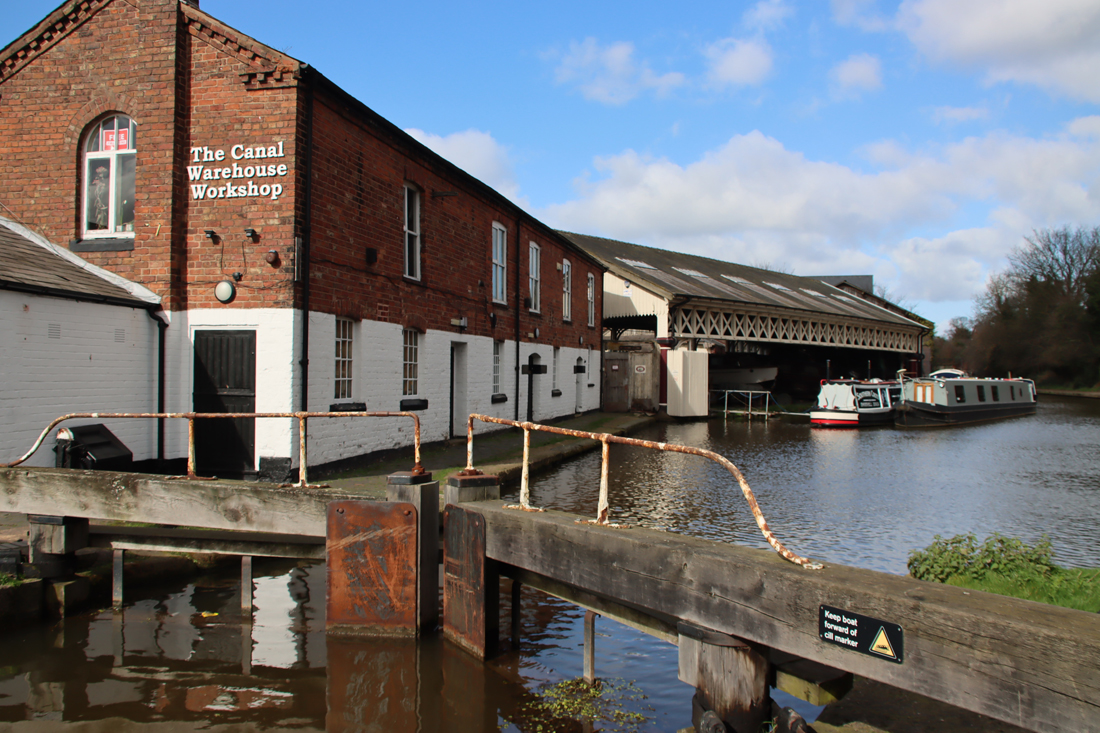
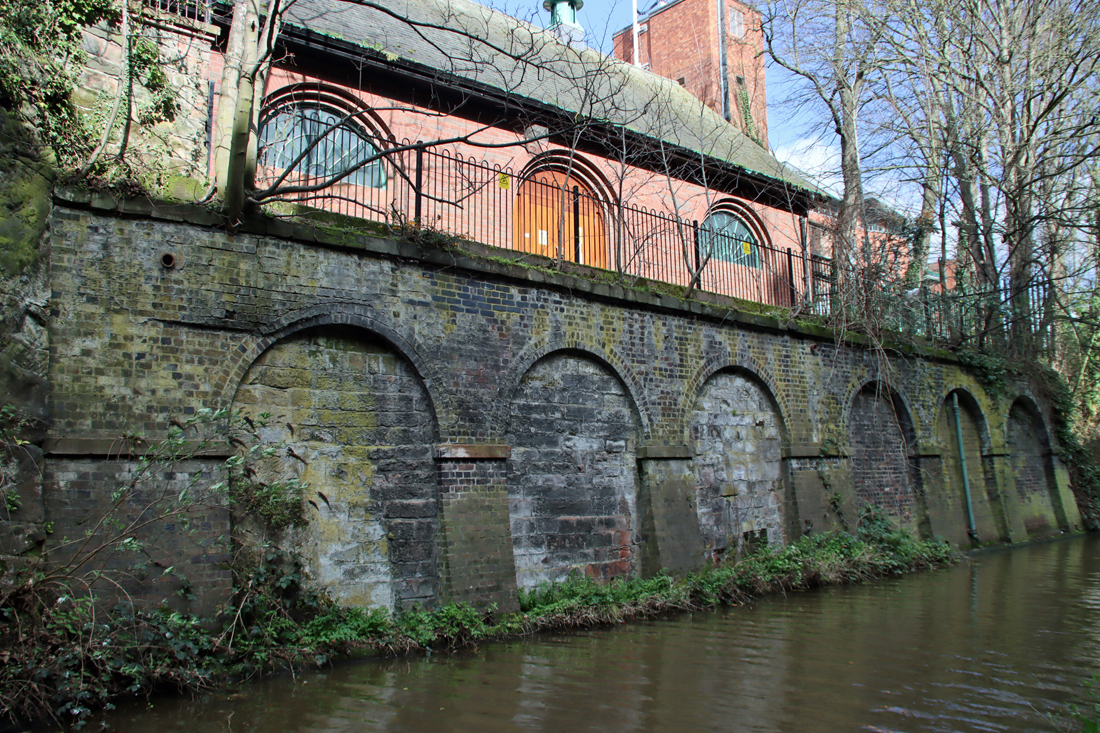
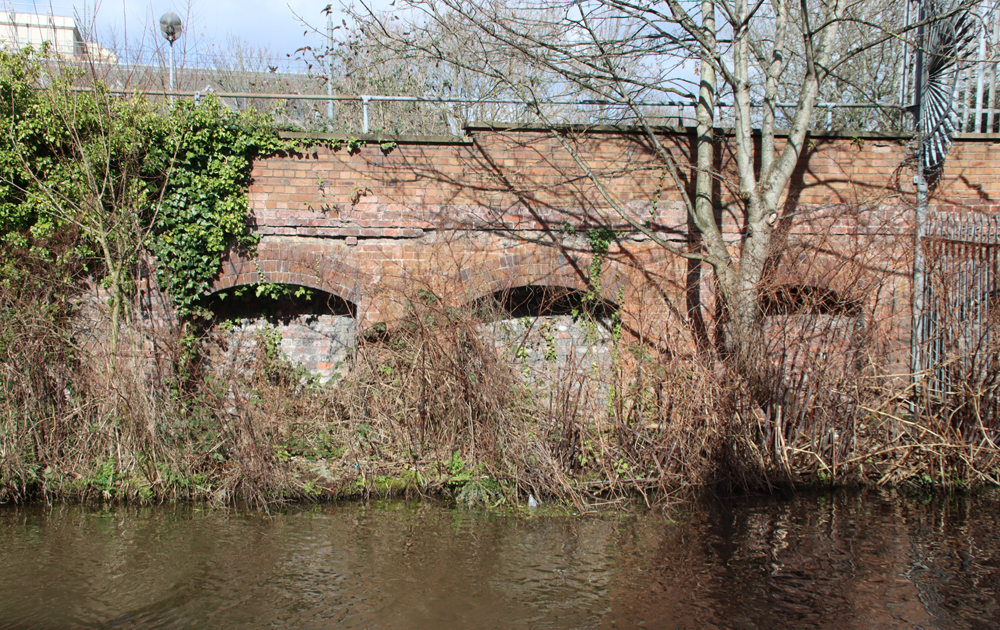
Telford’s Warehouse
There are some terrific features to look out for in the Tower Wharf Basin. When the Wirral Line was built a new boatyard was added with a graving dock, both still in situ, and the boatyard not only survives but has been in continuous use since it was built. Immediately on your right, at the far southern end of the basin, is a late 18th century building called Telford’s Warehouse (now a pub), designed by Thomas Telford with the open arches allowing vessels to load and unload under cover. Running along the side of the Dee branch is an attractive row of Victorian brick-built terraced housing on Whipcord Lane, post-dating the canal.
Straight ahead is what is known as Taylor’s Boatyard after a former owner, complete with the graving dock. The graving dock is a dry dock into which ships can be floated, and then the lock emptied so that hulls can be worked on. Sadly it is surrounded, for safety reasons, by ugly metal fencing, but it is a lovely feature. The boatyard lies beyond.
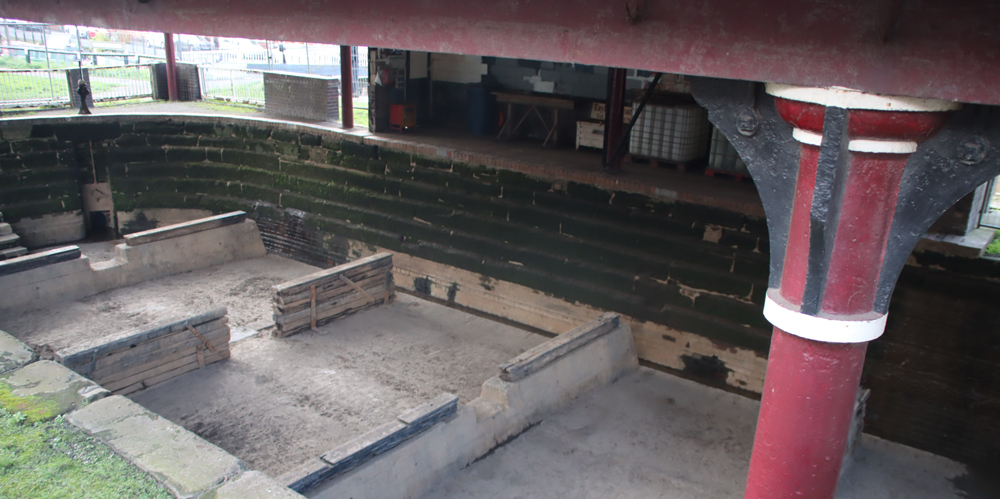
Looking down from the roving-bridge into the graving dock
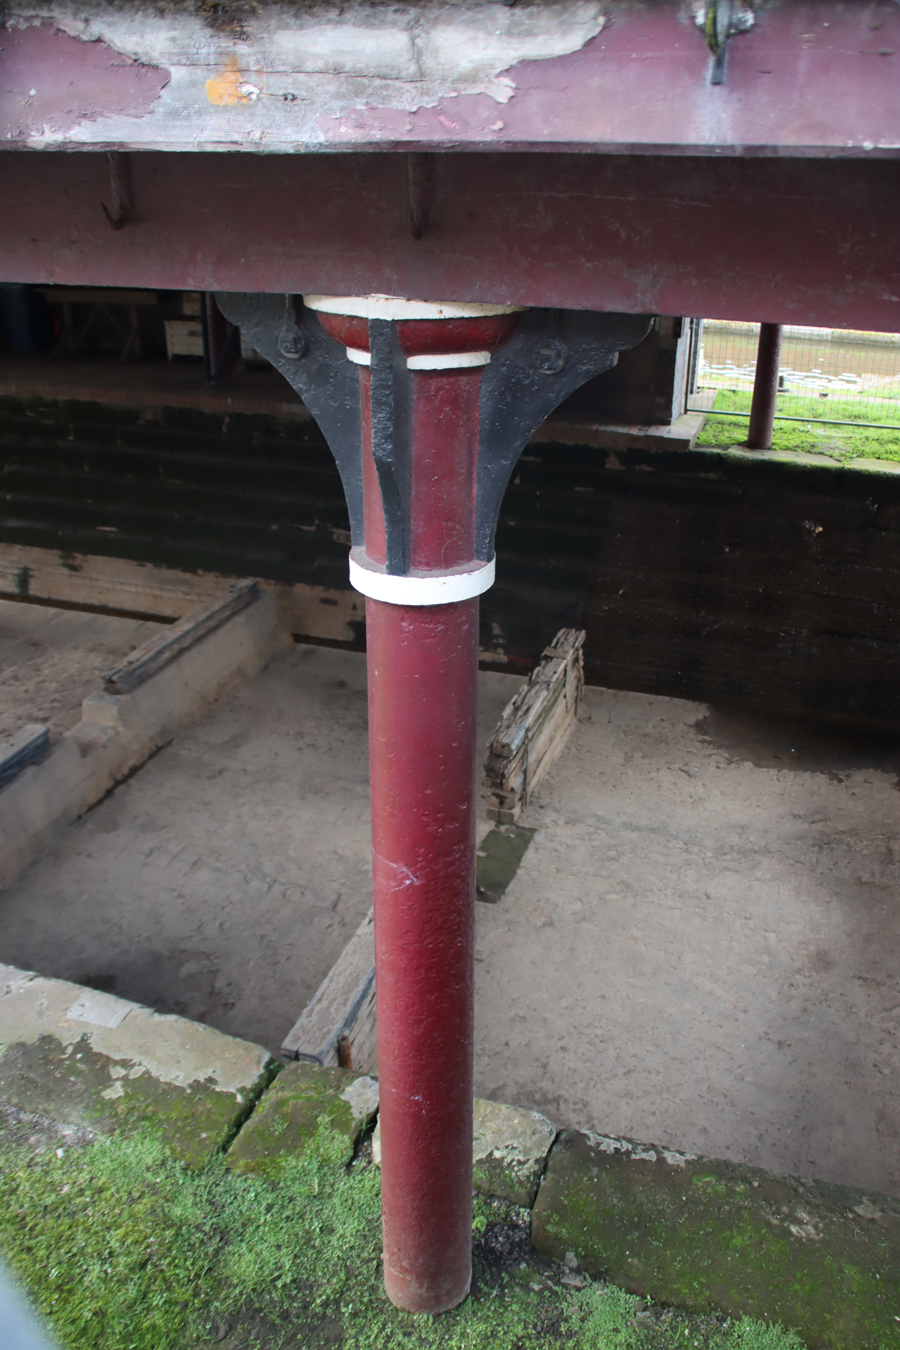
Attractive iron column in the graving dock
In 1802 business in the Basin had not only picked up but was doing so well that its capacity was considerably over-stretched and a new basin was required, named North Basin, which was surrounded by more warehousing. An absolutely delightful roving-bridge or snake/turnover bridge connects Tower Wharf with North Basin, an innovation that allowed horses pulling boats to cross the canal without being unhooked from the vessel.
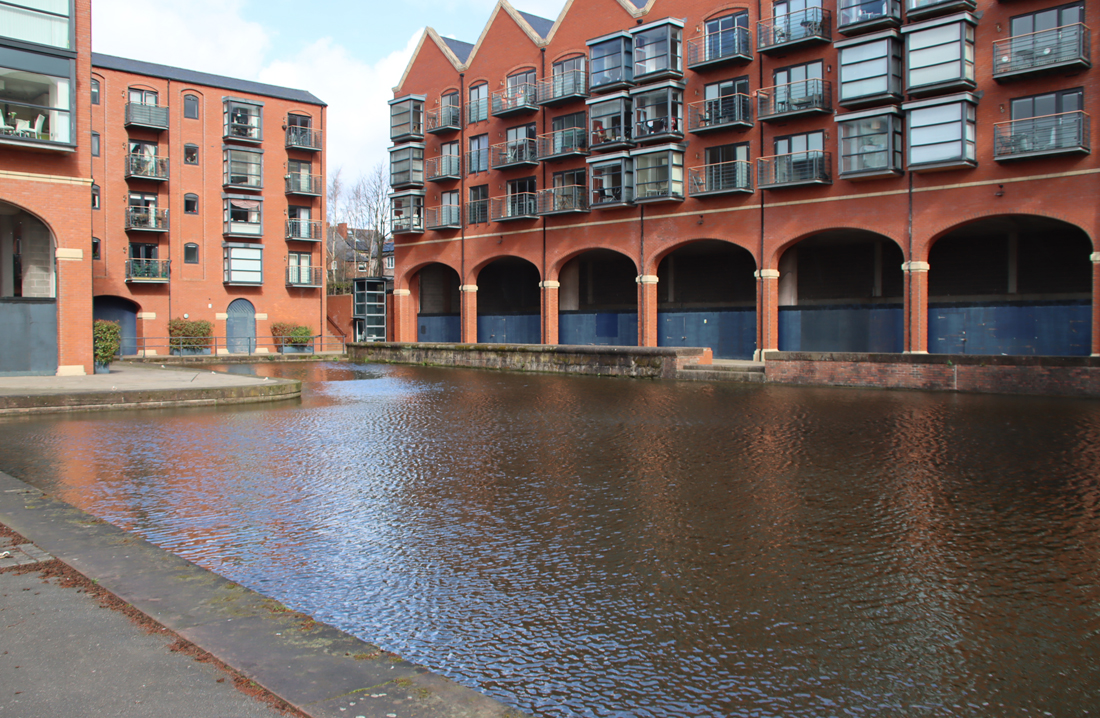
North Basin
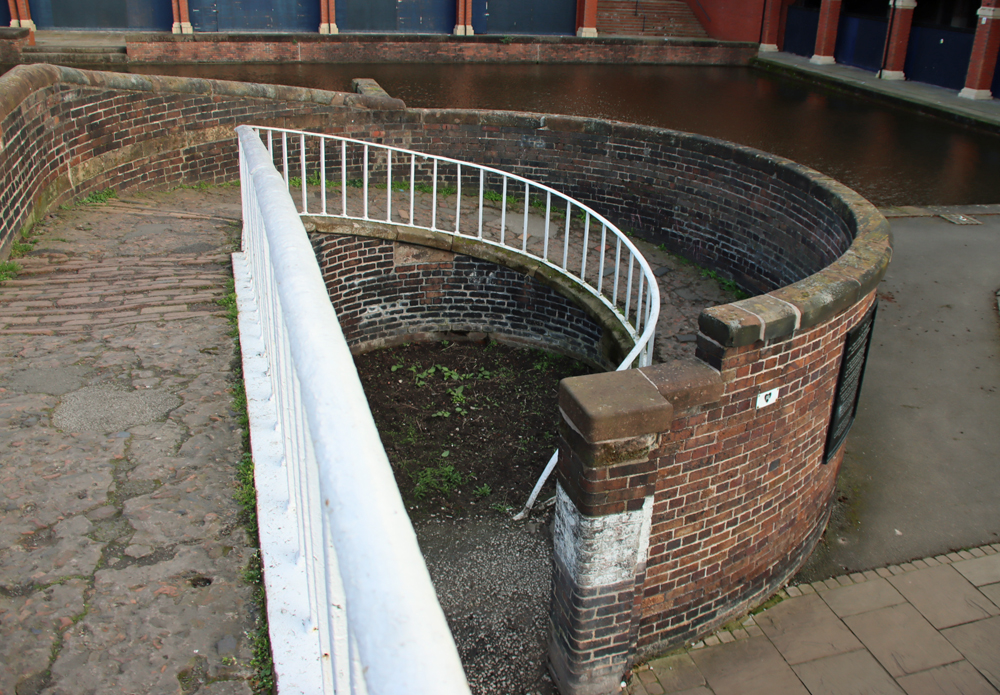
The roving bridge
If you have crossed the bridge, re-cross it to return to the central section of the basin, between the Tower Wharf Basin and the Dee Branch and retrace your steps. Instead of going back up to the road where you entered, go under the bridge, following the towpath. From here on, the route simply follows the towpath. There are too many sights and sites to describe in detail, but here are some of the most interesting features contemporary with the working canal, with links to more information where I have found it.
As you leave the Tower Wharf Basin complex, you walk under the railway bridge and turn left into a section known as the Turning Basin, made particularly wide to enable horse-drawn vessels to negotiate the sharp turn into the basin. There is a turning hook on the wall just under the Raymond Street Bridge that was also there to help vessels make the turn. If you look up to the south (or your right, heading out along the canal) note that the canal follows the line of the city walls.
Looking back at the turning basin at the entrance to Tower Wharf Basin
The other end of the basin, leading to the locks
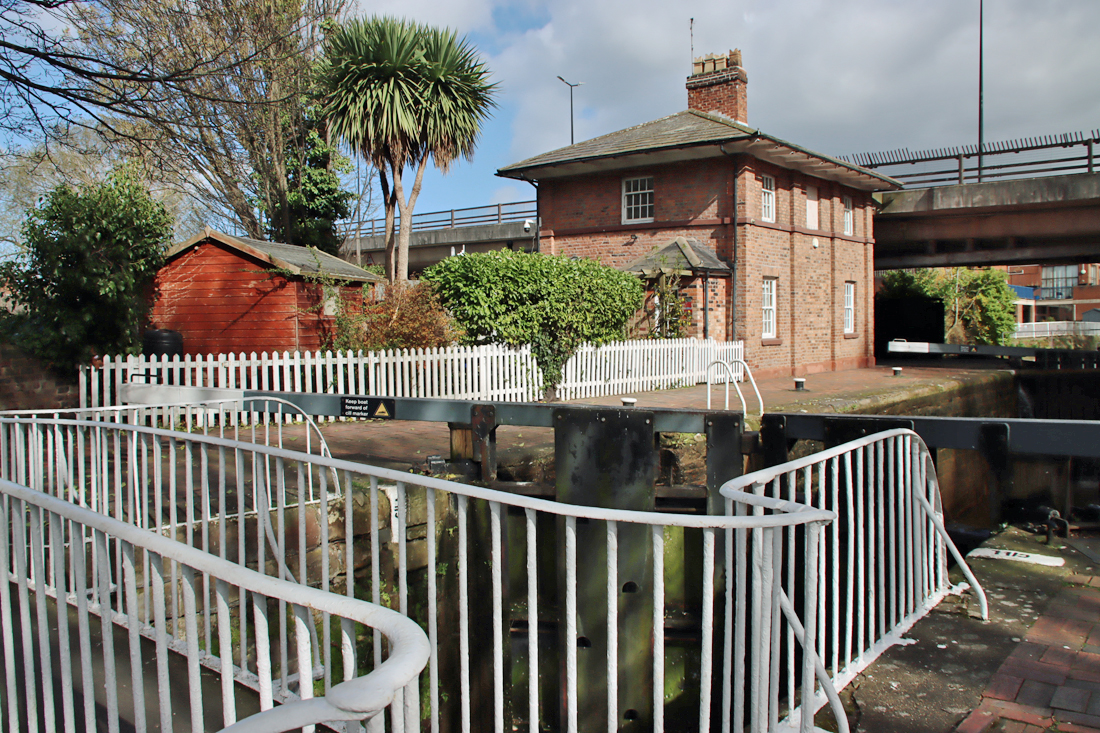
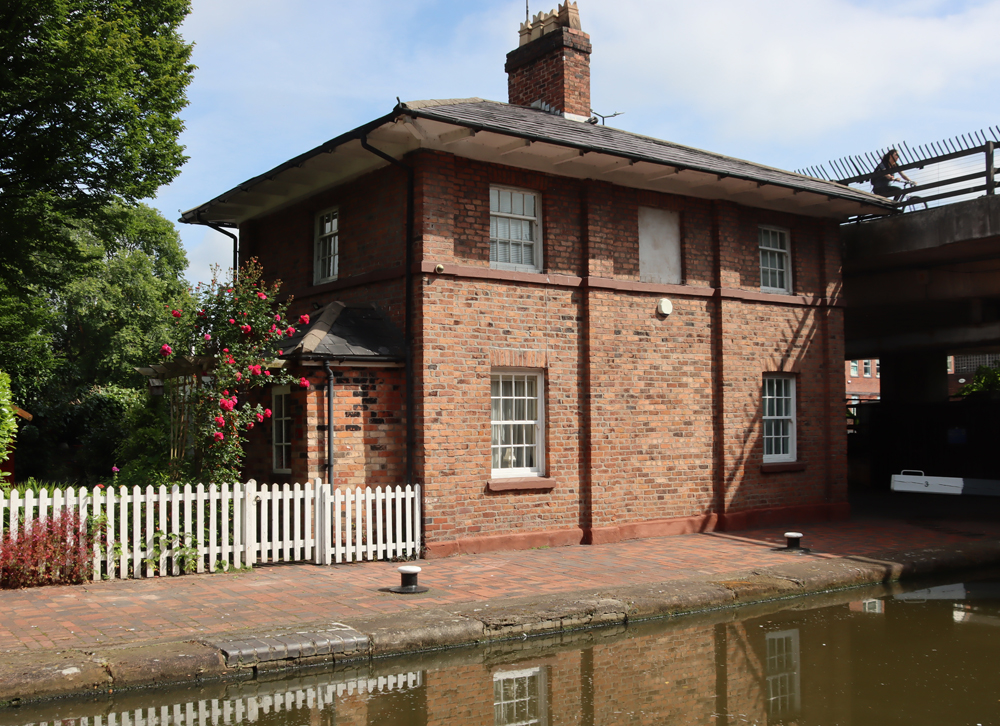
Before the Ellesmere Canal Company introduced the Wirral Branch, there used to five locks that went all the way up to the Dee Basin, which has now largely been filled in and used for modern housing. When the new branch was added, the bottom two locks were demolished and the canal diverted north. The three remaining locks are still fully functional today and allow vessels to navigate a 33ft (10m) drop/rise. At the top of the locks is a square house with a prominently overhanging roof eave, again one of Telford’s designs. At this point today the canal runs under the St Martin’s Way ring road before carrying on along the foot of the northern stretch of the city walls.
After passing a row of modern house on your left you will notice two bridges overhead, the first tiny. This is the somewhat battered-looking Grade II listed Bridge of Sighs, probably built in the 18th century. Although it is named after the magnificent one in Venice, the similarity lies in the fact that both were used for carrying prisoners, in this case from the prison to the chapel in the Bluecoast School to receive their last rites prior to execution. The next bridge carries Upper Northgate Street over the canal, some sdfdsf ft / sdfsd m above.
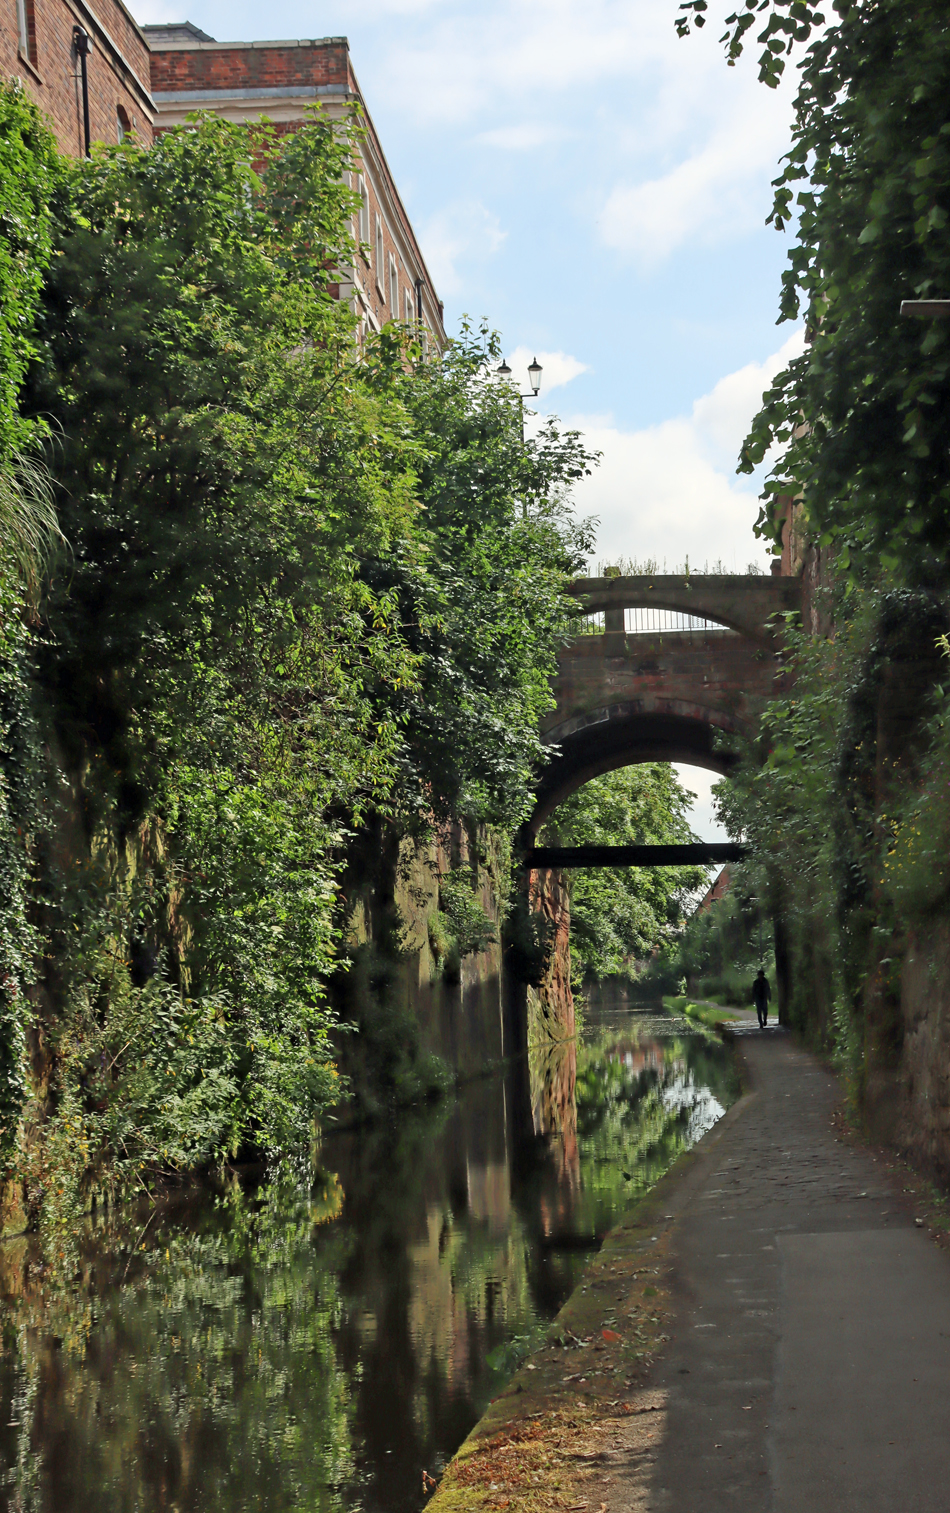
The tiny Bridge of Sighs over the canal, followed by the Northgate Street bridge
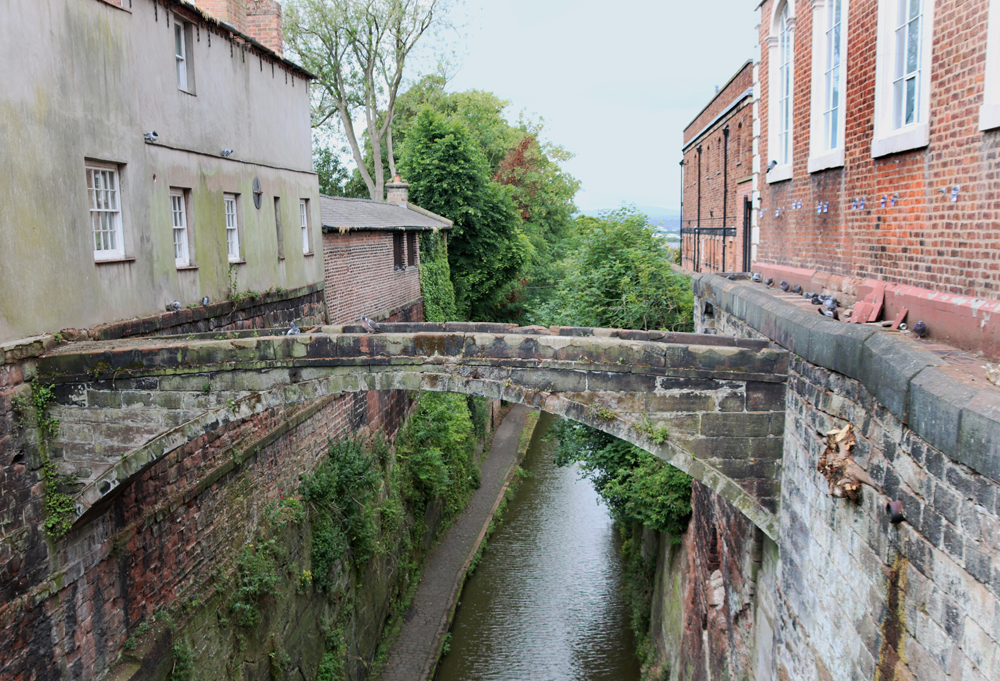
Bridge of Sighs, Chester, shown from Upper Northgate Street

Triassic sandstone through which the canal was cut, allegedly following the line of a Roman ditch
The canal passes the King Charles Tower as the canal and city walls part company, the canal briefly heading southeast and then due east.
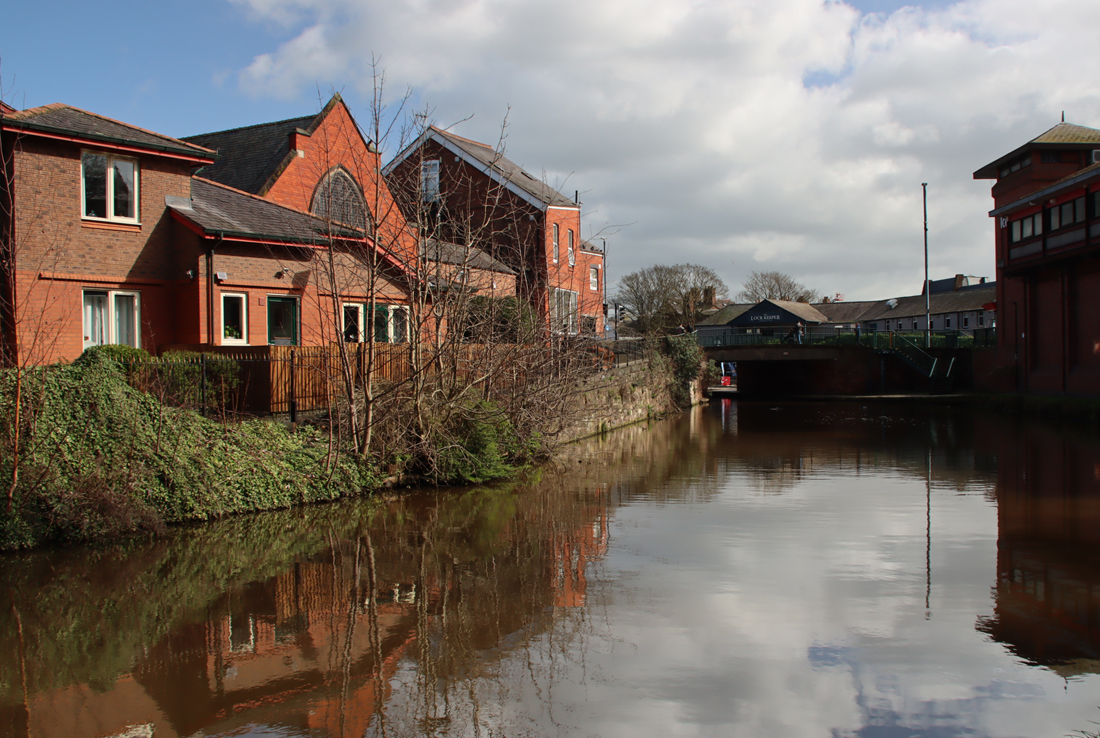
The back of the Penri Chapel next to Abakhan on Gorse Stacks. The Iceland on Frodsham Street is on the right
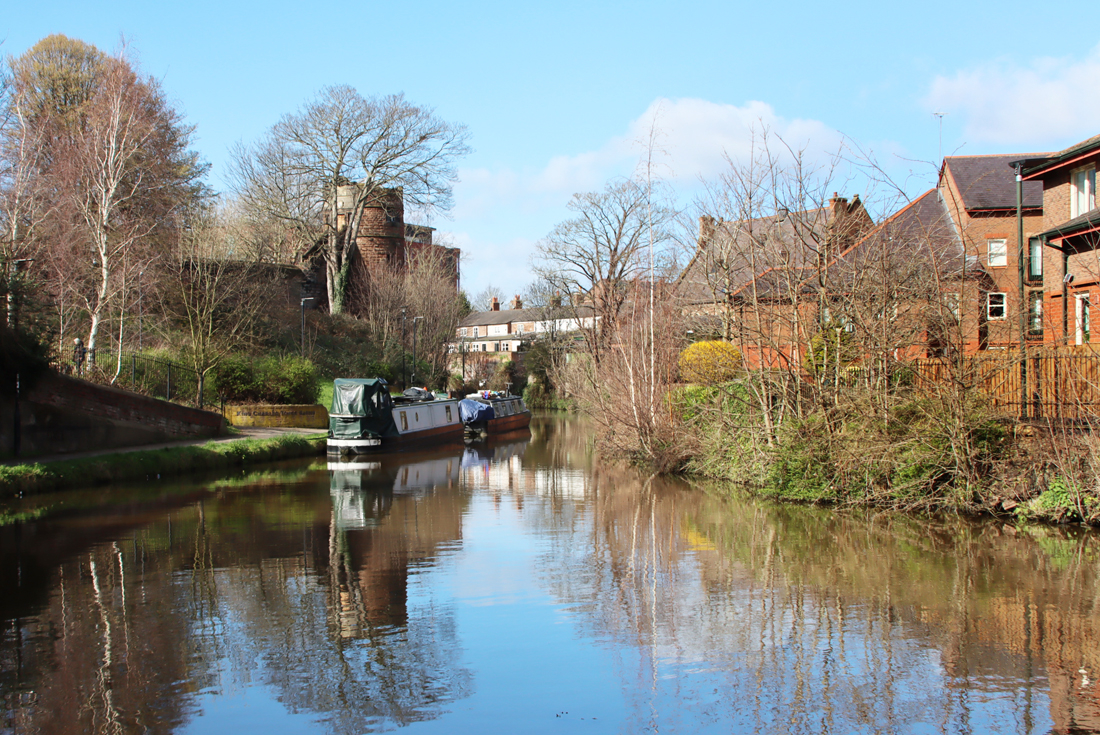
Looking back to the city walls and the King Charles tower above the canal. It is at this point on the reverse leg of the walk that there is a path up to the walls, which leads back to the Little Roodee car park.
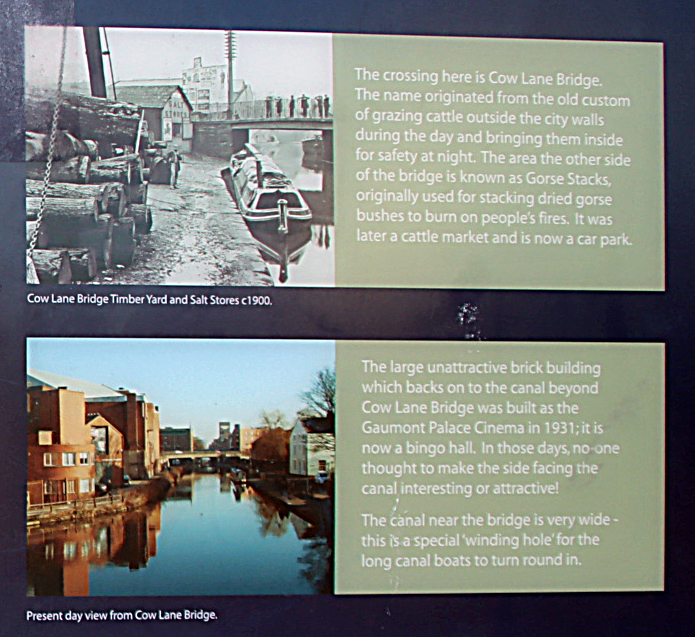
Signage at Cow Lane Bridge

Queen’s Place
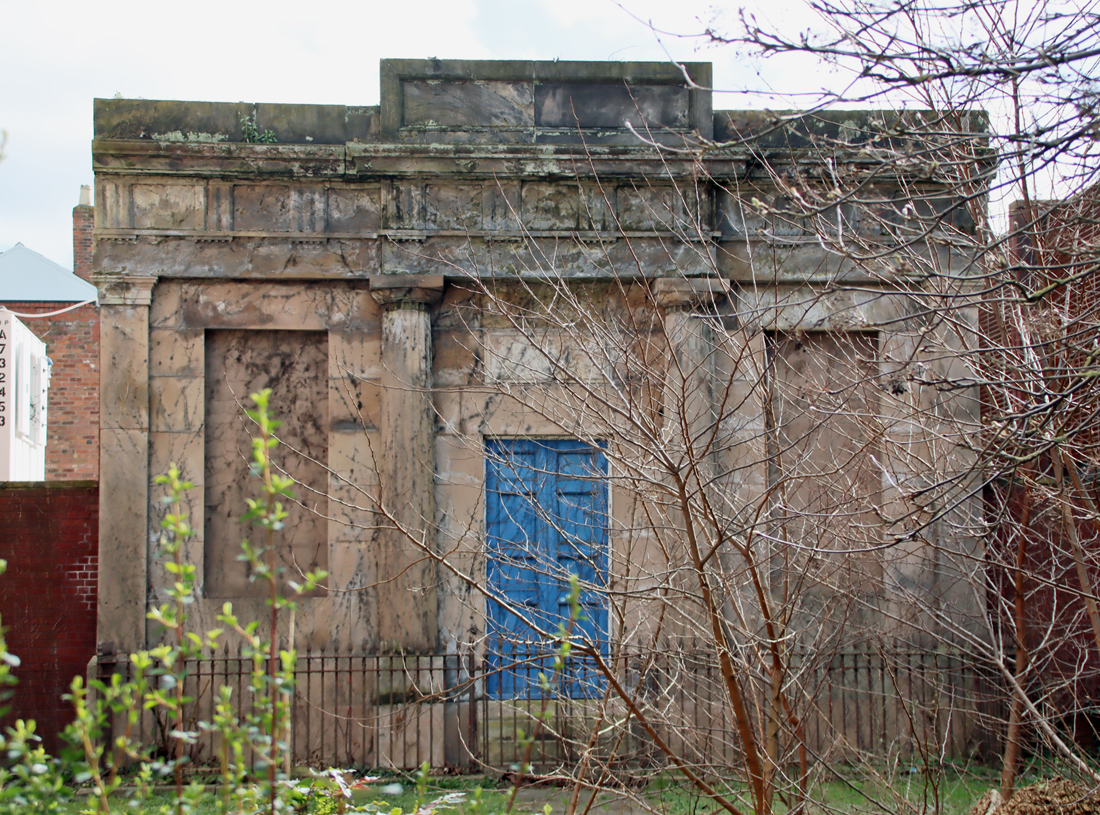
This unexpected structure at the end of Queen’s Place is just a facade with no building behind it, the remnant of a lecture hall once attached to the 1777 Independent Chapel
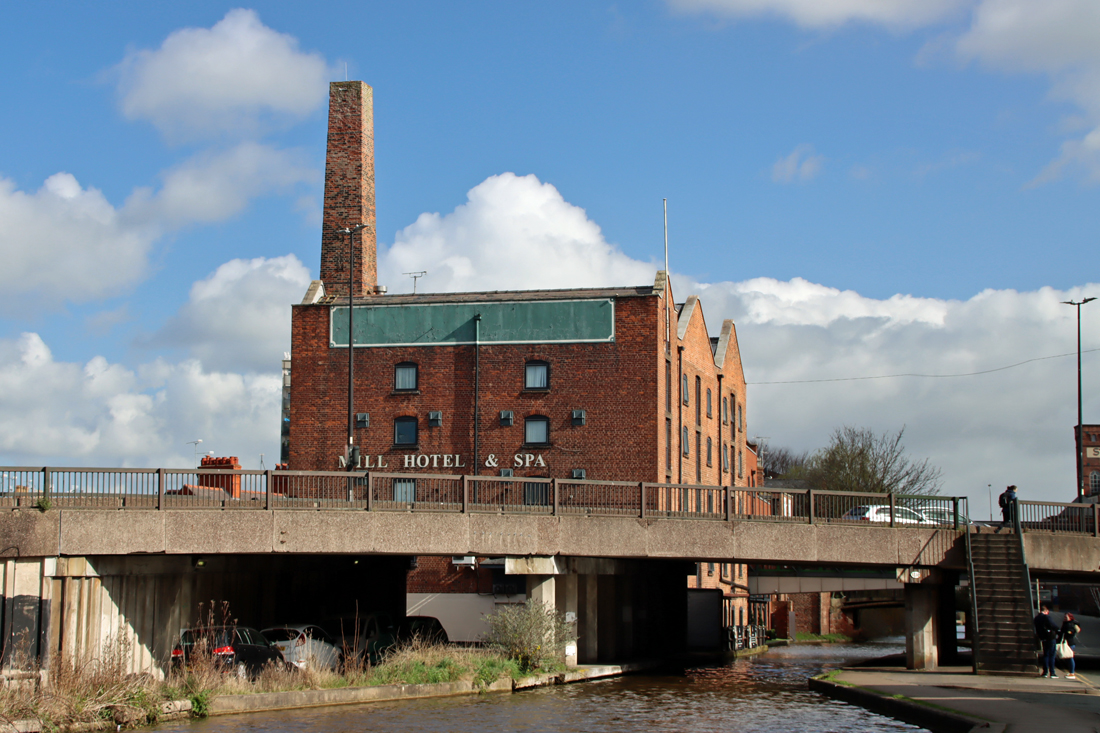
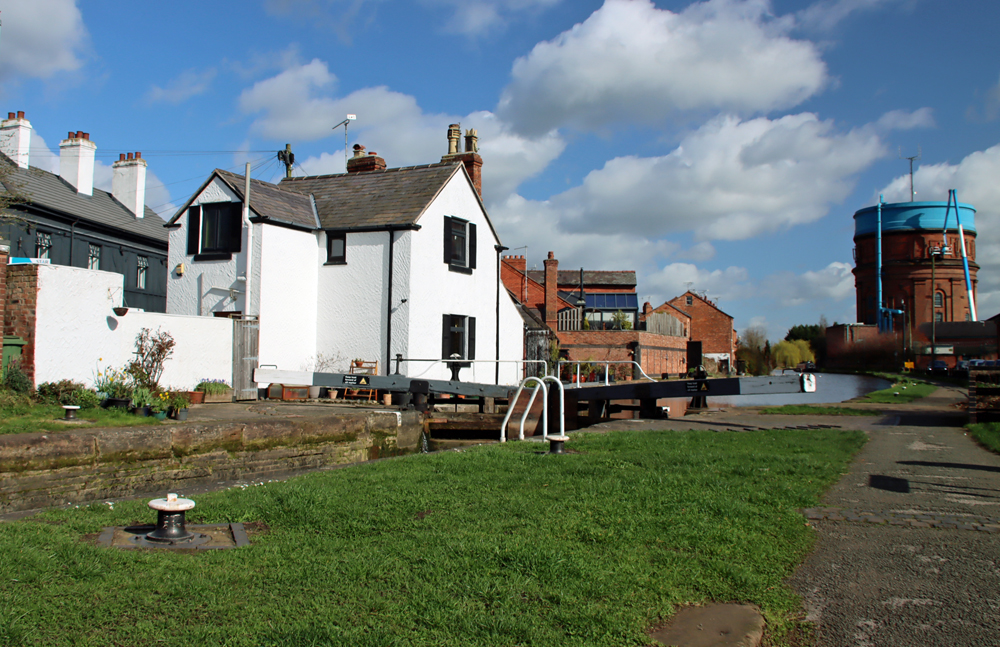
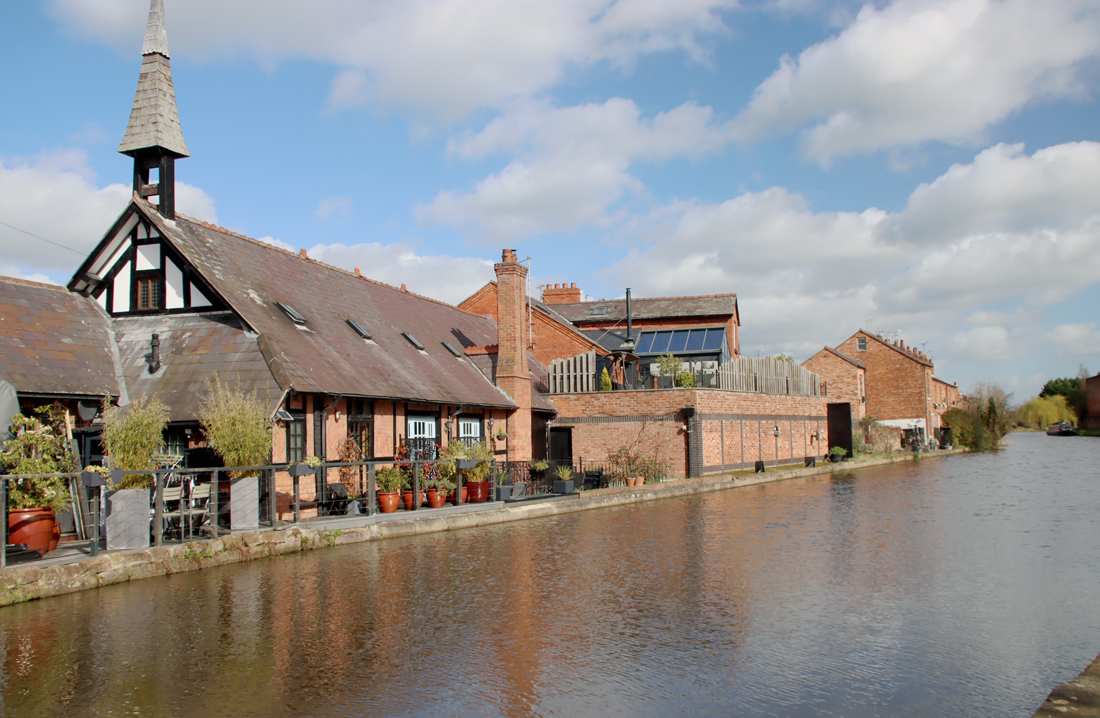
The original Griffiths Corn Mill is now the Mill Hotel and Spa
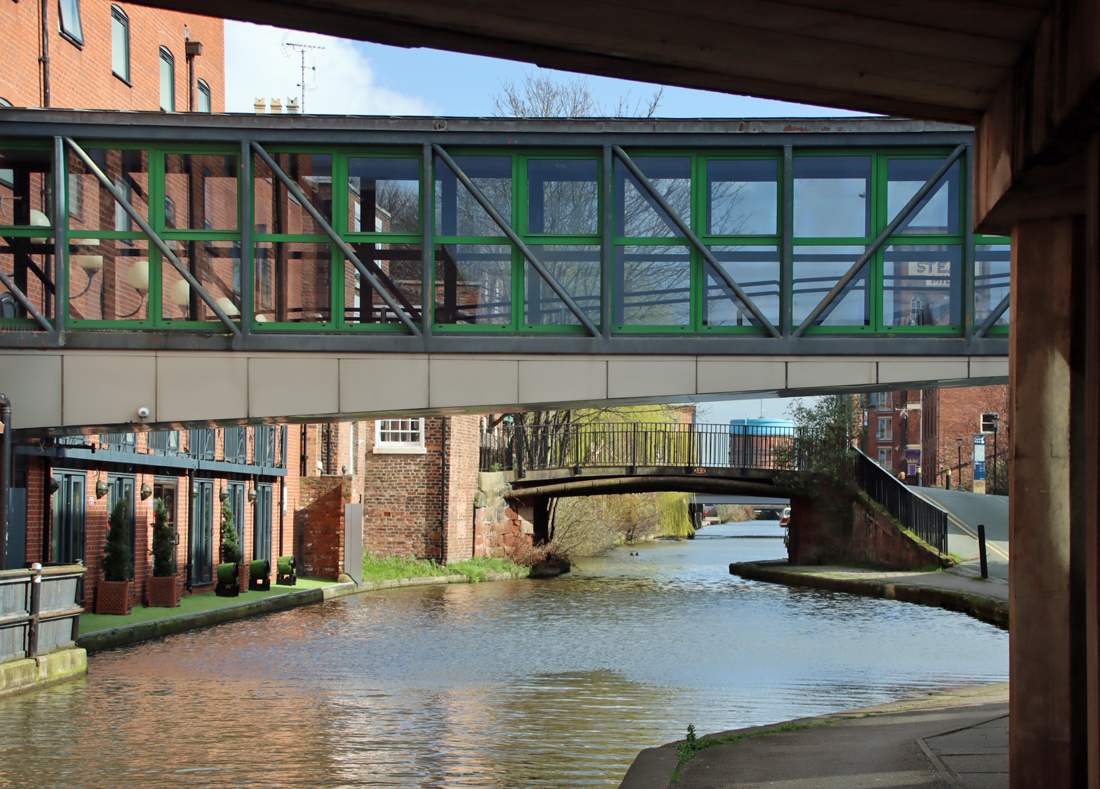
Covered footbridge linking two parts of the hotel, with the Hoole water tower beyond
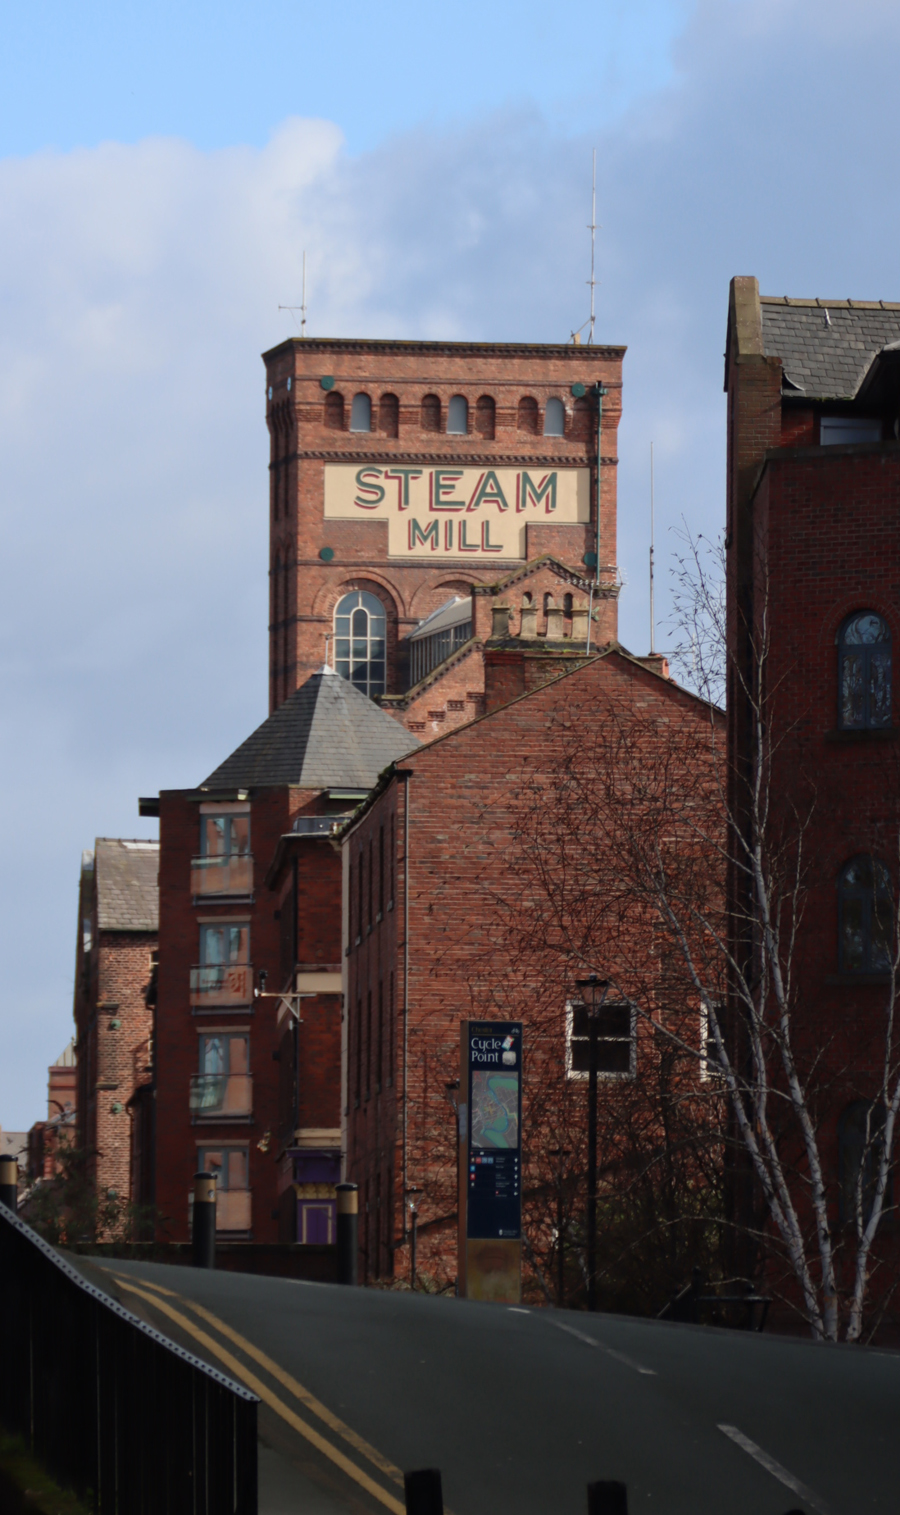
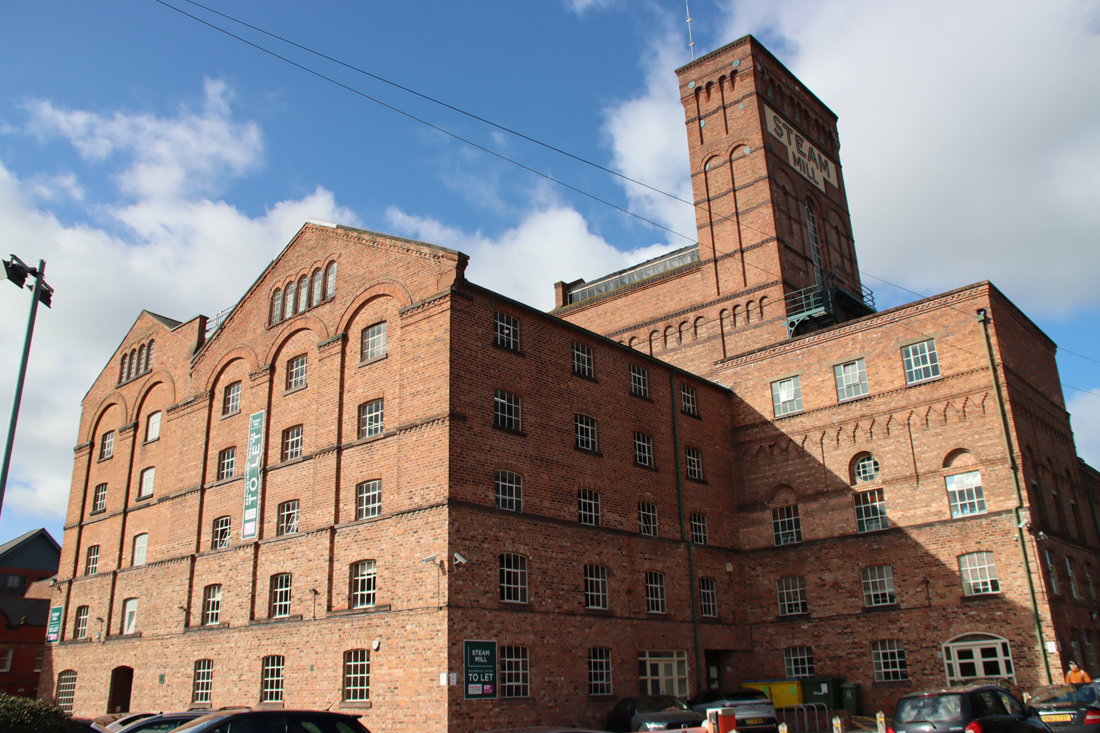
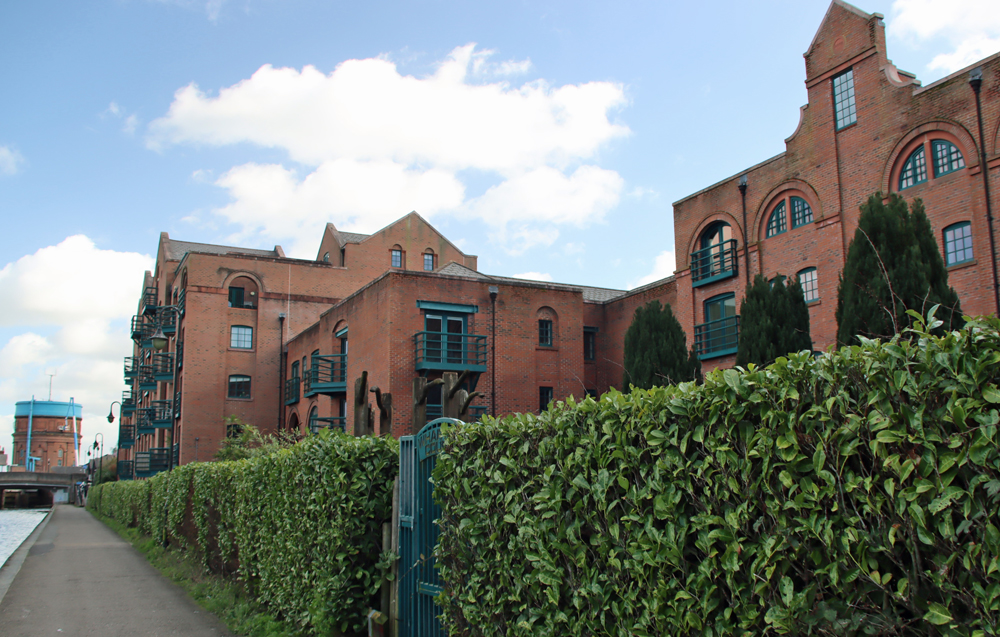
The Grade II-listed Steam Mill building was built in 1786 as one of Britain’s first steam-powered flour mills. The listing details can be found on the Historic England website
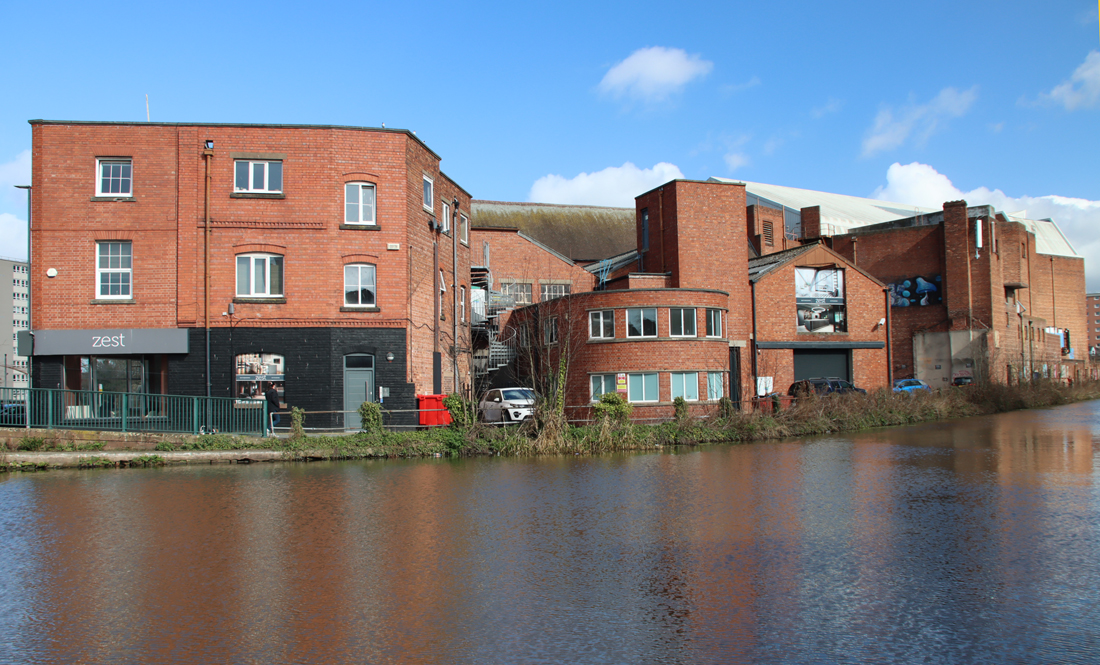
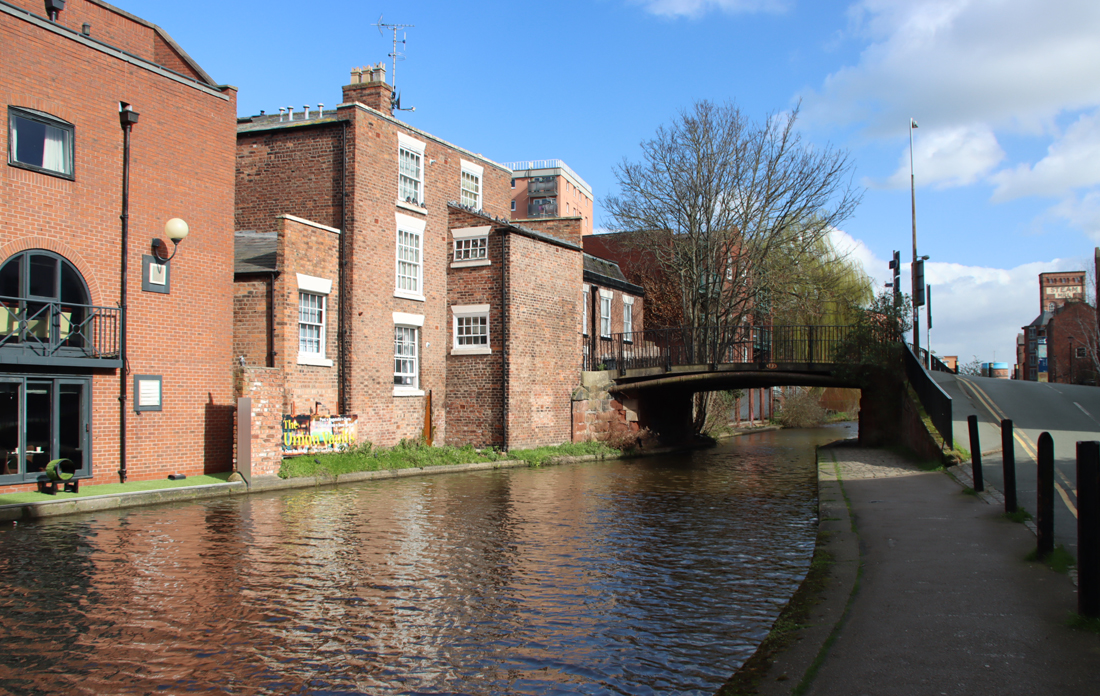
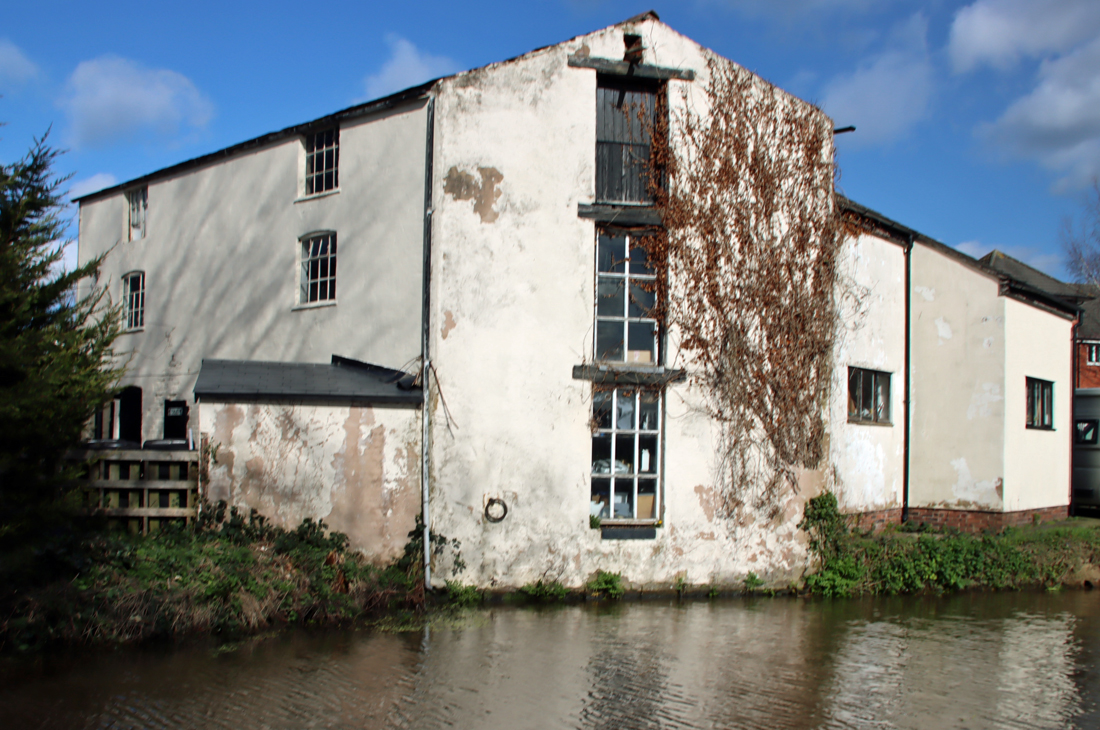
This canalside building near the Union Canal Bridge is in a very sorry state.
This was a busy area, with industrial and commercial enterprises moving in to take advantage of the proximity of the canal. There are a number of very fine buildings to spot here, and if you follow Stuart Shuttleworth’s walk (see video below) he takes you into some of the surrounding streets to explore some of the relevant buildings behind the canal.
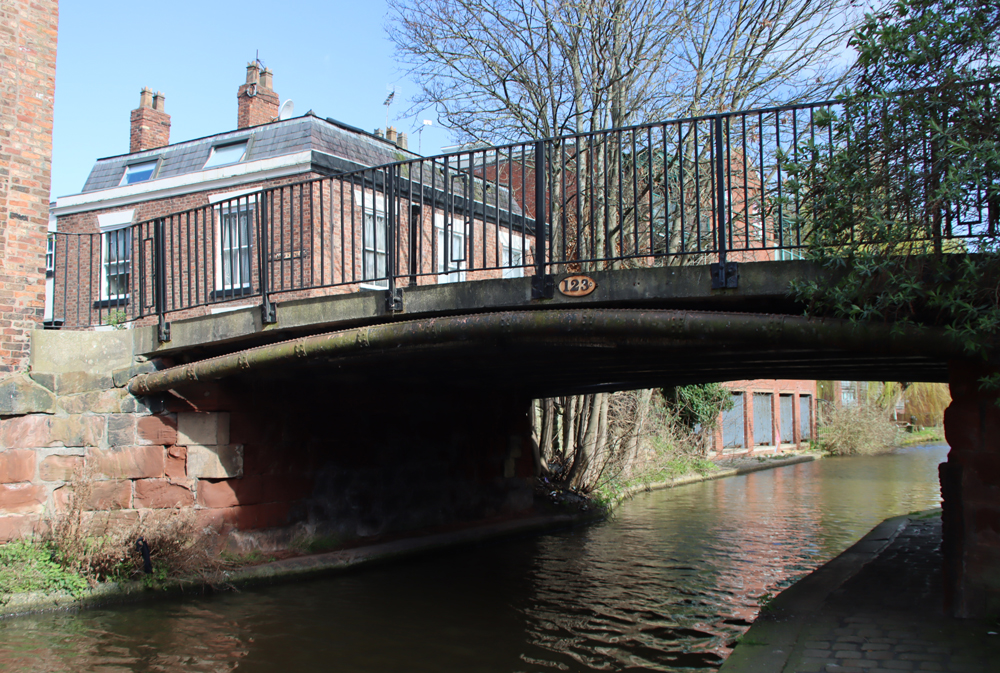
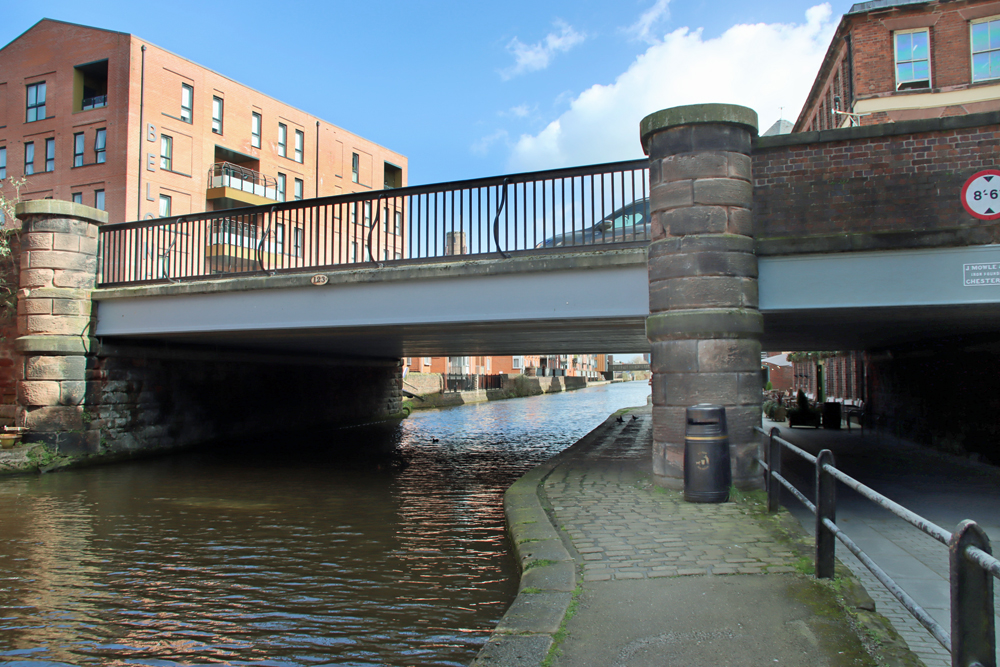
Union Canal Bridge. Details are available on the Grace’s Guide industrial history website.
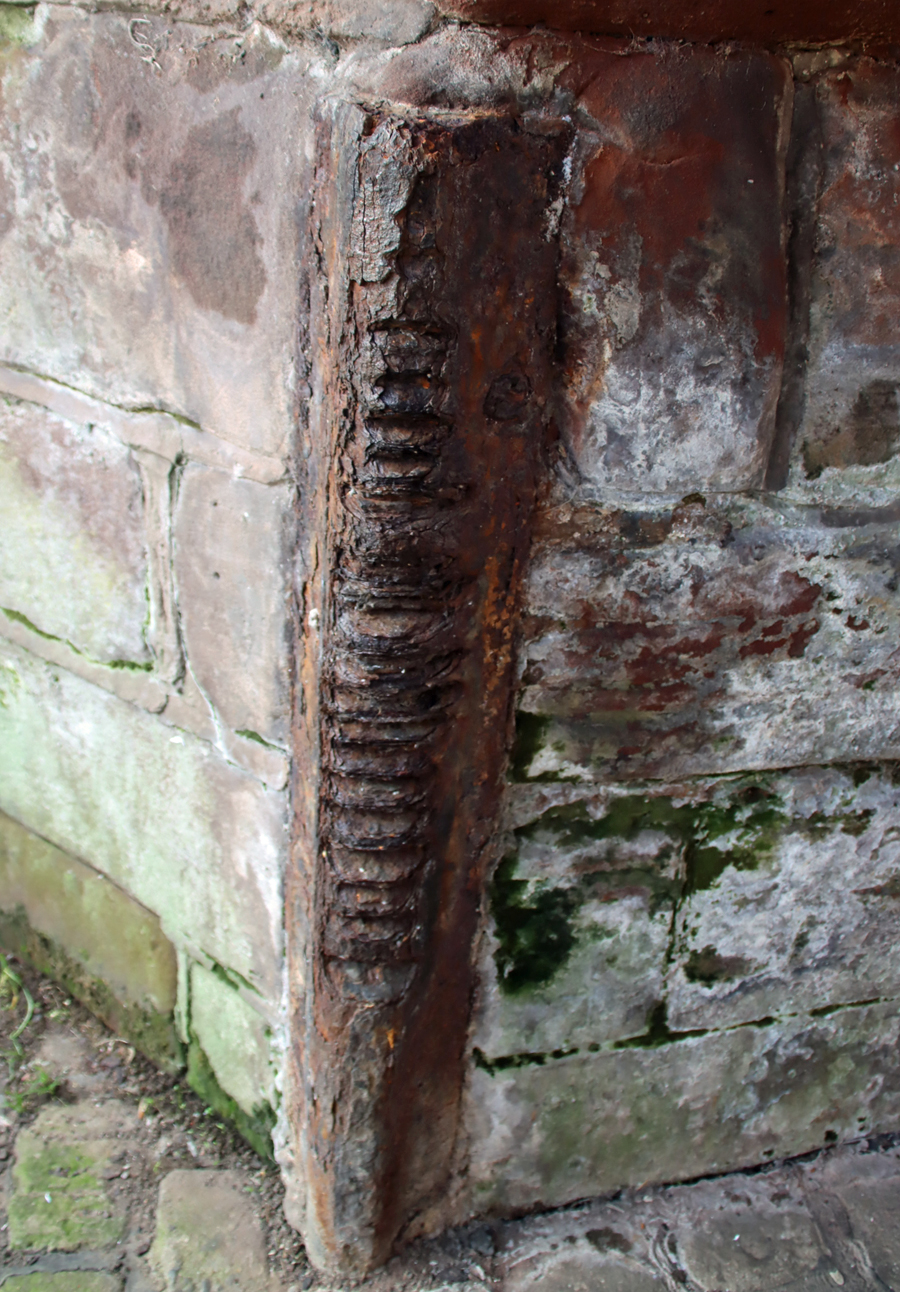
One of the protective iron uprights on the Union Bridge stonework, with rope markings from the barges pulled by horses
City Road Bridge (1863) by J. Mowle and Co.
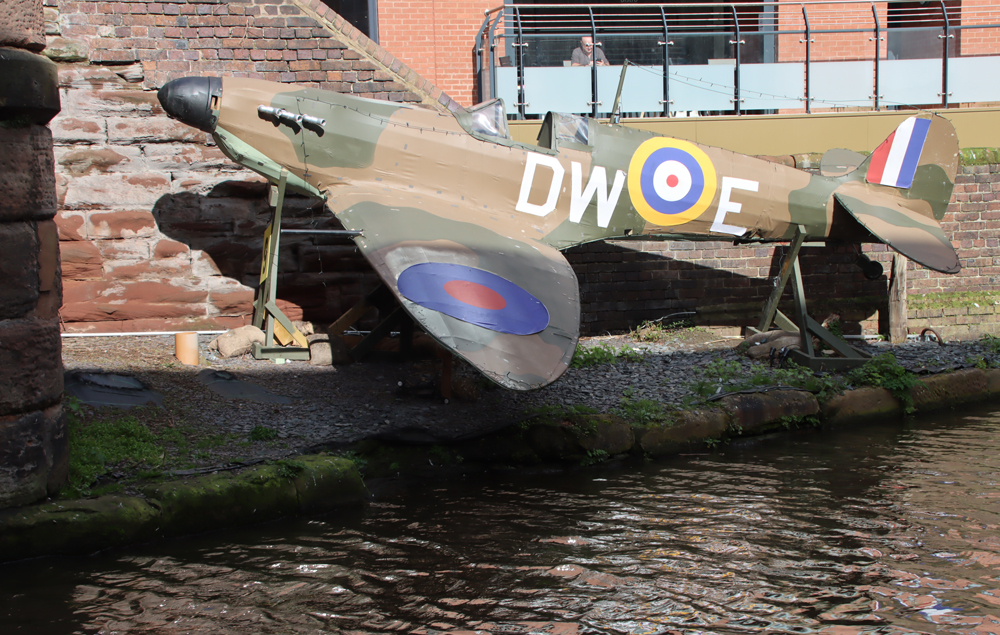
Replica Spitfire, apparently once used in a raft race
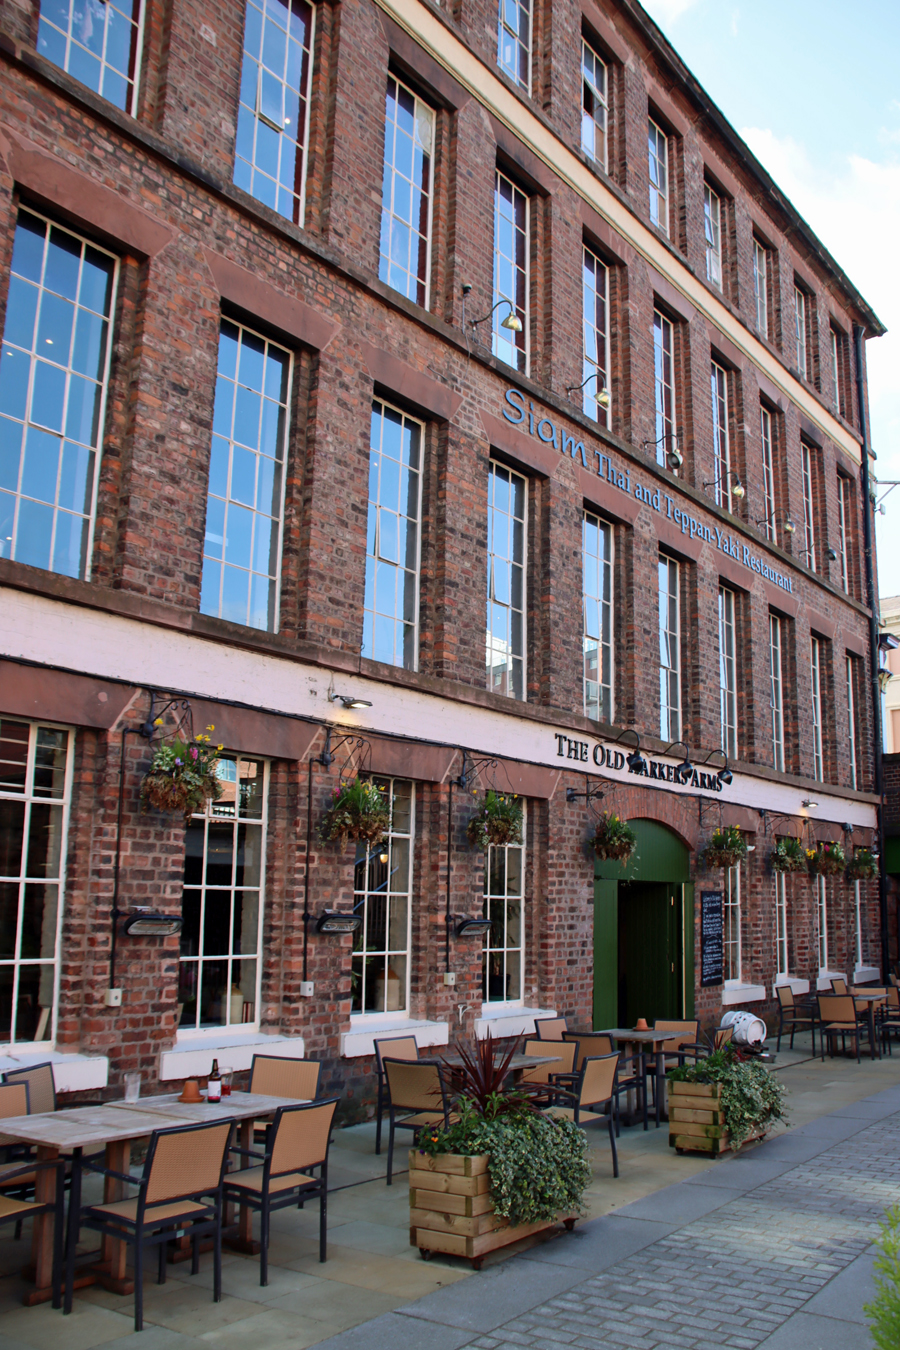
Looking back to the Old Harker’s Arms
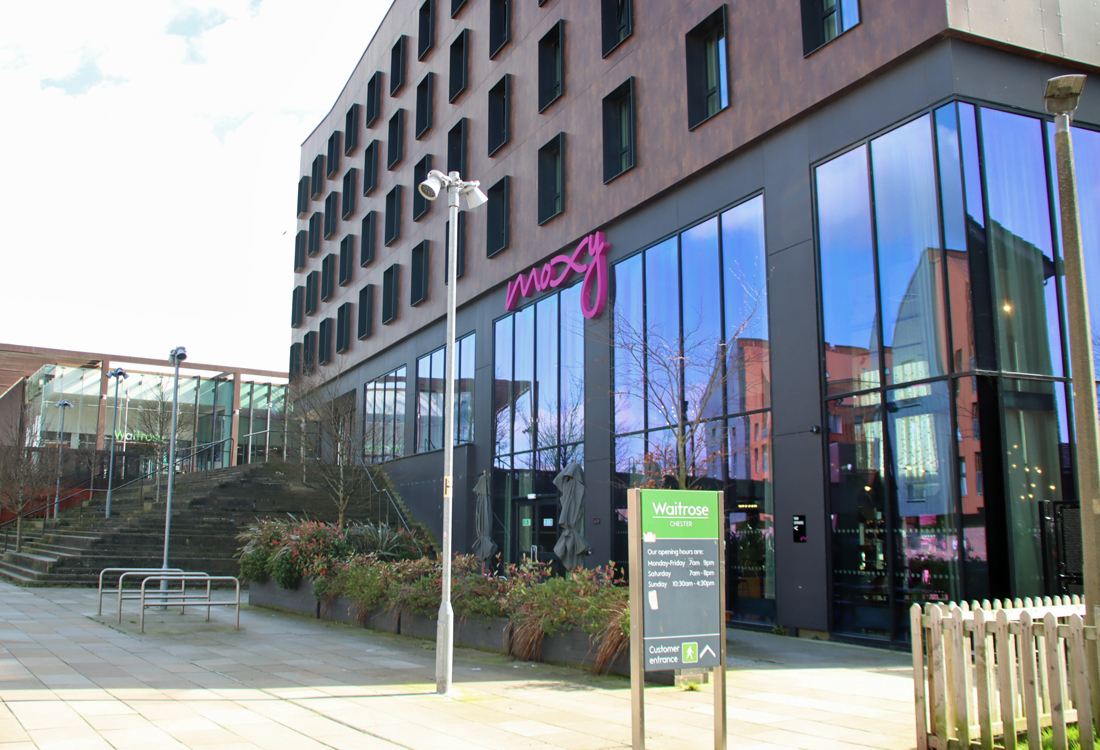
Moxy Hotel with Waitrose beyond
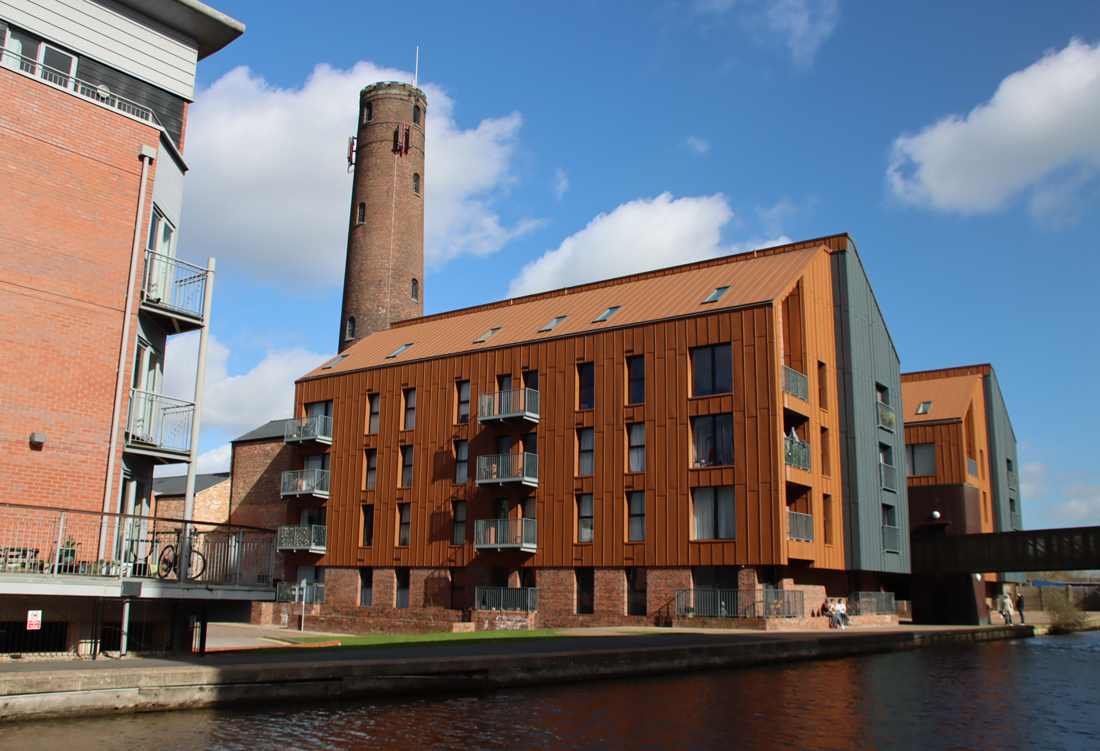
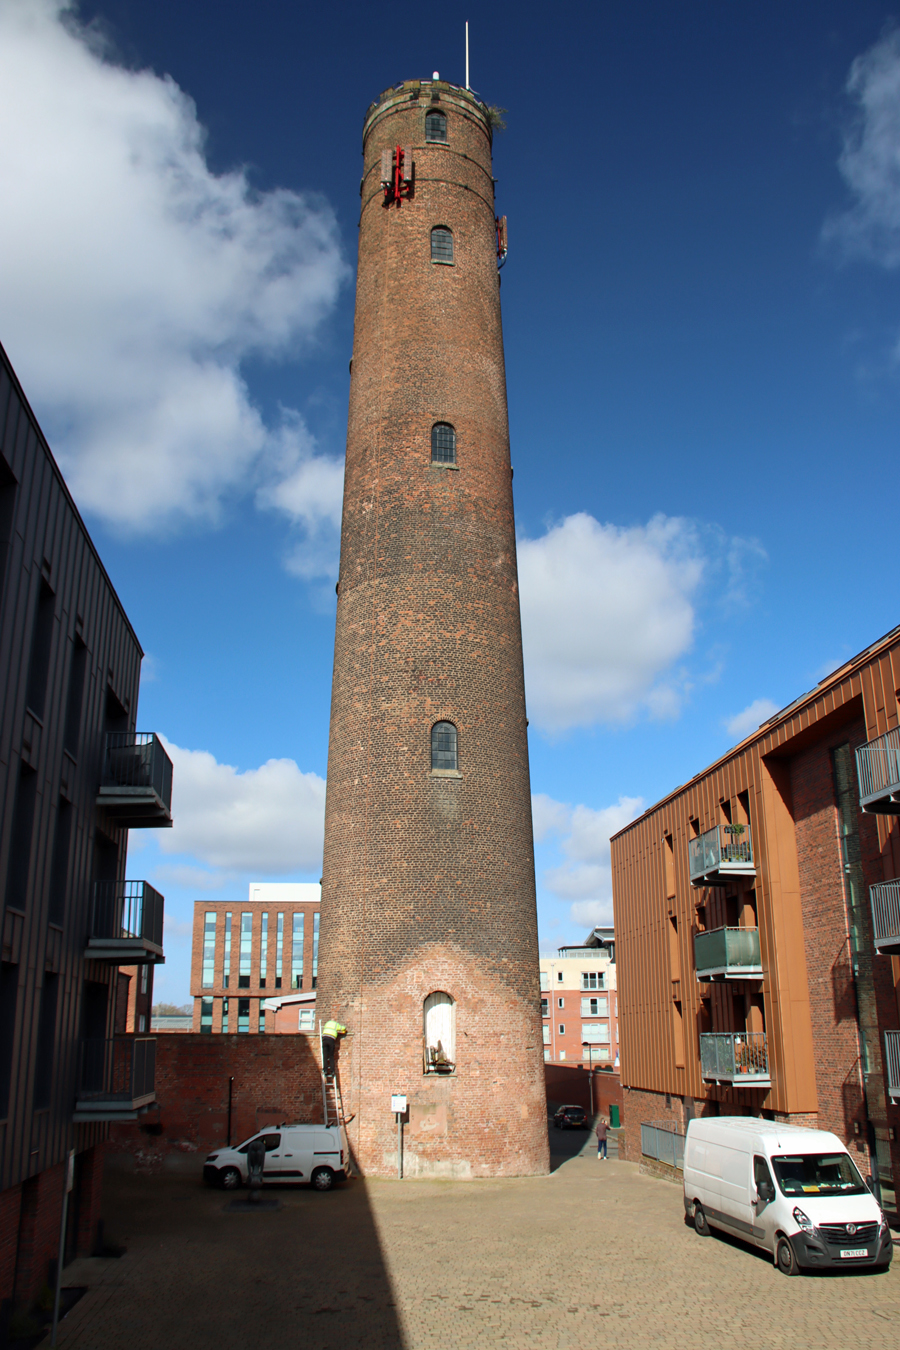
The Chester leadworks shot tower. Information about the works and the tower on the Historic England website
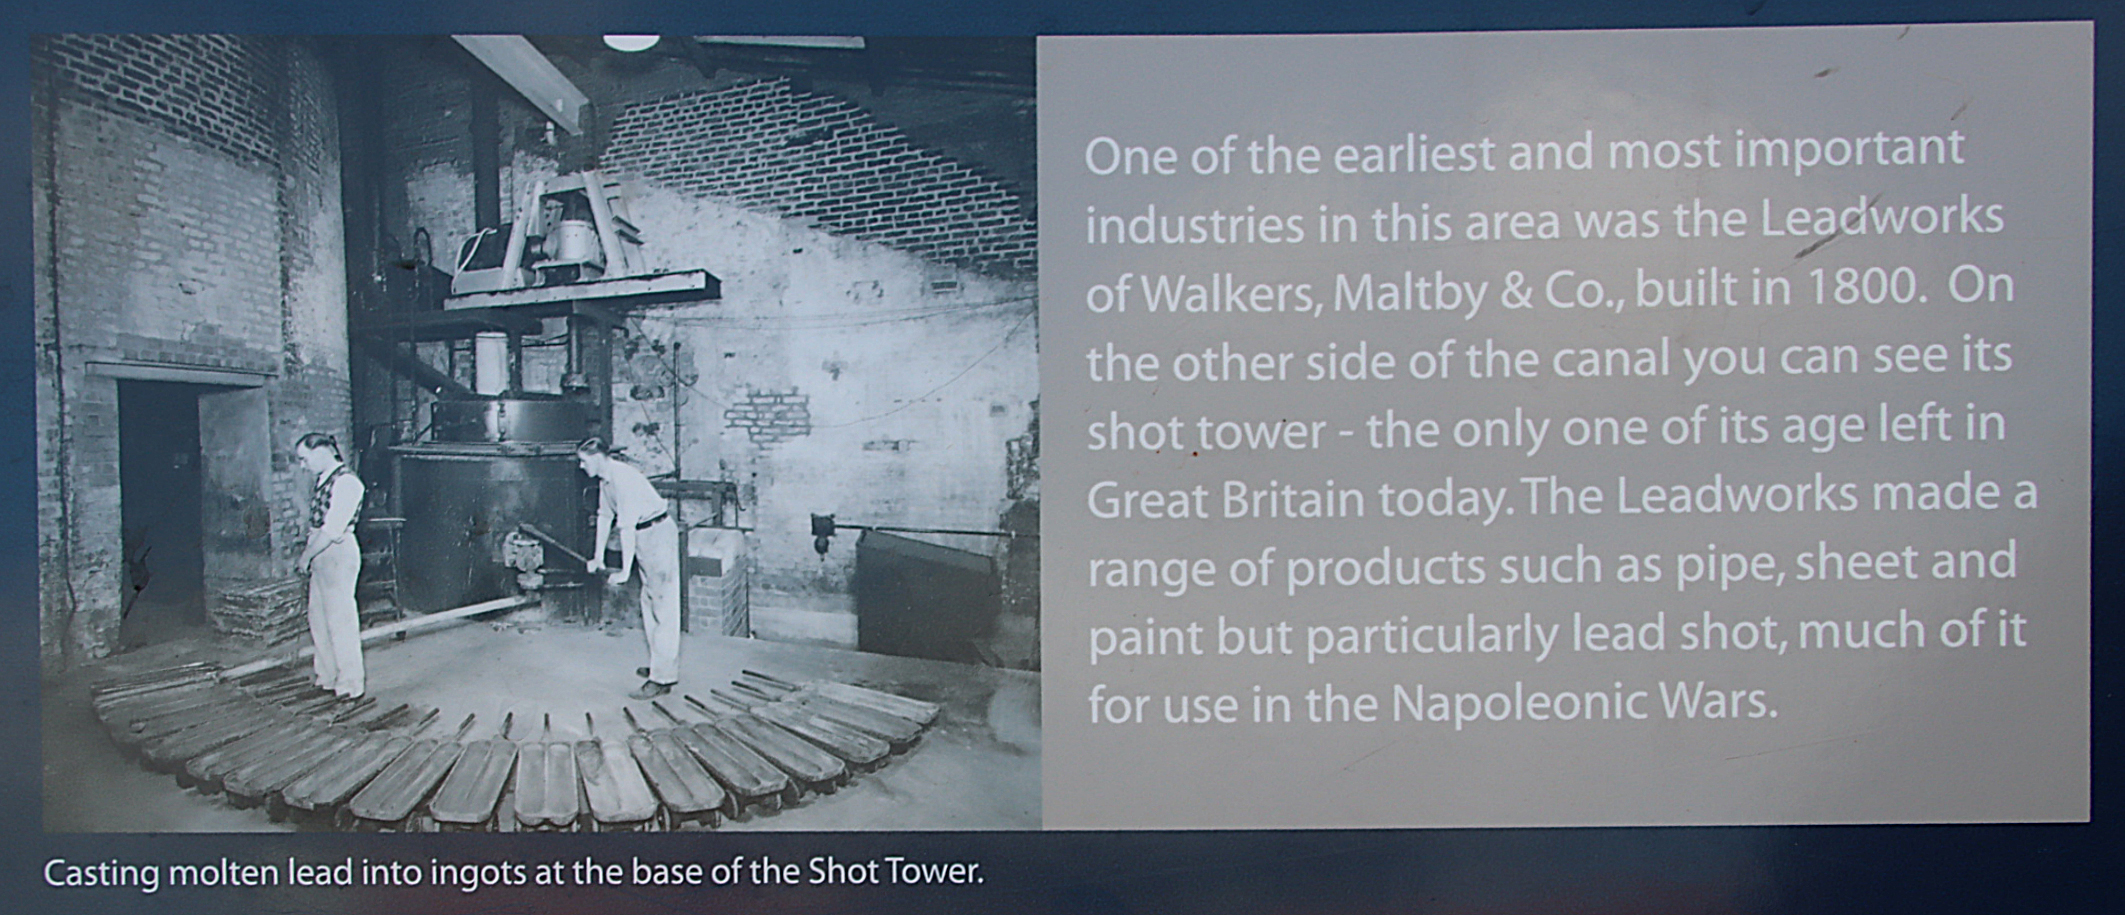
Signage along the canal showing original photograph of the leadworks
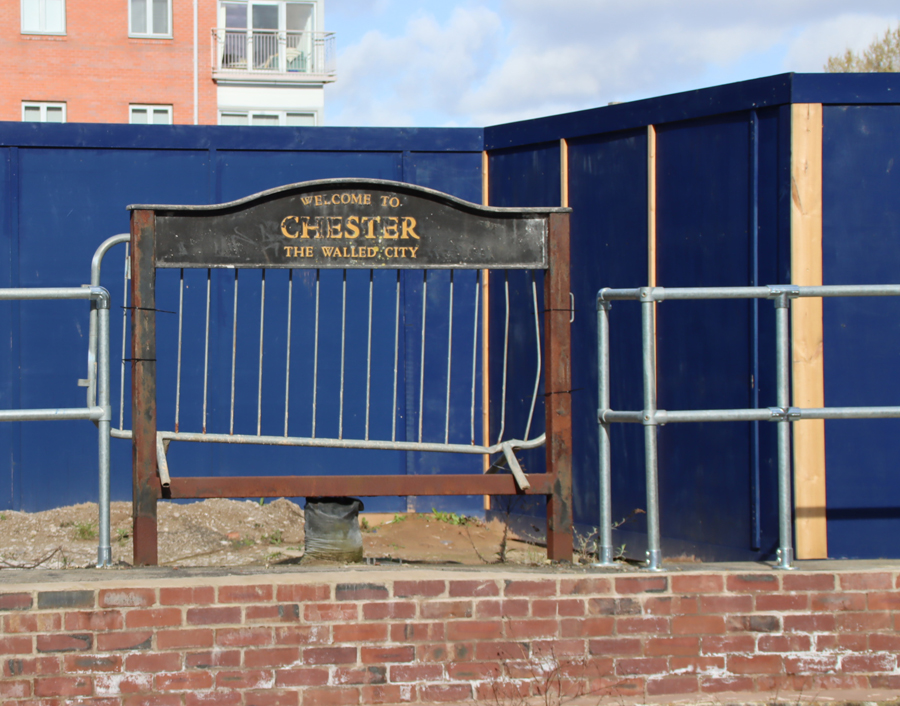
Sign on the edge of the canal, and in front of a building site for “luxury retirement apartments”
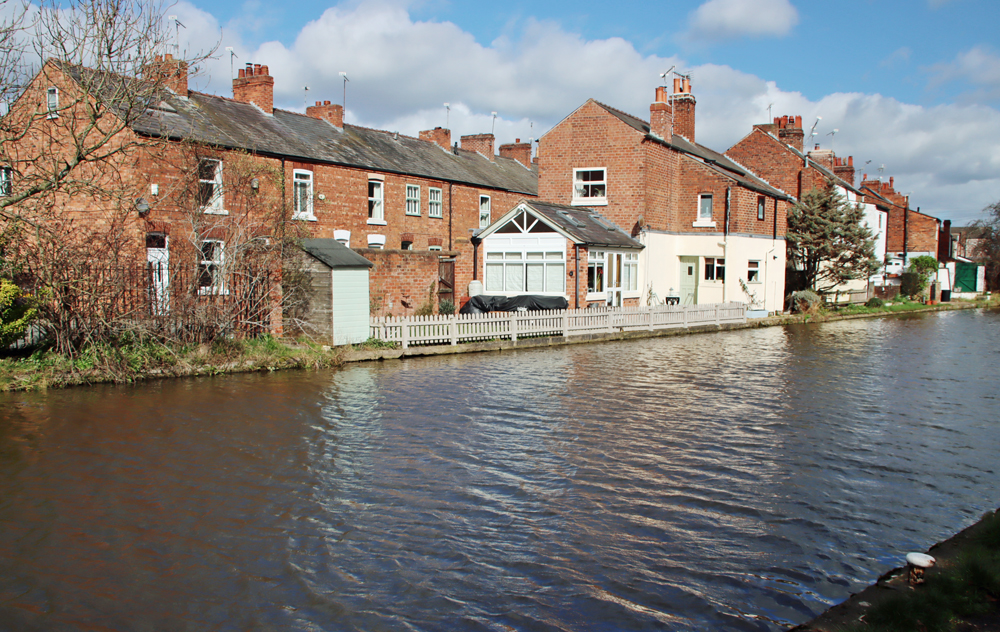
Wharton Court
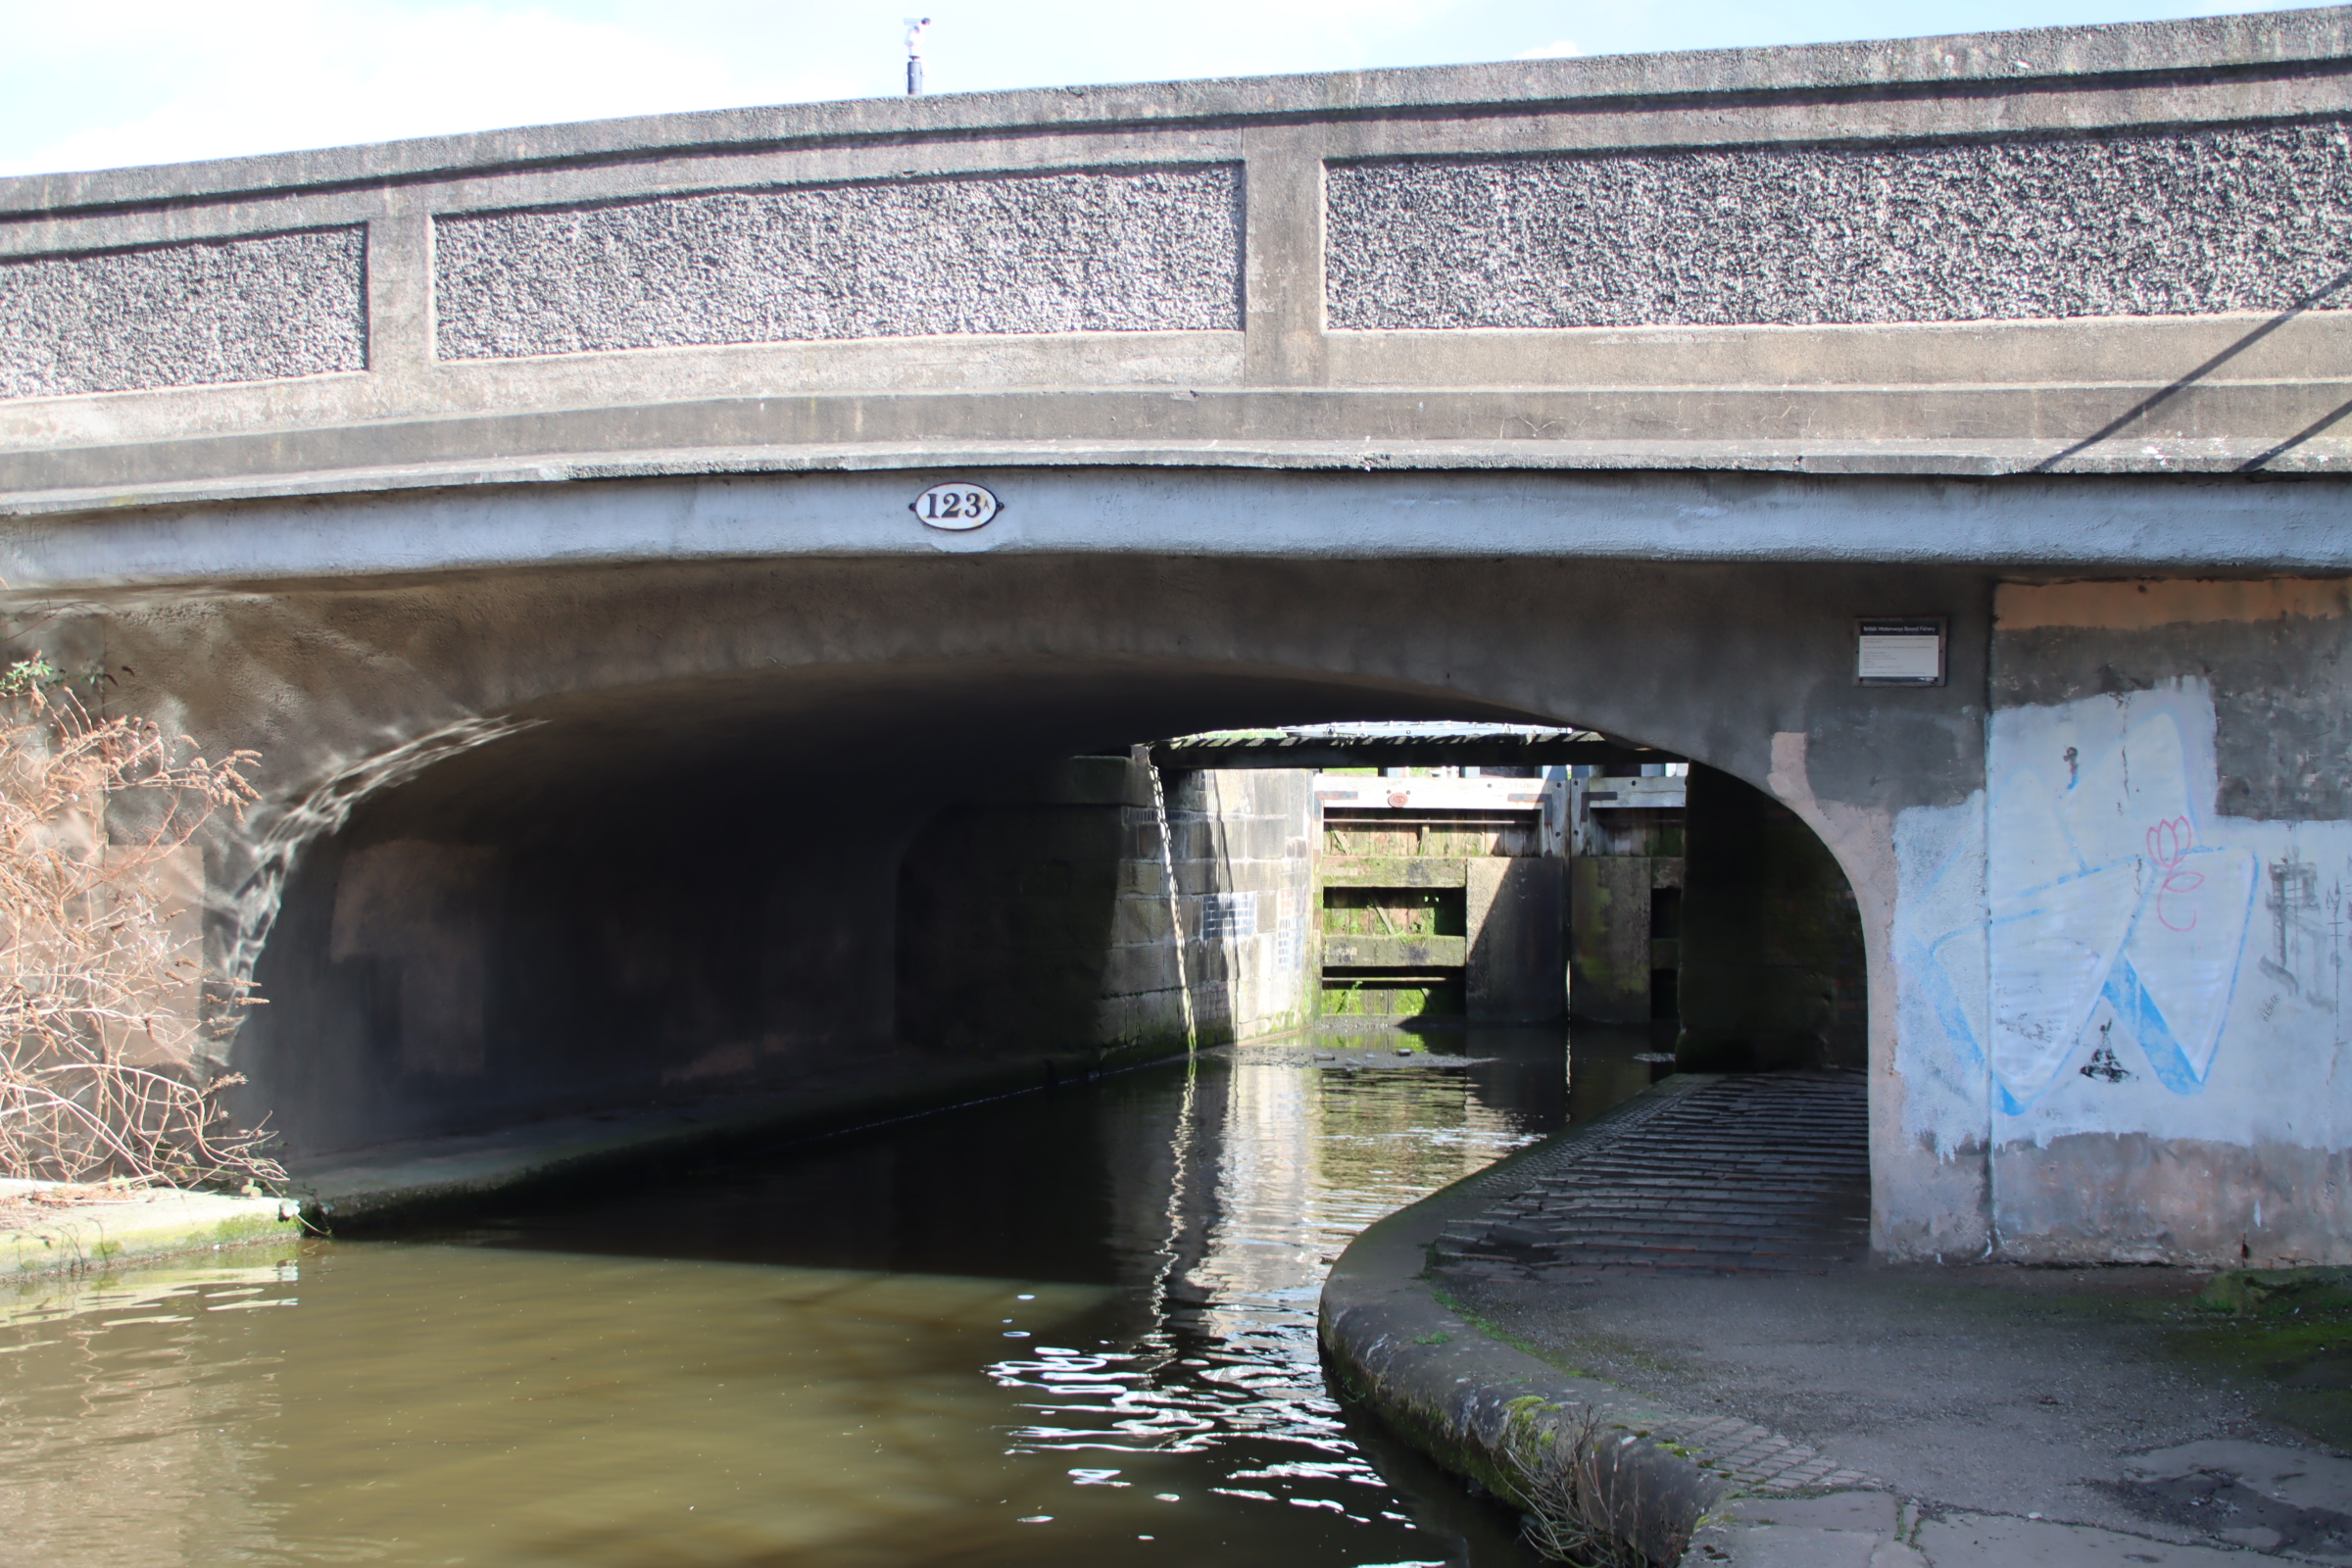
Hoole Lane Bridge, 123A
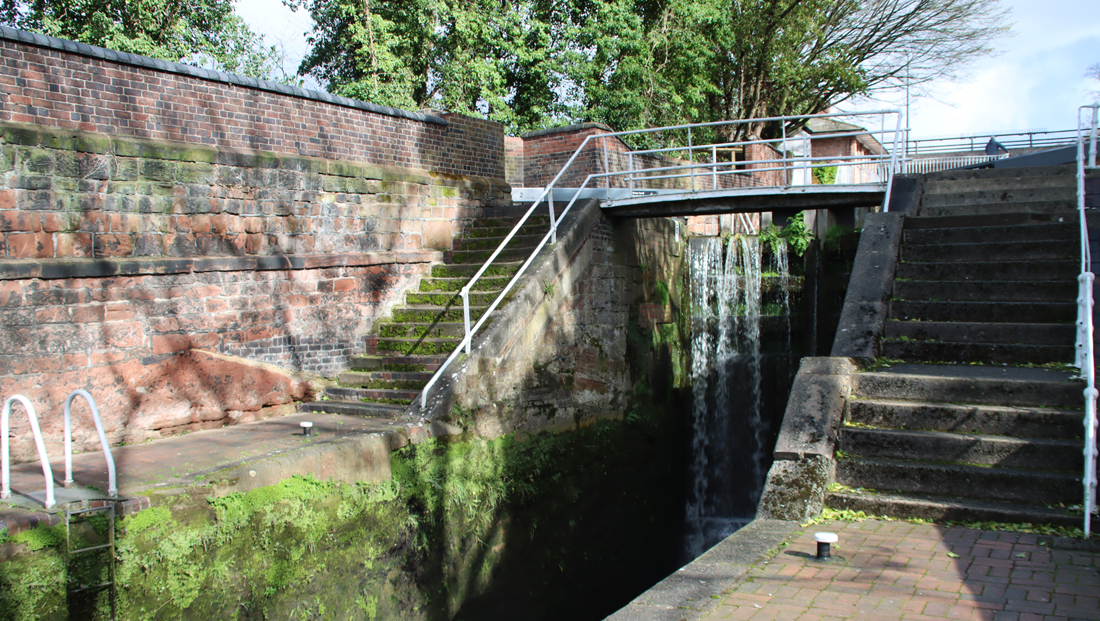
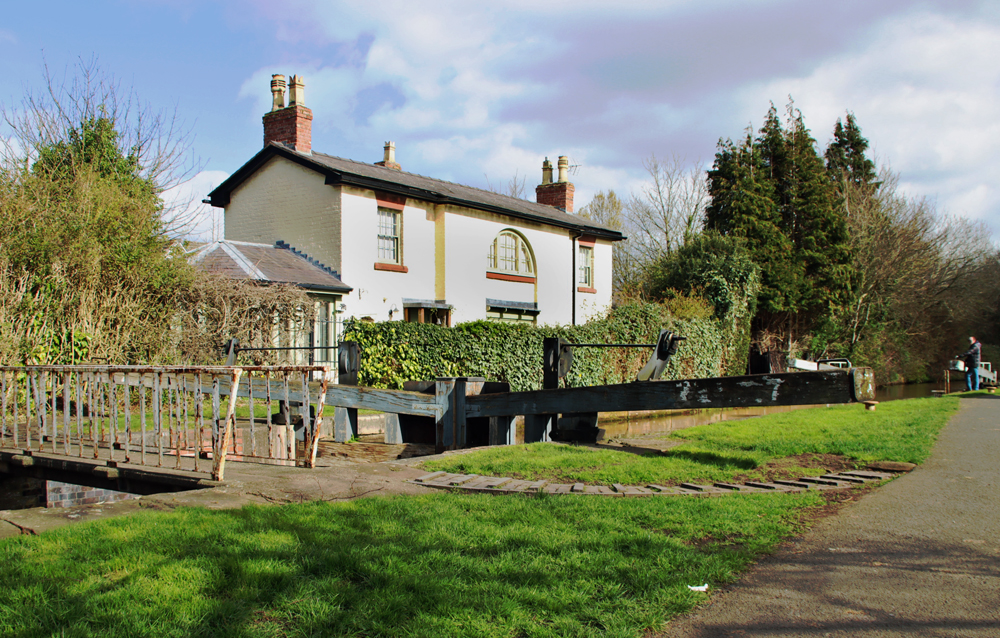
Hoole Lane Lock
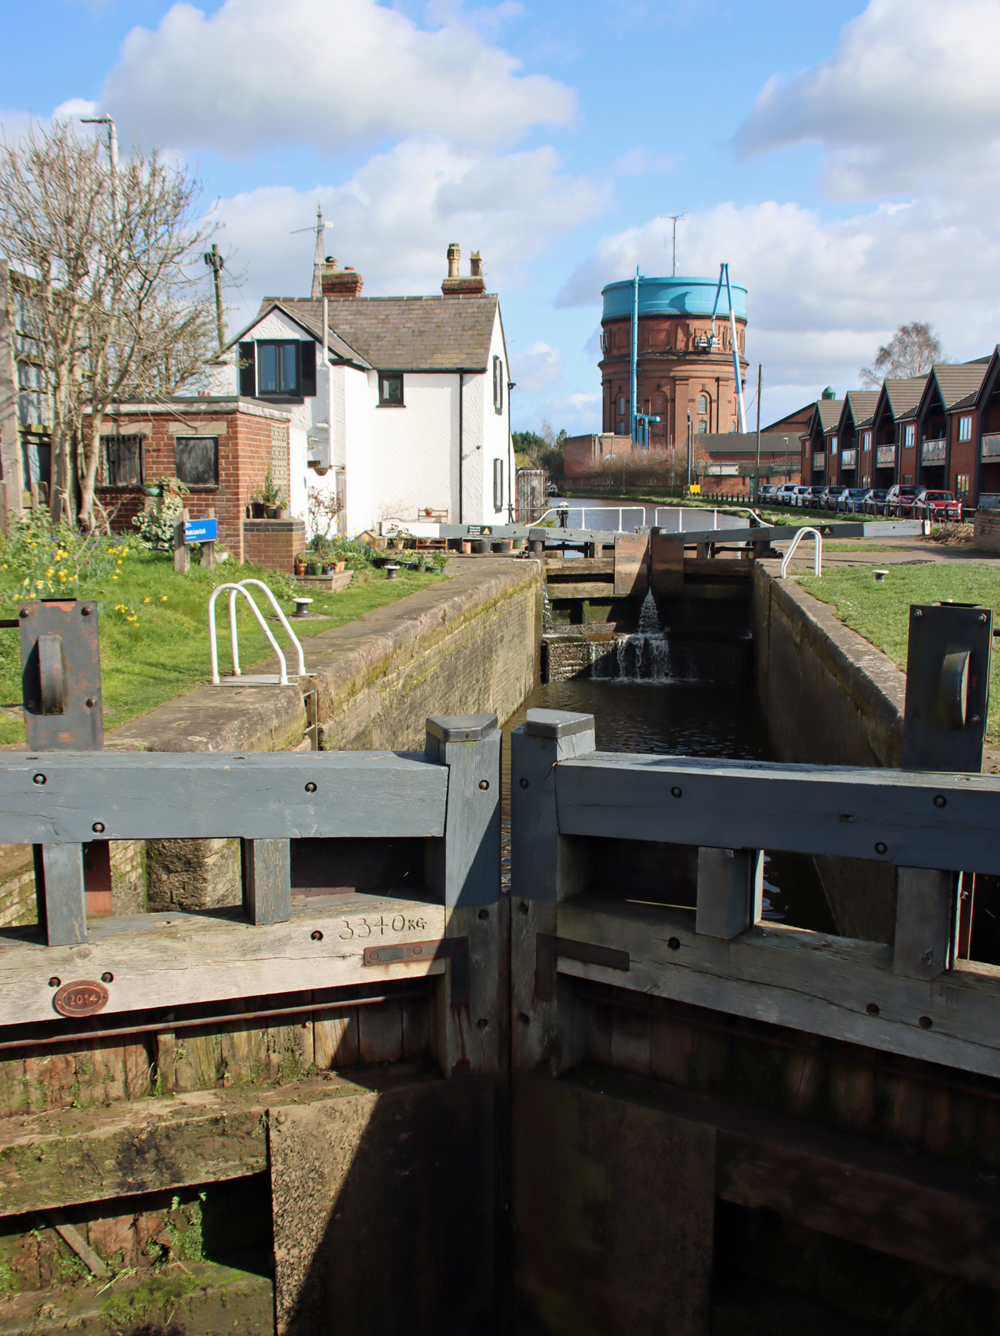
Hoole Lane Lock
Hoole Lane Mission Hall. Information at Hoole History and Heritage Society
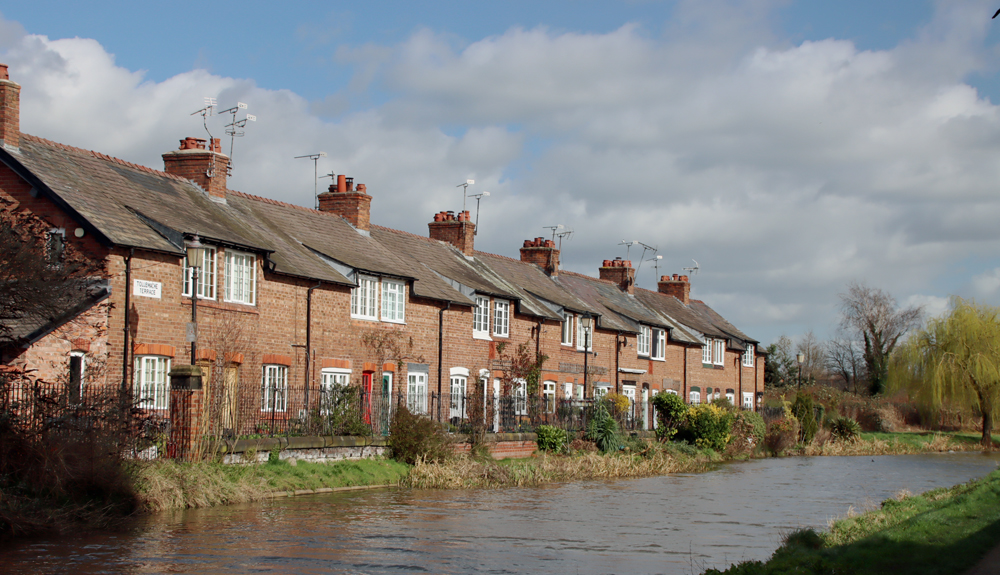
Tollemache Terrace
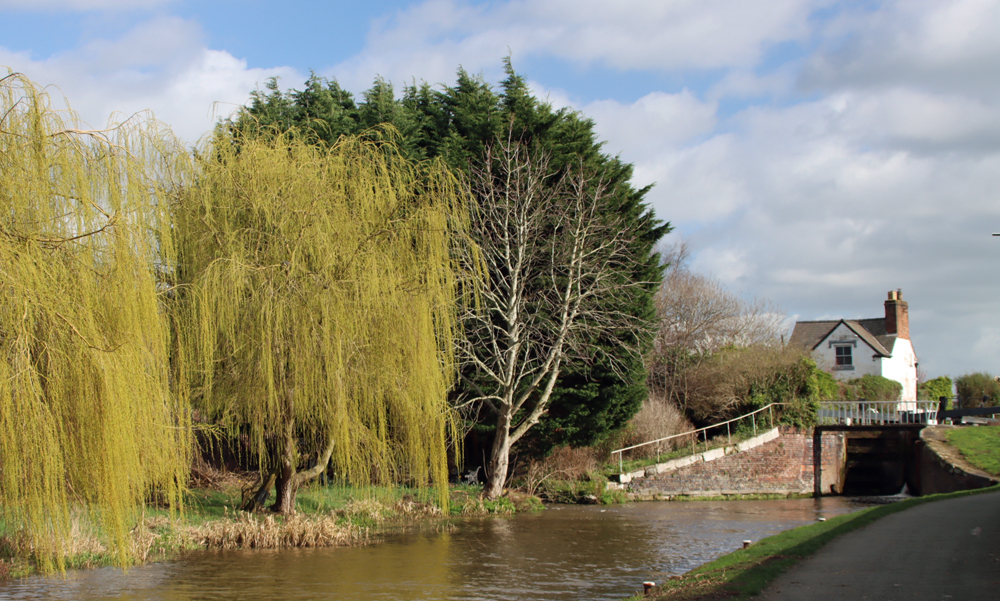
Chemistry Lock and sluice, Grade II listed. More information on the Historic England website
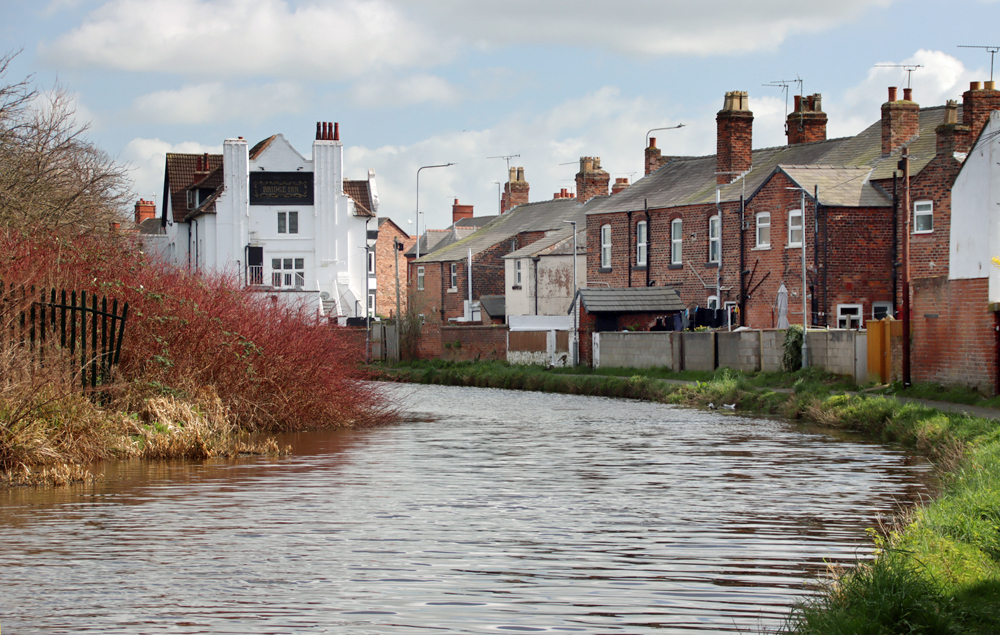
Towards the Bridge Inn (the white building)
Tarvin Bridge Lock
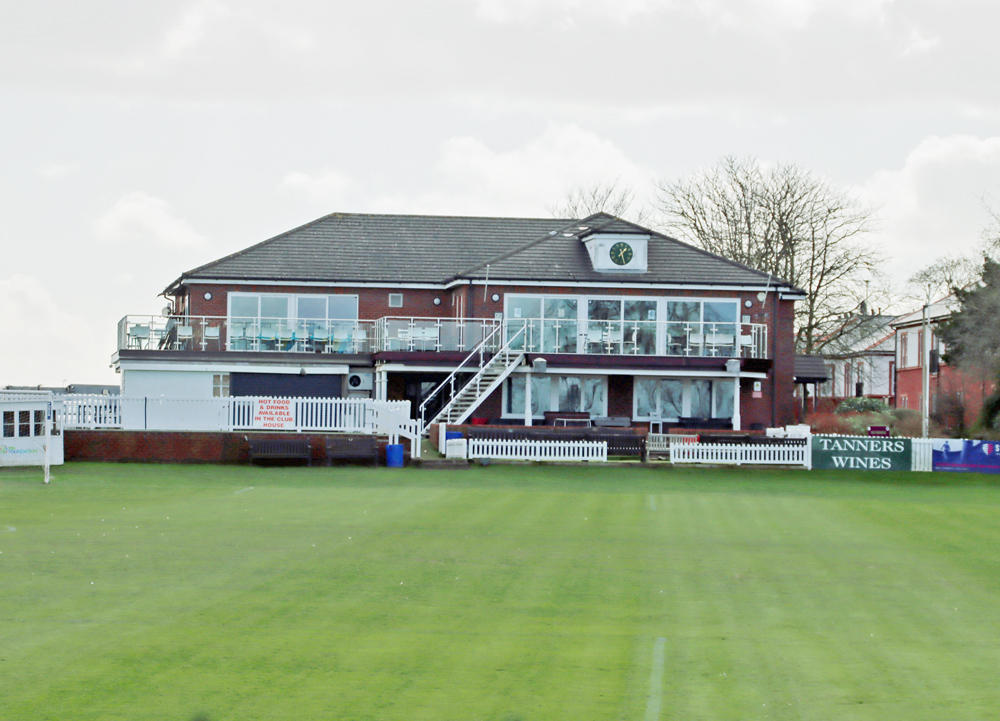
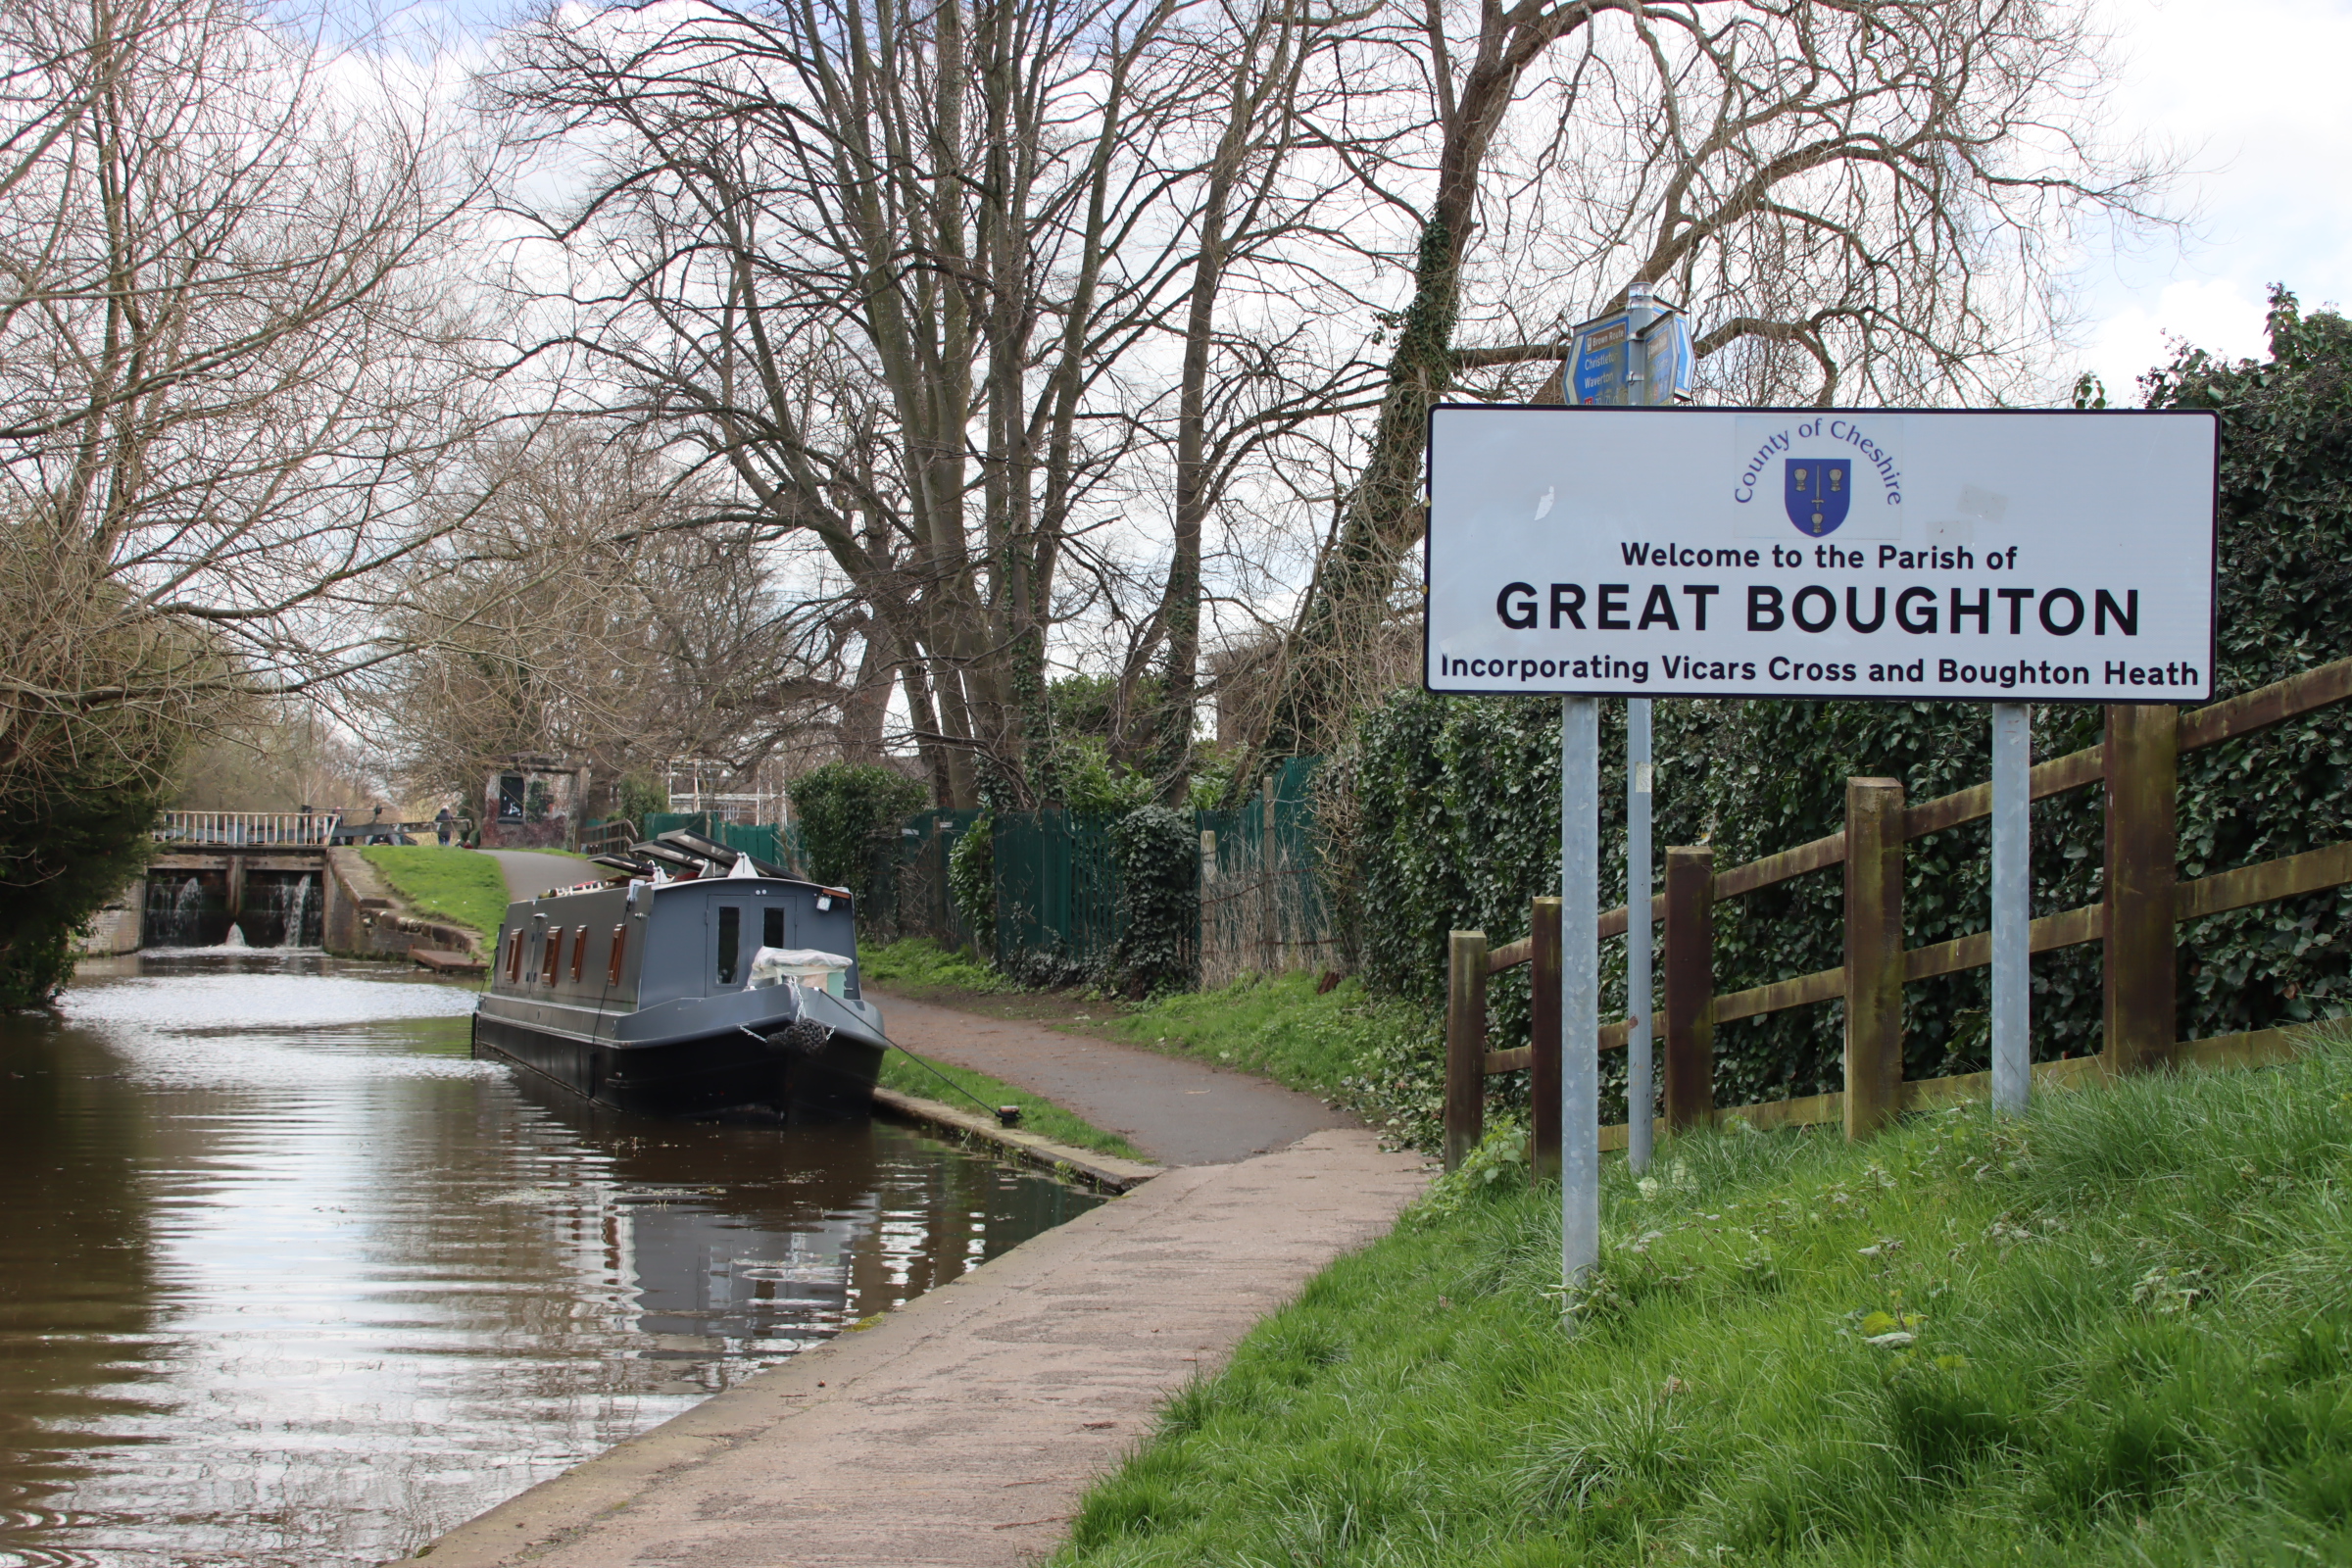
Chester and Boughton Hall Cricket Club
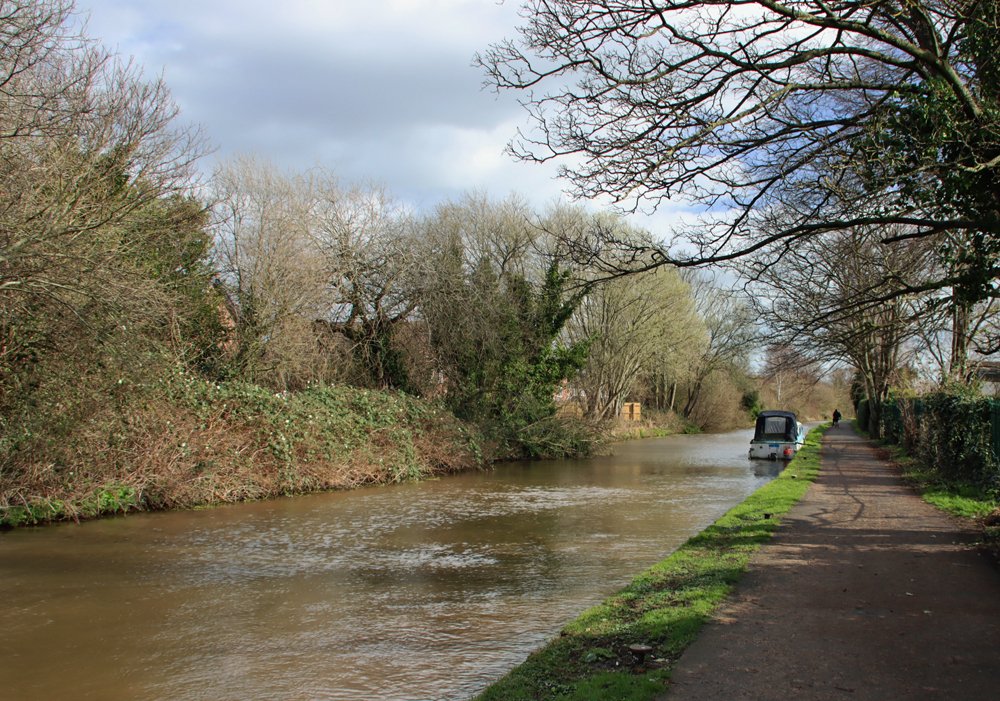
The view of the canal as it moves out of Chester towards Waverton and beyond
Starting the return leg of the walk at Tarvin Bridge Lock, next to the cricket club
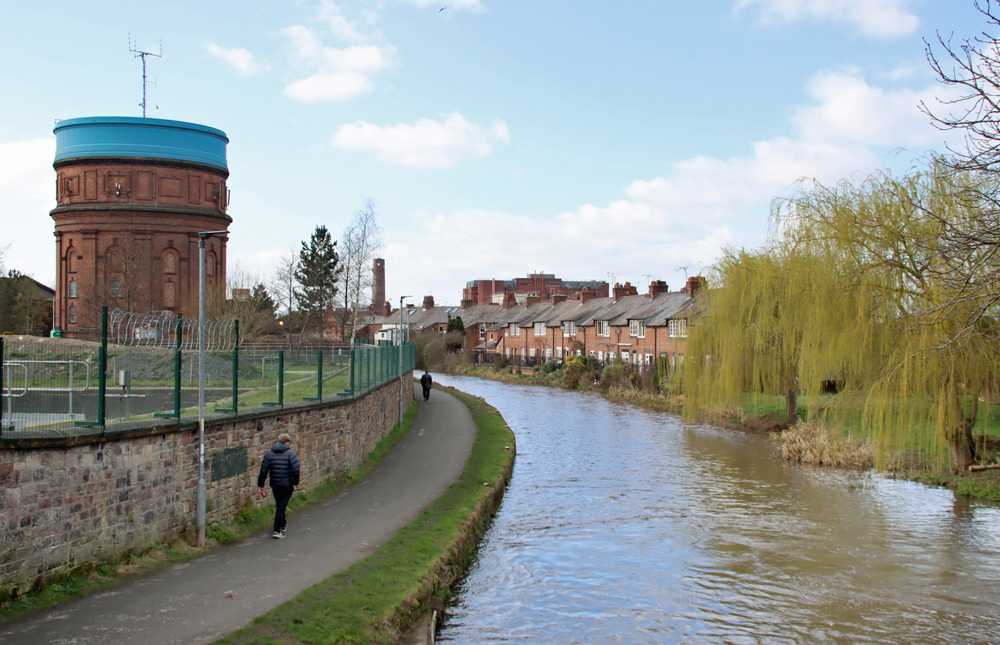
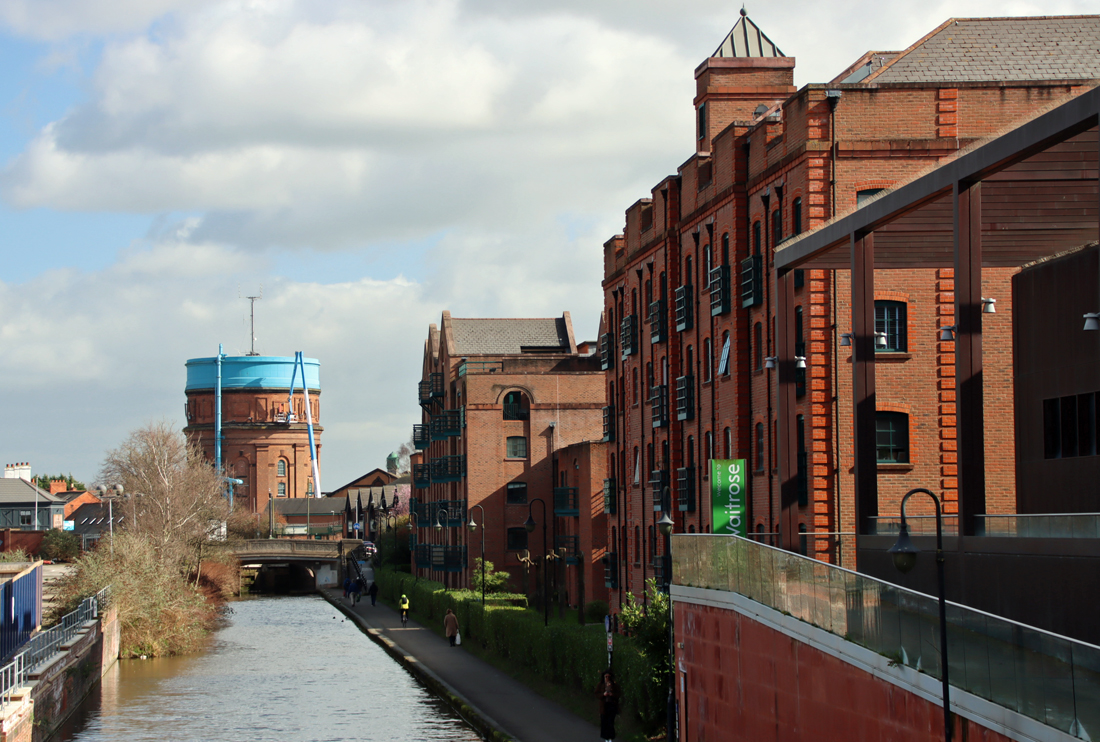
Walking back into Chester, past the Boughton water tower. See details on the Historic England website.
The point on the towpath at which I walked up to the flight of steps to go up to the city walls and turn right to return to the car park.
Sources
The full list of sources are in Part 1
